Fudge-Filled Pink Pavlova Cookies
By Laila ·
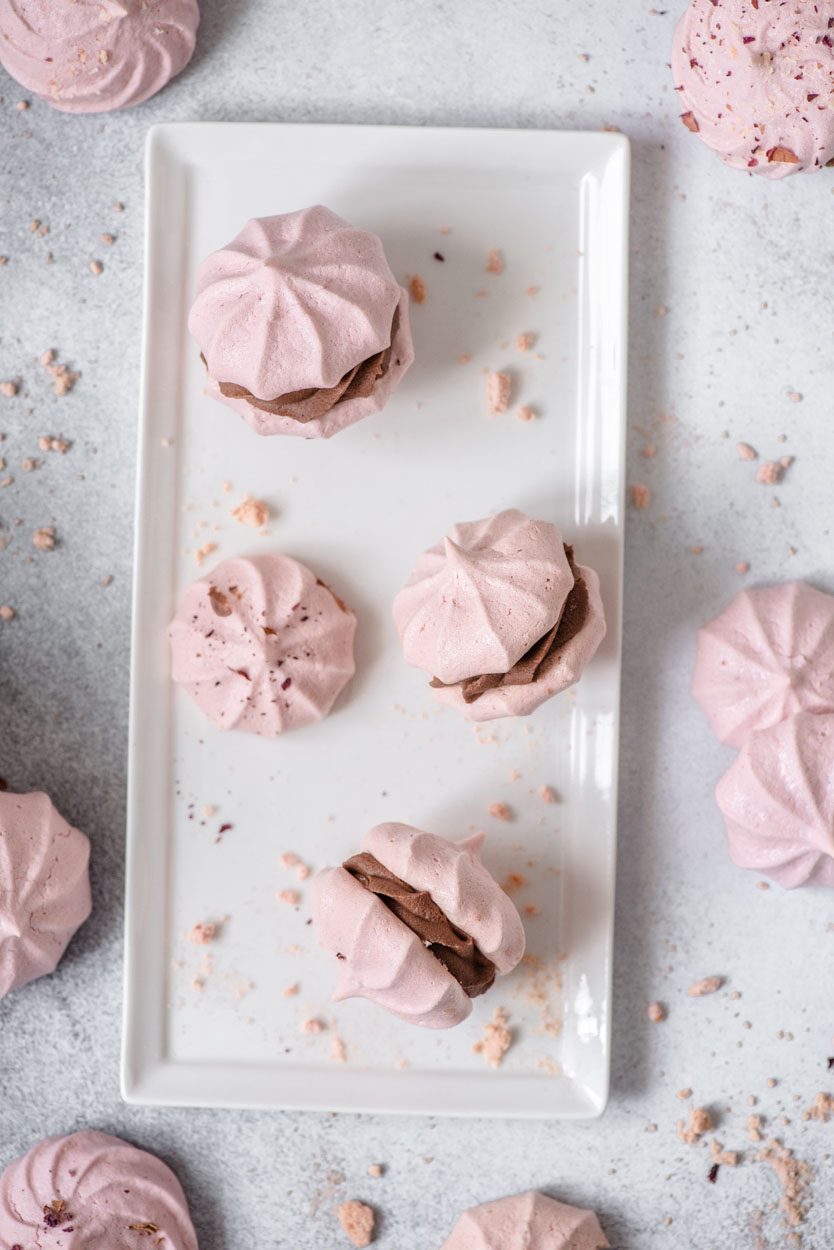
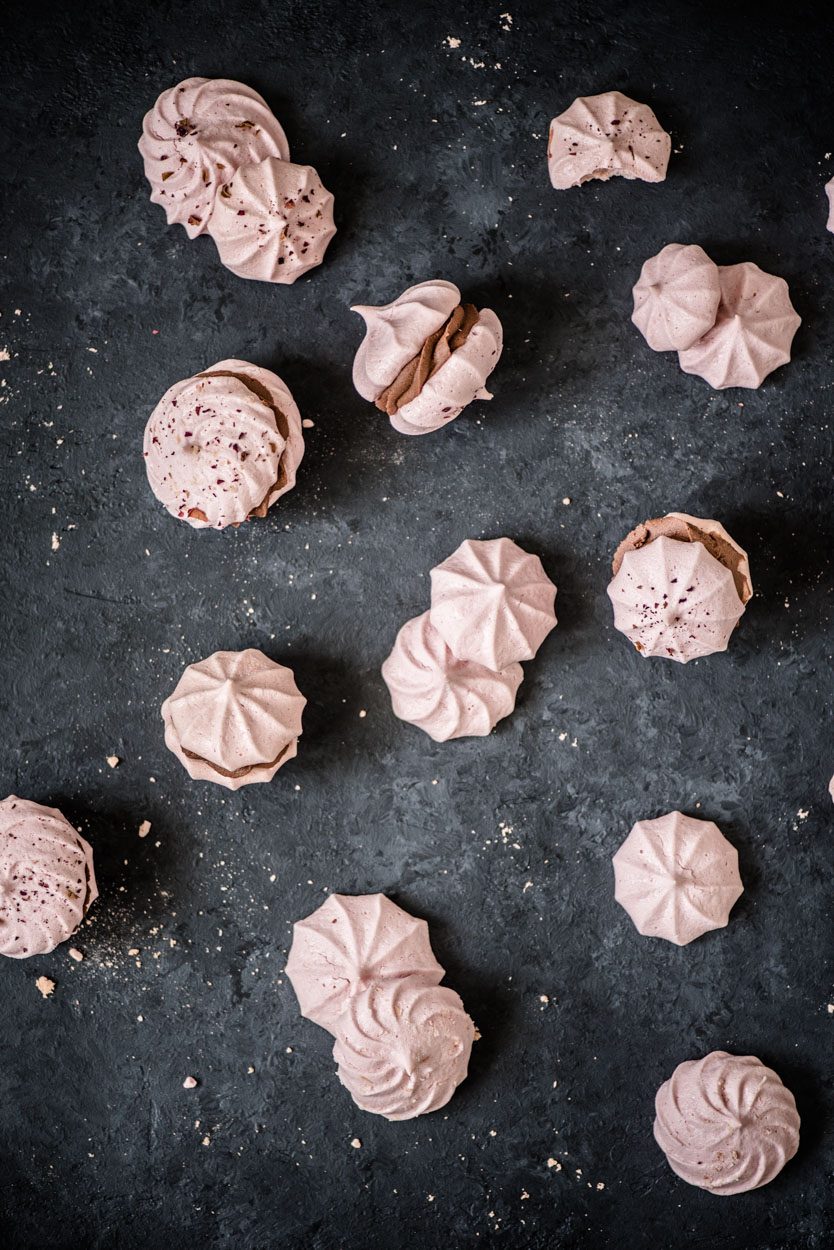
Fudge-Filled Pink Pavlova Cookies are the easiest and tastiest treats you'll make! Perfect for any occasion. Made free from dairy, egg, soy, nuts, wheat/gluten, fish/shellfish, mustard, sesame. Learn how to make these cookies below and enjoy a delicious dessert that's as fun to make as it is to eat!
Who wants the easiest and best pavlova cookie recipe ever?! Oh and priority allergens free!!
Let’s do this!!
I kept going back and forth with the title… do I call these cookies pavlova or meringue? I settled on pavlova because it made more sense to me. Thing is, it doesn’t really matter. I don’t follow conventional methods in baking; especially not with this recipe. So whether I called them pavlova or meringue or the best crispy soft cookies to ever exist in the universe… It wouldn’t really matter.
So Fudge-Filled Pink Pavlova Cookies wins! Sounds pretty good :)
They’re naturally colored in a beautiful pale pink, perfect for those who love the color (hello!) and for special occasions like Love day (V-day) which I’m not a fan of celebrating personally. It’s one holiday that’s solely centered on people in relationships. It excludes everyone else. Not cool. Plus people feel forced to buy so many roses at triple the cost and chocolates galore (not that there’s anything wrong with chocolate – I love chocolate!) but you get where I’m going with this.
It’s an awkward holiday that makes you feel like crap if you don’t have a ‘special someone’ to share it with. That’s why I like calling it Love day instead. Love includes everyone and it’s non-discriminatory. You can show love to family, friends, neighbors, teachers, strangers, pets, Earth. Actually, did you know that over 50% of people buy gifts for friends on Feb 14th? Thank you husband for that fact!
Maybe I should make some sort of motion to change the name from Valentine’s to Love day! What do you think?!!
Back to these Pavlova Cookies!
I’ve been making pavlova cookies on and off for a few years but was never really happy with them. They were more meh than good. There was always something missing – like the cookies were hollow, or too much crunch without softness etc. And then baking them was another story.
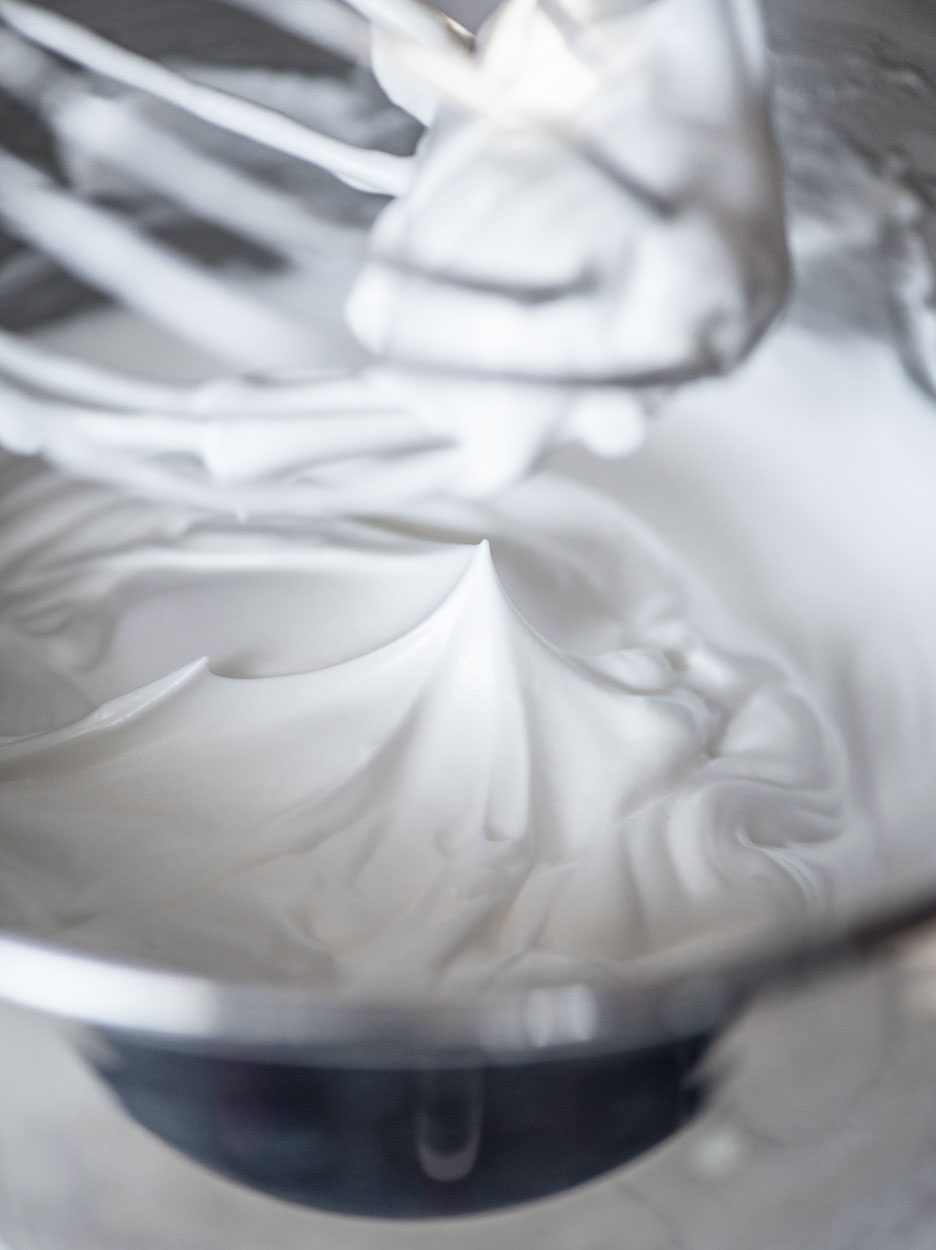
But thanks to my many fails trials at making the Raspberry Lemon Roll, I made a very simple but crucial discovery which became a game changer. Everything fell into place after that aha moment.
What a difference it made in my cookies and my cake rolls!!!!
So I celebrated by making even more cookies and swiss rolls haha. I was SO ecstatic – can’t blame me! And I’m even more-so to share these incredible, beautiful cookies with all of you :)
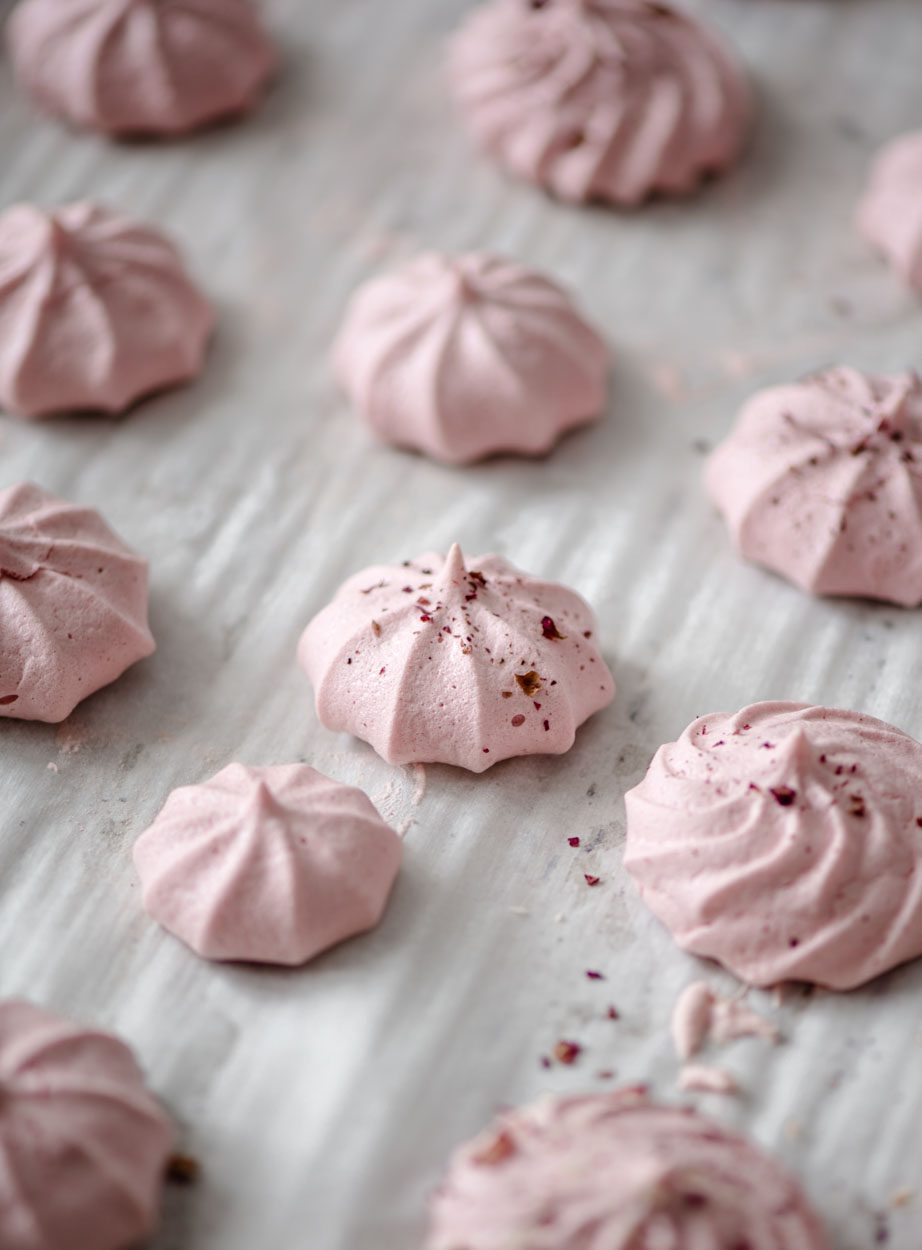
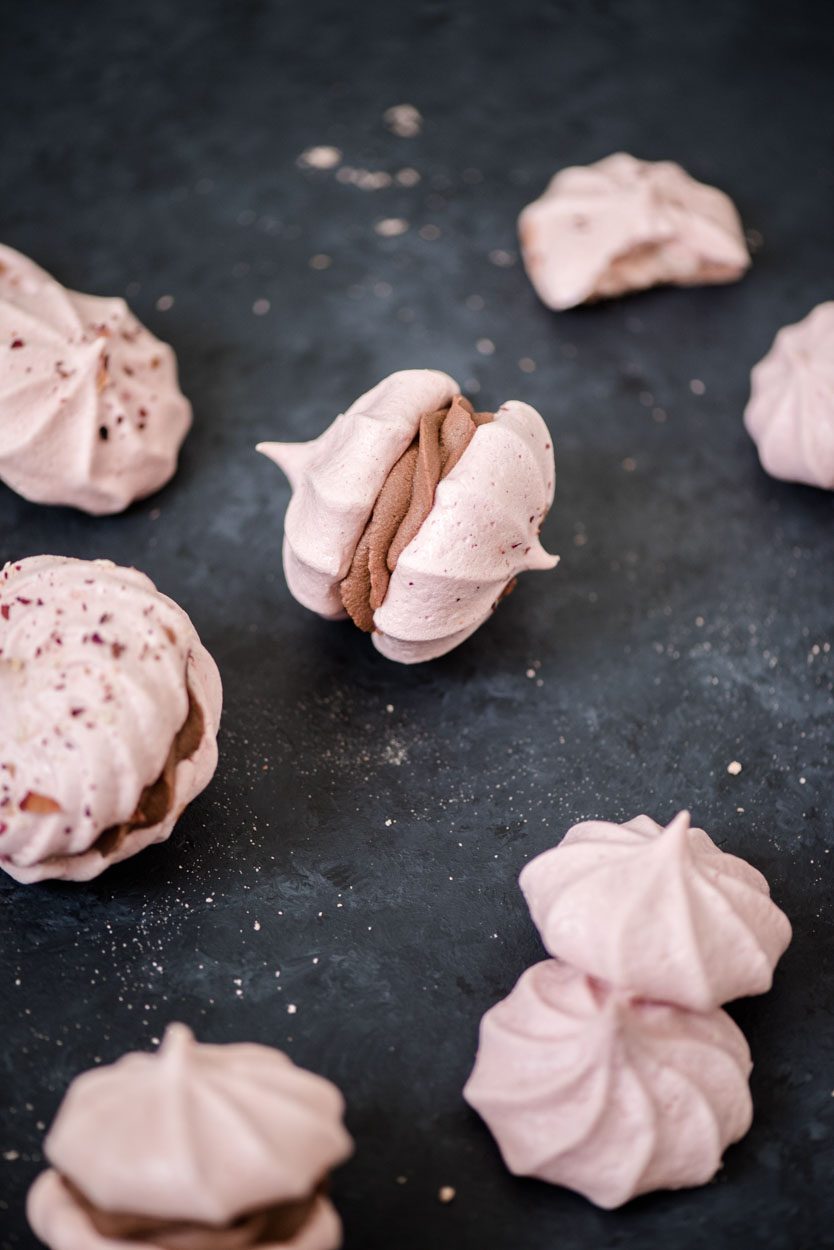
You’ll notice that I tried to get a bit fancy and added some crushed dried rose petals on some of the cookies (those dark pink dots? That’s what that is!) but quickly realized the cookies are better off as they are. I also tried sprinkling some shredded coconut… but there was no need for that either.
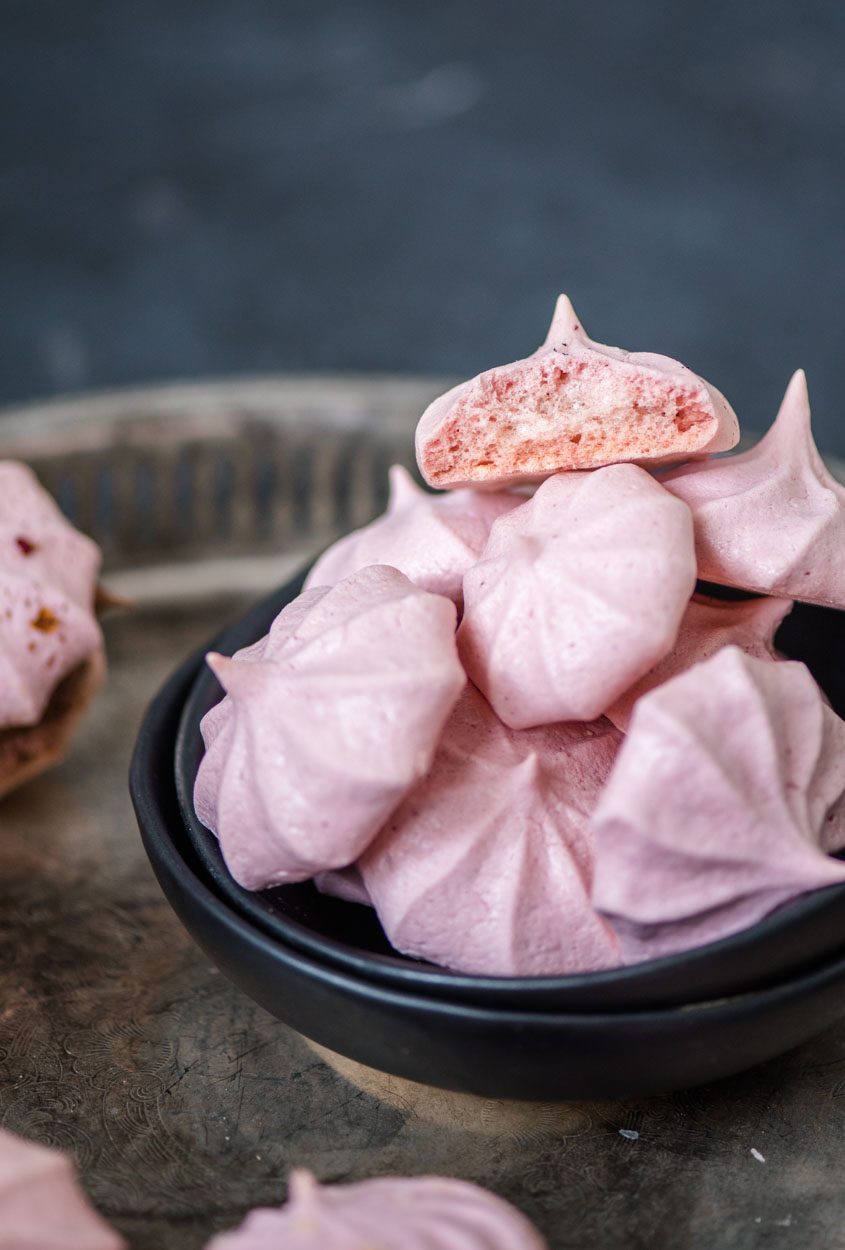
Pure and simple is the way to go for these cookie sandwiches. This recipe is awesome I promise. The only thing required is patience. I contemplated including that in my recipe instructions!
But if you make them at night like I recommend in the recipe box then patience isn’t required at all. See? There’s always a way around whatever it is you’re tackling :D
These Fudge-Filled Pink Pavlova Cookies are free from:
dairy
egg
peanuts
tree nuts
soy
sesame
wheat/gluten
mustard
fish/shellfish
artificial anything
They are however most definitely NOT free from taste! My kids asked for a cookie sandwich every day to school – which meant I HAD to share the recipe with you!
I don’t need to mention that they were also loved by friends and neighbors! Because they did… MEGA love them!!
Can we take a quick moment and talk about the whipped fudge?!
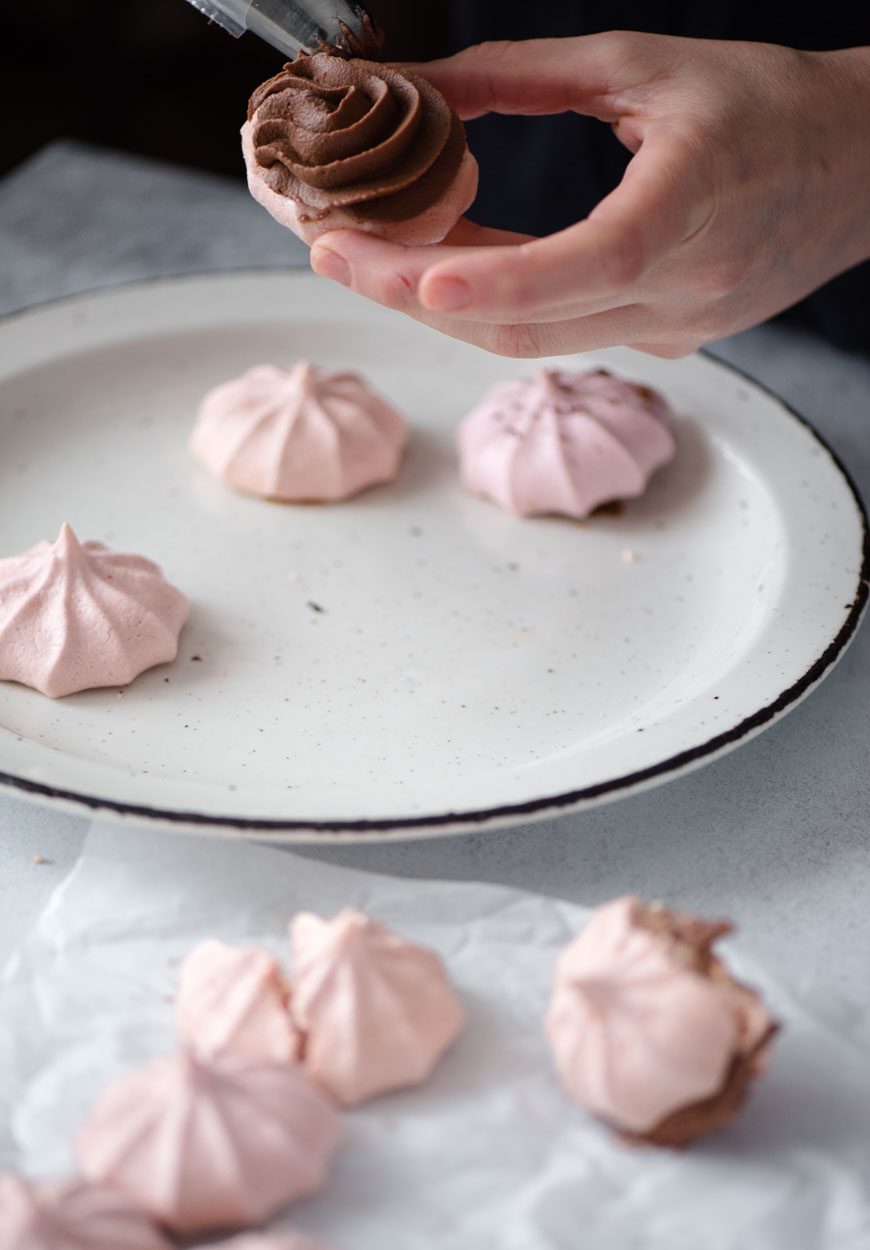
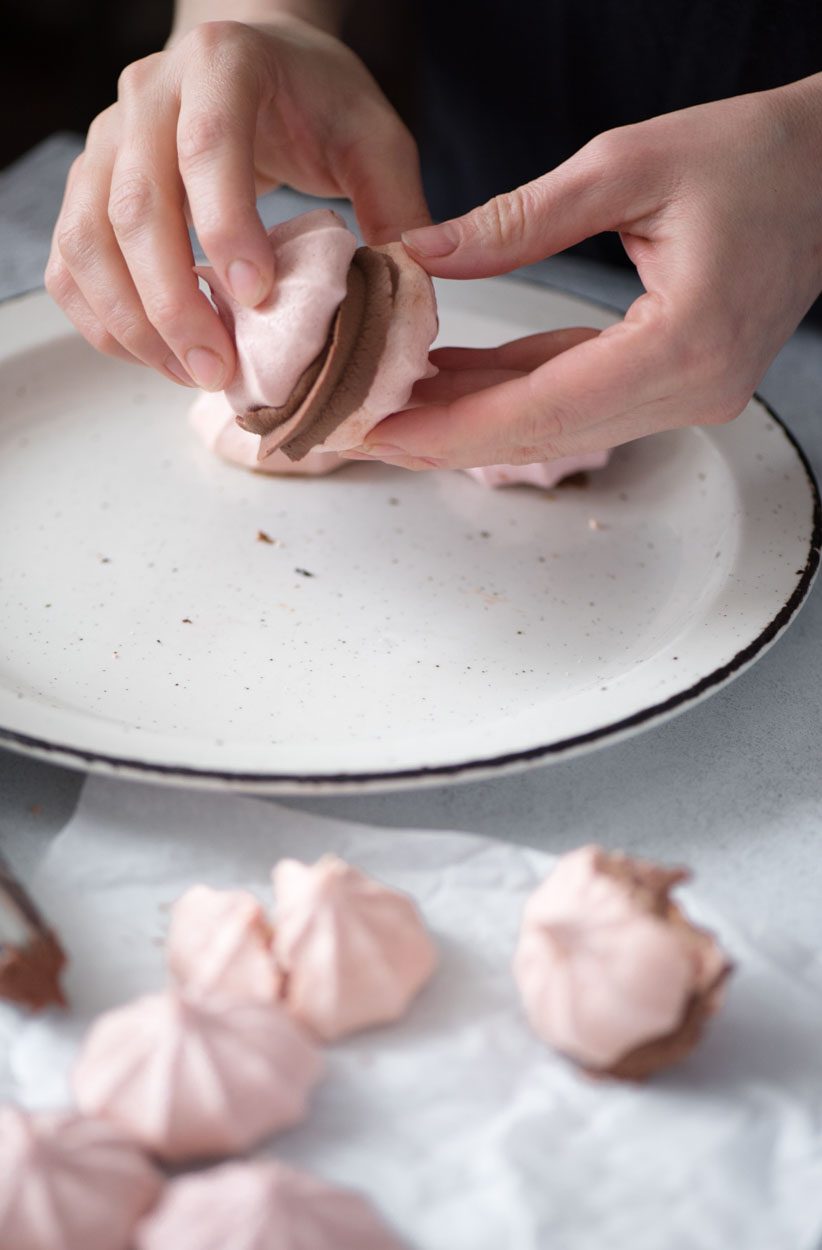
Yes! Let’s do. This fudge is d.lish.us!!! Like totally amazing want-to-eat-it-by-the-spoonful good! And ridiculously easy to make. You’ll have to dirty a small pot but that’s a small price to pay for whipped fudge am I right?!
These whipped fudge filled pink pavlova cookies are divine!! Let me know what you think as always anytime here and on my social media pages Instagram and Facebook. And please remember to rate and comment because that helps me and all of you out! Thank you, my friends :)
Happy pavlova making! xx
Recipe
Fudge-Filled Pink Pavlova Cookies
- Dairy-Free
- Gluten-Free
- Egg-Free
- Nut-Free
Fudge-Filled Pink Pavlova Cookies are the easiest and tastiest treats you'll make! Perfect for any occasion. Made free from dairy, egg, soy, nuts, wheat/gluten, fish/shellfish, mustard, sesame. Learn how to make these cookies below and enjoy a delicious dessert that's as fun to make as it is to eat!
- Prep
- 15 mins
- Cook
- 2 hrs
- Total
- 2 hrs 15 mins
- Serves
- 18 cookie sandwhiches
Ingredients
Fudge Filling
Instructions
To make Pink Meringue Cookies
- 1Preheat oven to 375F. Line baking sheet(s) with parchment paper. Set aside.
- 2In a stand mixer using the whisk attachment, whip the chickpea brine on high until pale white and frothy, about 3 minutes.
- 3Continue beating and add sugar, a tablespoon at a time, waiting 30 seconds to 1 minute in between each addition, to ensure sugar dissolves. As you get closer to using up all the sugar, you'll notice your meringue taking shape and once all sugar is used up, your meringue should/will look glossy white and stiff peaks will form.
- 4Reduce mixer speed to medium, and add lemon juice. Allow to whip for about 5-10 seconds. Continue whisking on medium and add cornstarch, 1 tablespoon at a time. Finally, add beet powder and continue whisking until meringue turns a pretty pale pink.
- 5Put the meringue in a piping bag fitted with a star tip and pipe cookie rounds on the prepared baking sheets. Continue until all of the meringue is used up. Alternatively, you can also use two tablespoons and place even dollops of meringue on the parchment paper - if you don't have a piping bag available.
- 6Place baking sheets preferably on the middle racks (see notes) in the preheated oven, then immediately drop the oven temperature to 225F. Bake meringue cookies for 2 hours then turn oven off and leave the cookies in the oven overnight to dry (or minimum 4-6 hours). DO NOT OPEN THE OVEN DOOR AT ANY TIME WHILE COOKIES ARE BAKING ( and even afterwards)!
- 7Remove from oven and enjoy as is or fill with creamy whipped fudge filling!
To make Whipped Fudge Filling
- 1Place chocolate chips in a large bowl. Set aside.
- 2In a small bowl, whisk together milk, starch, and salt until combined and there are no lumps. In a small saucepan, add milk mix, coconut oil, and honey. Heat on medium heat and whisk until oil has dissolved and ingredients are combined. About 1-2 minutes.
- 3Pour the hot milk mixture on top of the chocolate chips and whisk well to combine ingredients.
- 4Then, using either a hand or stand mixer with the whisk attachment, whisk chocolate sauce until completely silky smooth and the bowl feels cool to the touch, about 5 or so minutes.
- 5Cover bowl and place in the fridge to let cool completely and set. Minimum 45 minutes - 1 hour. You'll know it's ready when the chocolate looks thickened.
- 6Remove from fridge and beat again (using the whisk attachment) on high speed for a few minutes. Then add first teaspoon of starch, allow to mix fully with the chocolate, then add the other teaspoon of starch and continue whisking until chocolate turns a beautiful brown and thickens up to the perfect piping consistency. 1-3 minutes.
To assemble
- 1Place chocolate filling in a piping bag fitted with a round or star tip, and pipe half of the cookies. Top with the remaining cookies to create a cookie sandwich! Serve or store at room temperature.
Notes
Superfine sugar is also known as caster sugar. So if you have that at home, that's what you'll need for this recipe. I don't have castor sugar at home so I grind the sugar in my vitamix (or use a food processor) until the crystals become very fine. 1/2 cup of sugar yields approximately 11 tablespoons of superfine or castor sugar. To ensure a perfect meringue cookie, make sure you leave them in the oven uninterrupted until they've had the chance to fully dry. That's why I recommend making them the night before. That way they'll be ready for you the next day and your oven won't be occupied ;) This is definitely a make-ahead dessert. You can make the cookies up to a week or two in advance and they'll be perfect when you want to enjoy one or a dozen. Keep in mind that this is dependent on where you live, what season (winter/summer), and the temperature and humidity levels in your home. I've left some of mine uncovered at room temp and they were perfect even three weeks later. I made them in the winter (when this recipe was published)! So my house was dry and on the cooler side :) In the summer however, keeping them in a cool dry place, like a basement, and covered would be best to help them stay perfect and keep their texture. If you find your chocolate filling not pipe-able after the re-whipping stage because it's still a bit too soft, it likely means that your filling didn't have enough time to chill in the fridge. So place back in the fridge to set completely. It will thicken right up once it's had the chance to cool and set. Pipe or use a teaspoon to scoop chocolate filling and add to cookies as instructed. The reason you want to use the middle racks to bake your meringue cookies is primarily for the color. I noticed that the baking sheet that was place on the bottom rack yielded a more peachy cookie color because it likely received more heat than the baking sheet that was placed on the middle rack. If you don't care too much about the color then don't worry about the placement of your baking sheets. And if you're not going to color the meringue pink, then there's definitely no need to place on the middle rack. Middle and bottom will work perfectly. I used up my oven racks so that I didn't have to wait even longer to bake the rest. The peach color didn't bother me at all. But thought you should know so you're aware. :) Drying time: 6 hrs Calories: 119 kcal