Nanaimo Squares
By Laila ·
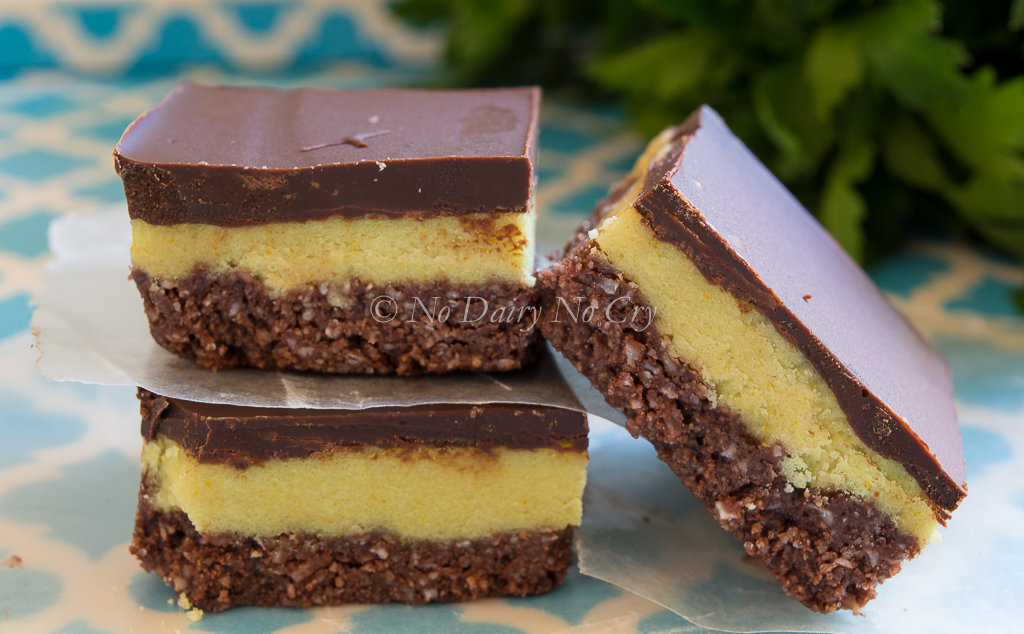
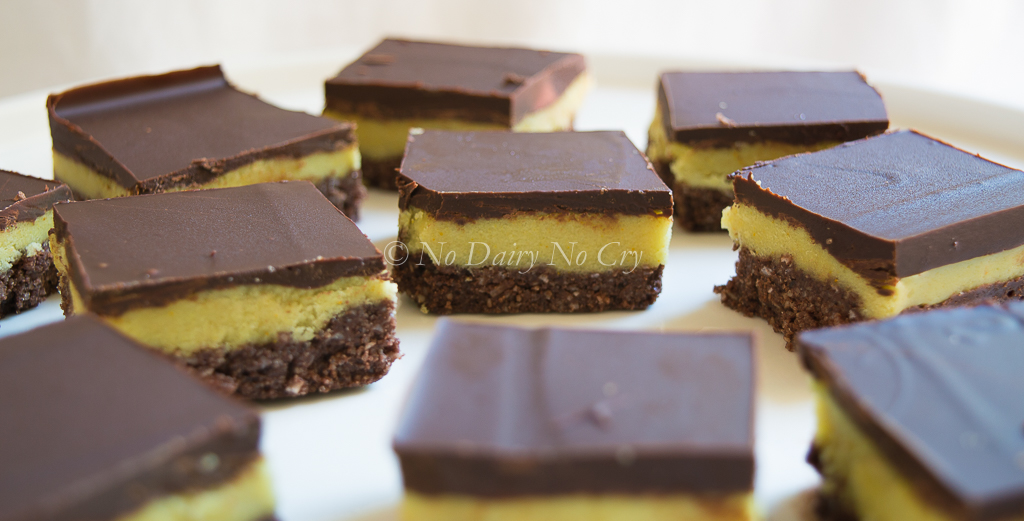
Tastes just like the real deal, without the unneeded extras. And it's quick to make.
FREE FROM: dairy, egg, gluten, soy, wheat, peanut, fish, shell fish, animal product, animal by-product.
I didn’t realize it had been over 7 months since I first made these amazing Nanaimo Squares! I’d decided to make them when the family and I went out to a vegan restaurant in the city to enjoy some of their vegan and nut-free desserts. One of them happened to be a Nanaimo bar that Munsur was obsessed over. (The restaurant has since changed its menu.)
So naturally I set my sights on making the best Nanaimo bar my kids would ever lay their little fingers on. Having never tried one, I ran to the counter and bought the very last piece they had left that day! Taking one small bite at a time, I wrote down everything I tasted in that bar.
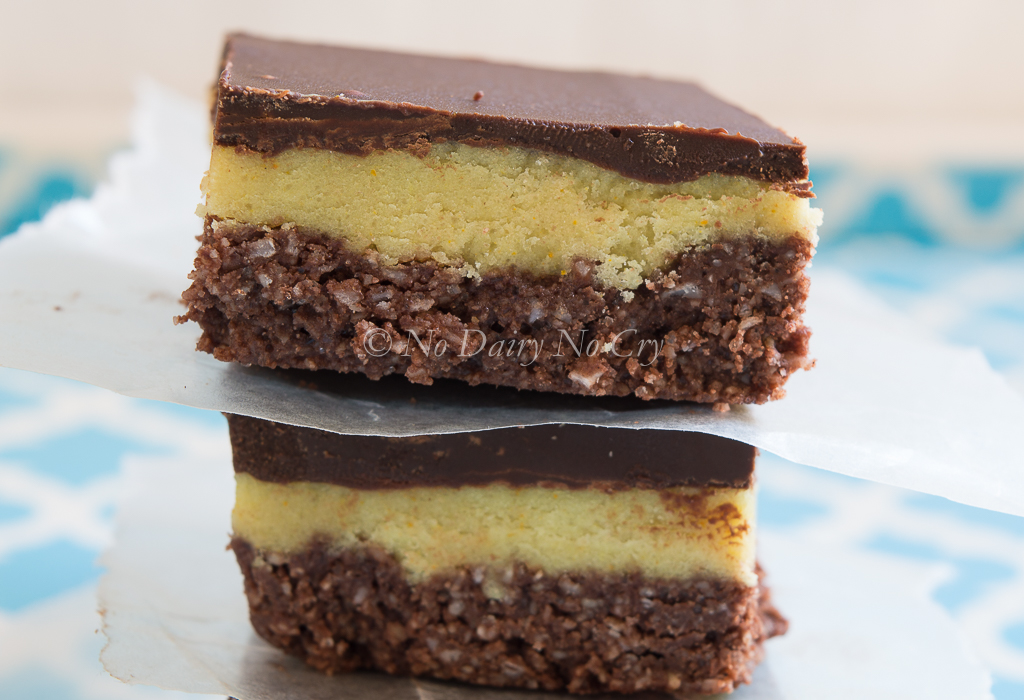
The results of my first attempt went down as follows. The taste was bang on. But. The chocolate melted as soon as you touched it and I added too much oil to the recipe. I had Munsur try it to which he said “it’s goooood, but I don’t like it.”
Bummed as I was at that moment, I wasn’t going to let my little man’s comment deflate my spirits. If anything I was glad he was honest about the whole thing.
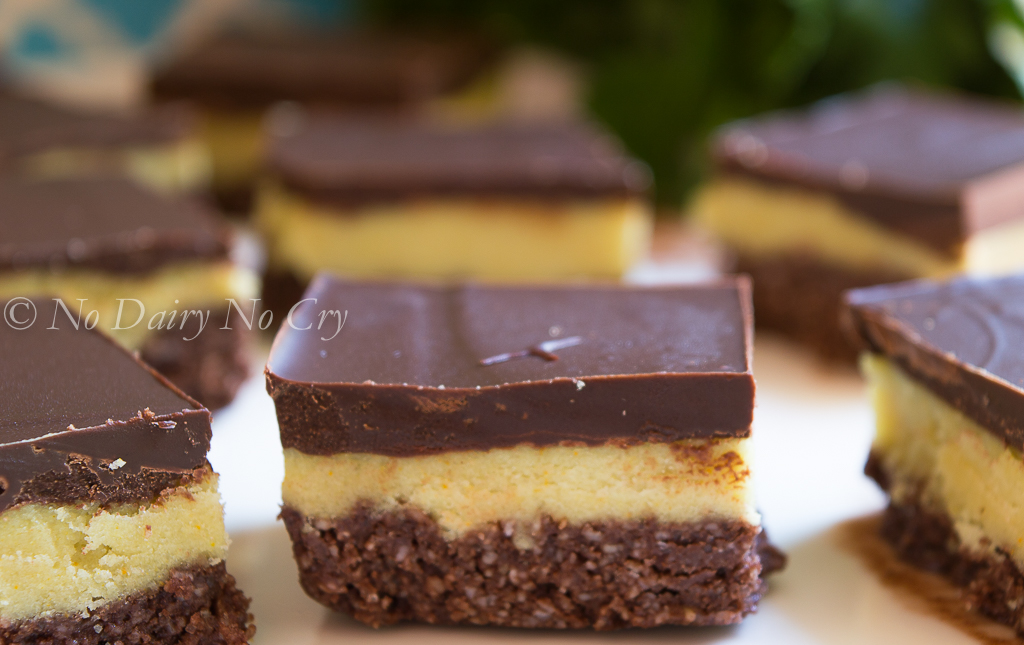
Since then, I got busy making and concocting many other recipes and it wasn’t until a couple of weeks ago that I’d decided I’d give this Nanaimo squares business another go! One of my girlfriends was hosting a dinner and I thought this would be the perfect time to make it! I had 8 couples to test my recipe on so of course it was happening.
The second attempt was a perfect one! It tasted exactly like a regular dairy and egg filled Nanaimo bar (says my friend who’s apparently a Nanaimo connoisseur).
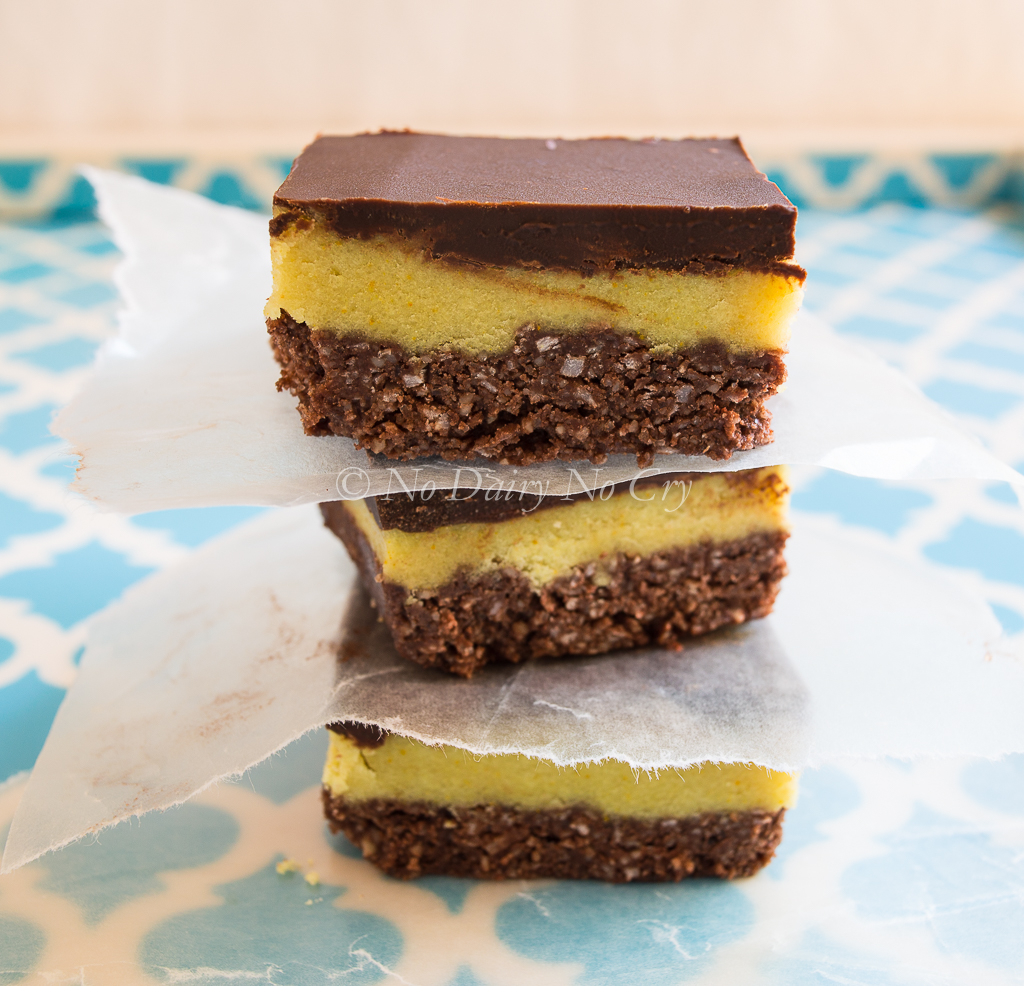
And this my friends is probably the healthiest Nanaimo you’ll have. It has cocoa, almonds, coconut, coconut oil, and the immune booster turmeric! That’s right, this dessert is naturally coloured using a spice that’s known to have anti-inflammatory properties and is a very strong antioxidant too…so I want to say that’s as healthy as you’re gonna get!
This yummy dessert can be prepared and assembled in minutes and ready to serve in less time than it would take you to decide what to make for dinner. Serve this at your next gathering with confidence. :)
Recipe
Nanaimo Squares
- Vegan
- Dairy-Free
- Gluten-Free
- Egg-Free
Tastes just like the real deal, without the unneeded extras. And it's quick to make.
- Prep
- 5 mins
- Total
- 1 hr 30 mins
Ingredients
Bottom layer
Middle layer
Top layer
Instructions
- 1Line an 8x8 baking pan with parchment paper. Set aside.
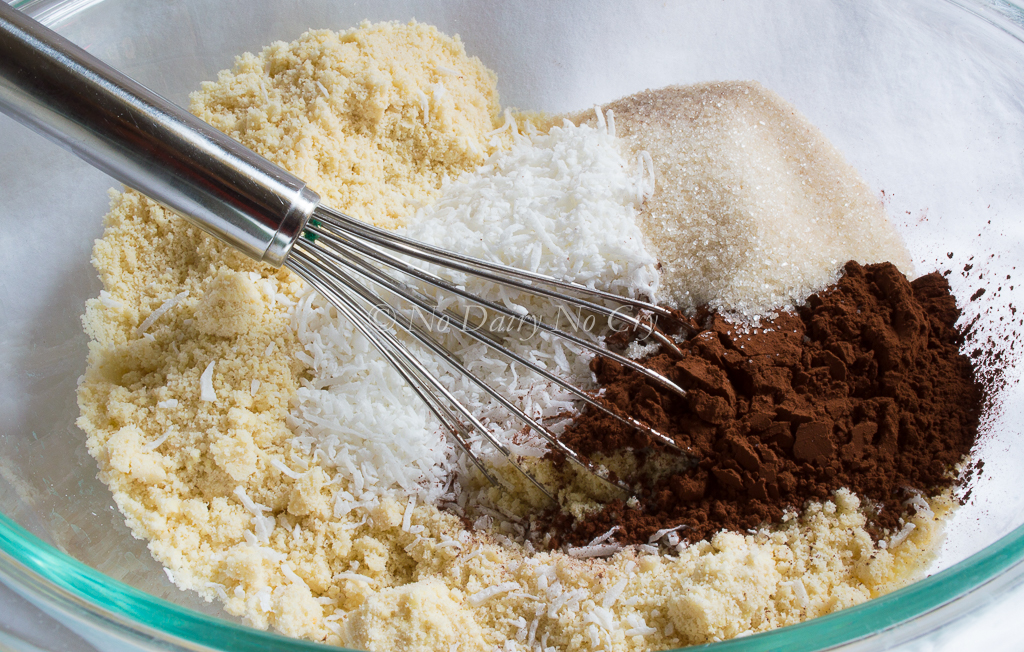
- 2Starting with the bottom layer, mix all dry ingredients in a bowl. Add softened coconut oil and mix until fully incorporated.
- 3Add mixture to pan and press and spread until you get a nice even layer. Place pan in the freezer while you prepare the middle layer.
- 4In a small bowl, combine milk and cornstarch then place mixture in a pot on the stove and stir on medium heat until mixture thickens up slightly. Remove from heat.
- 5In another bowl, add sugar and add to that the thickened milk mixture. Whisk until sugar and milk are combined.
- 6Add coconut oil, vanilla, and turmeric powder and whisk until fully incorporated and mixture turns a beautiful yellow.
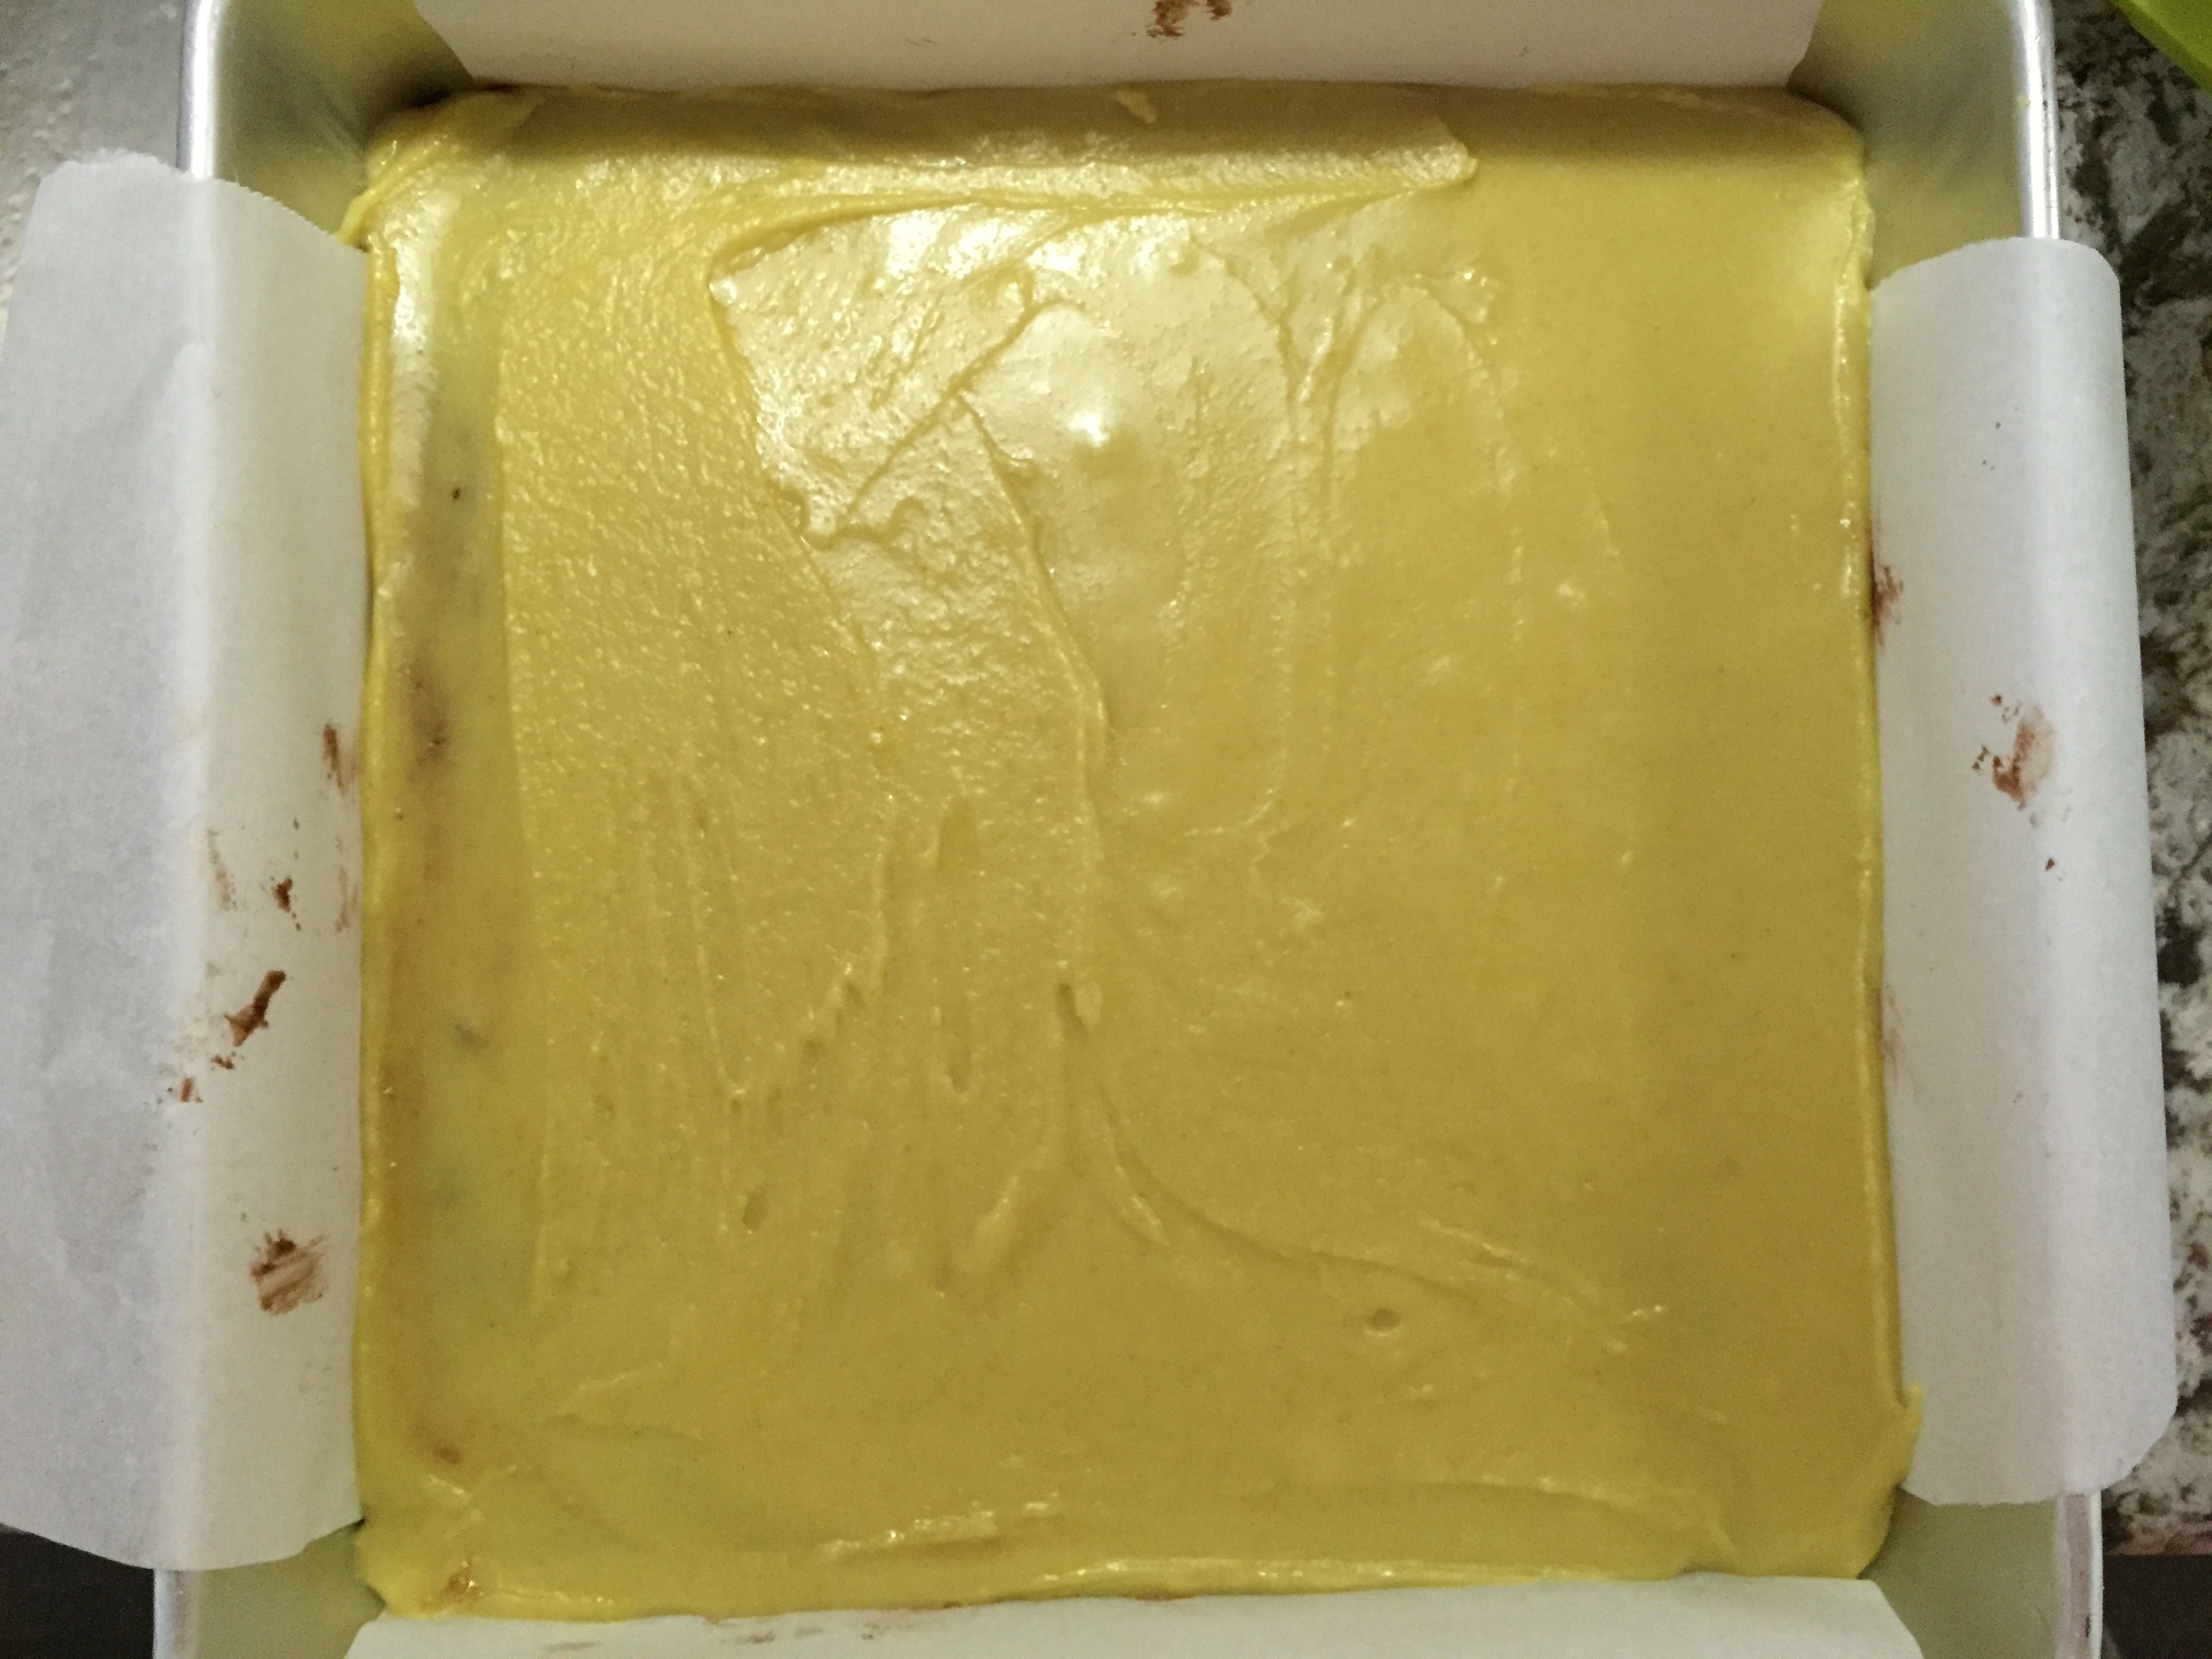
- 7Remove baking pan from the freezer and add middle layer to it. Spread evenly using either a spatula or an offset spatula. Return pan to freezer until you prepare your final layer.
- 8Using a double boiler, melt 1 cup of the chocolate over medium high heat - reserving the rest for later.
- 9Add coconut oil once chocolate has melted. Stir until fully combined.
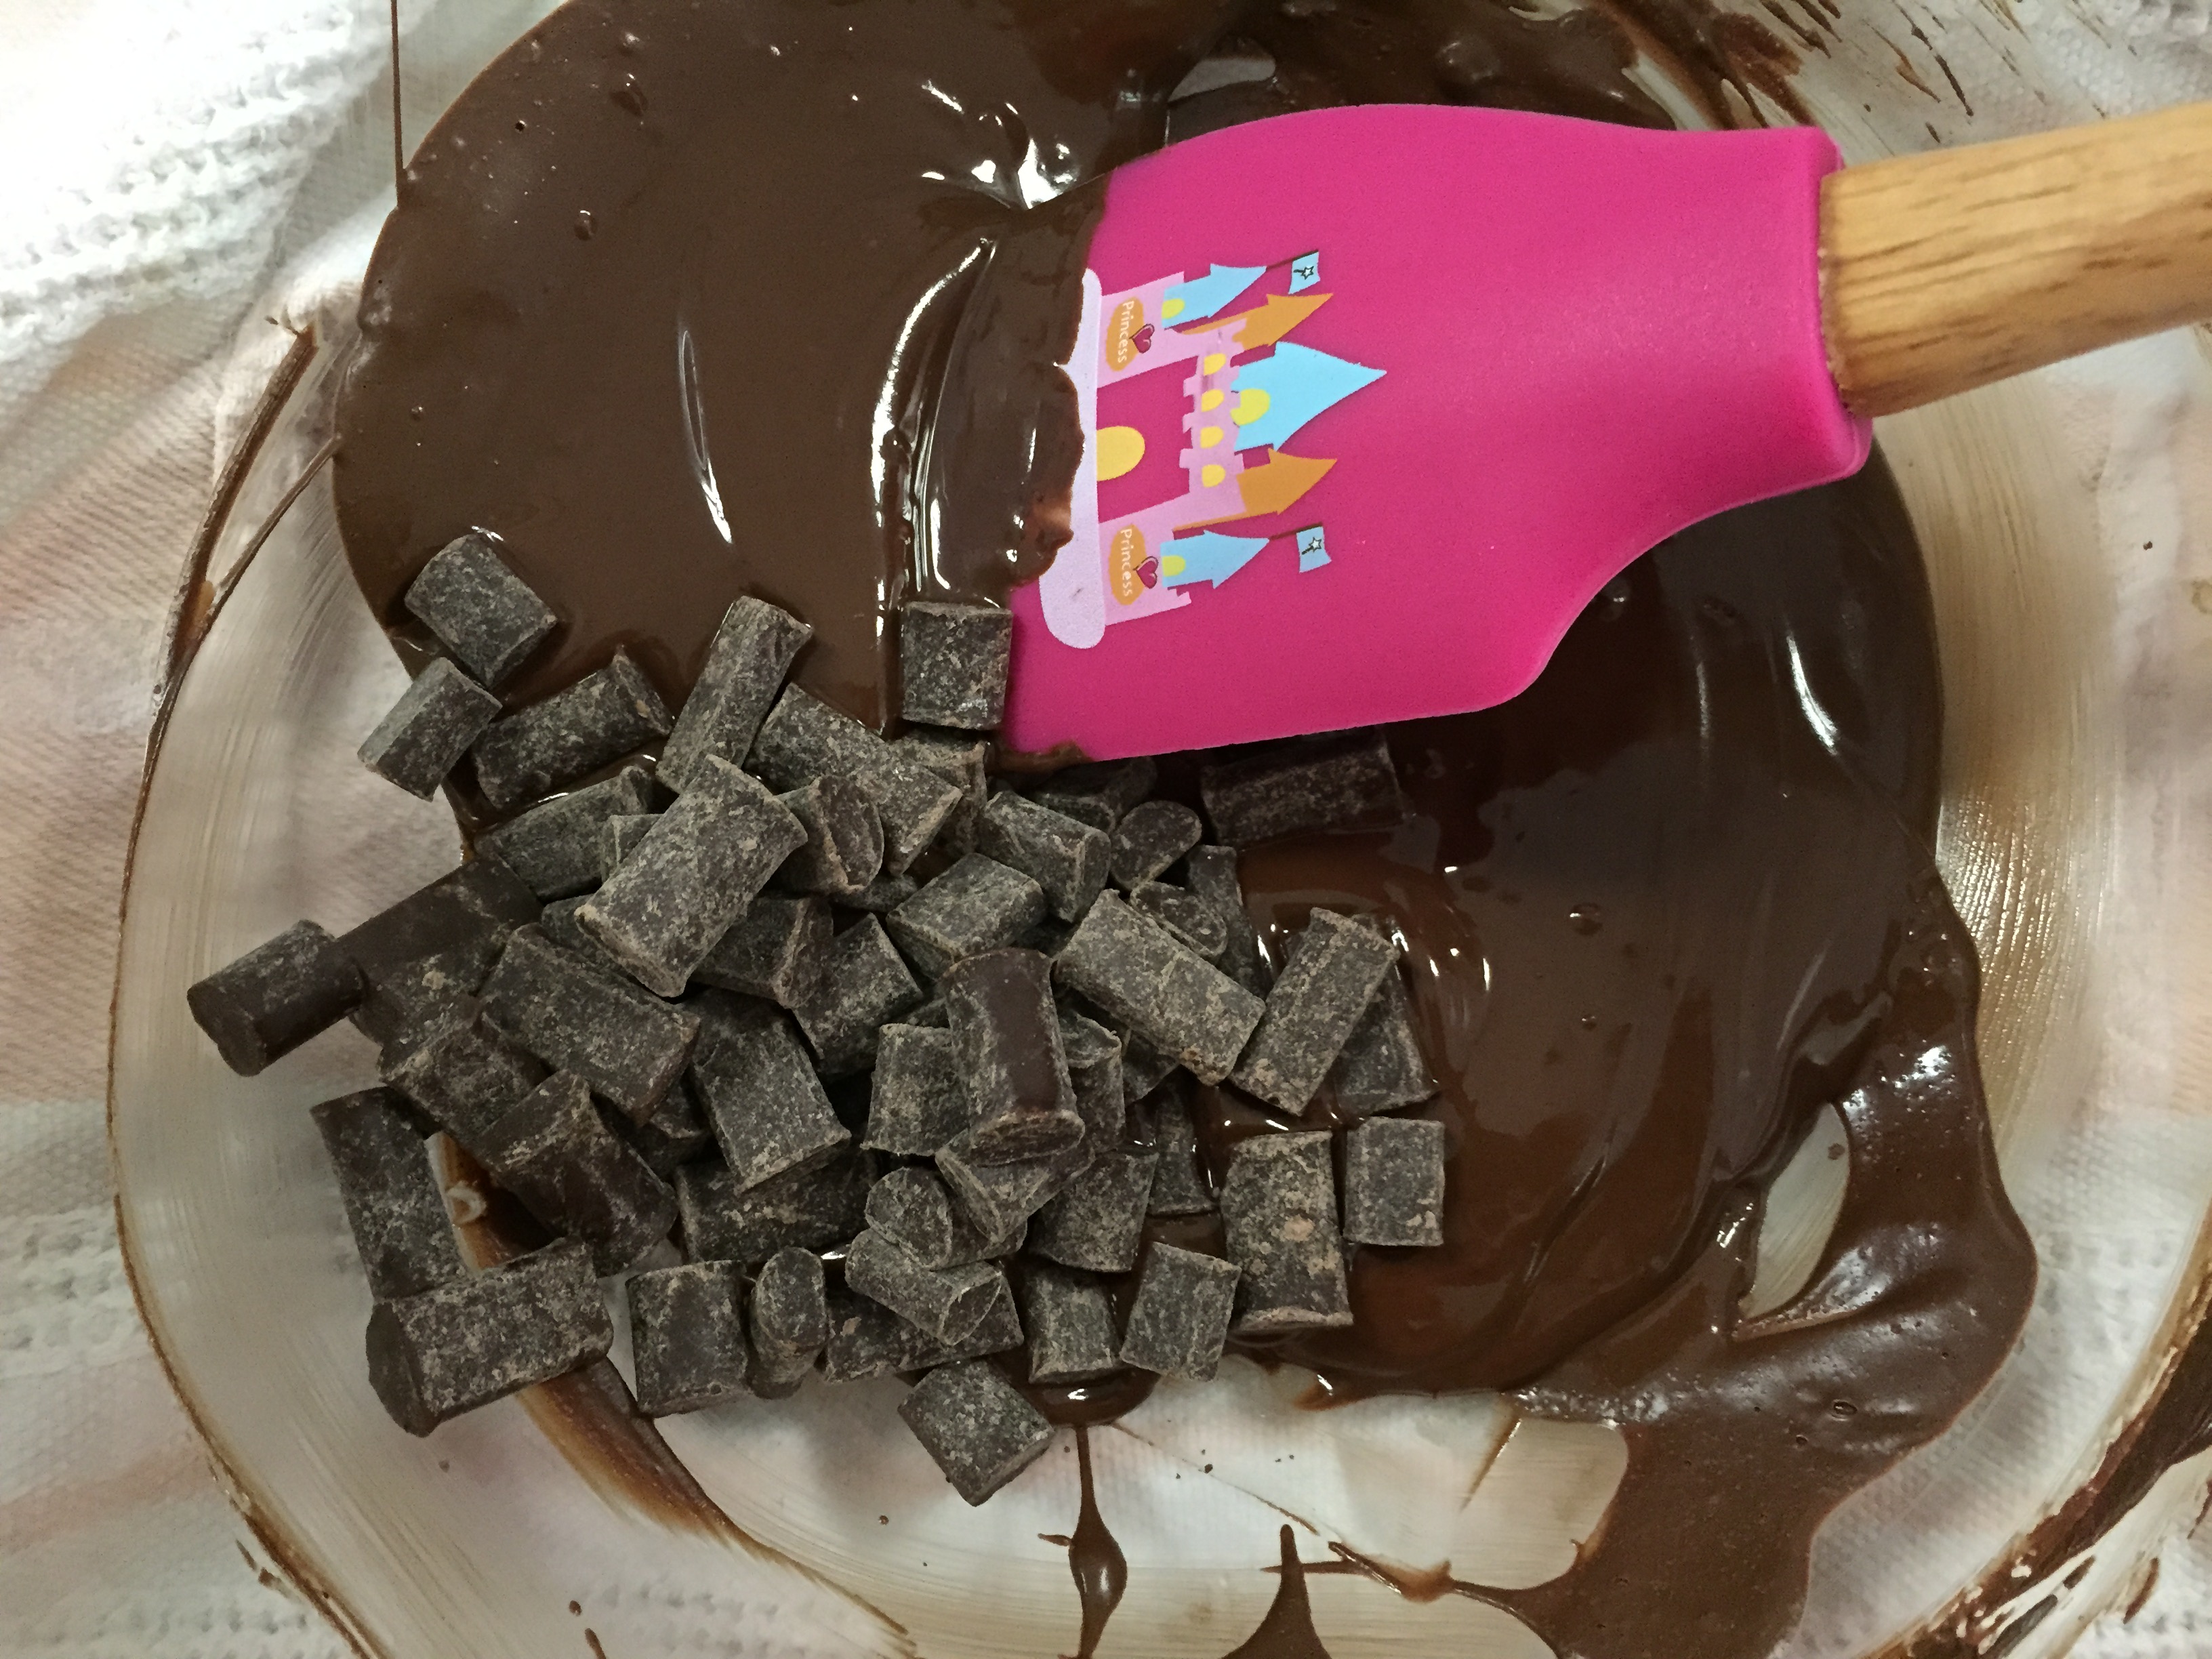
- 10Then, remove from heat and add remaining chocolate into the melted chocolate and stir until all of the chocolate has melted.
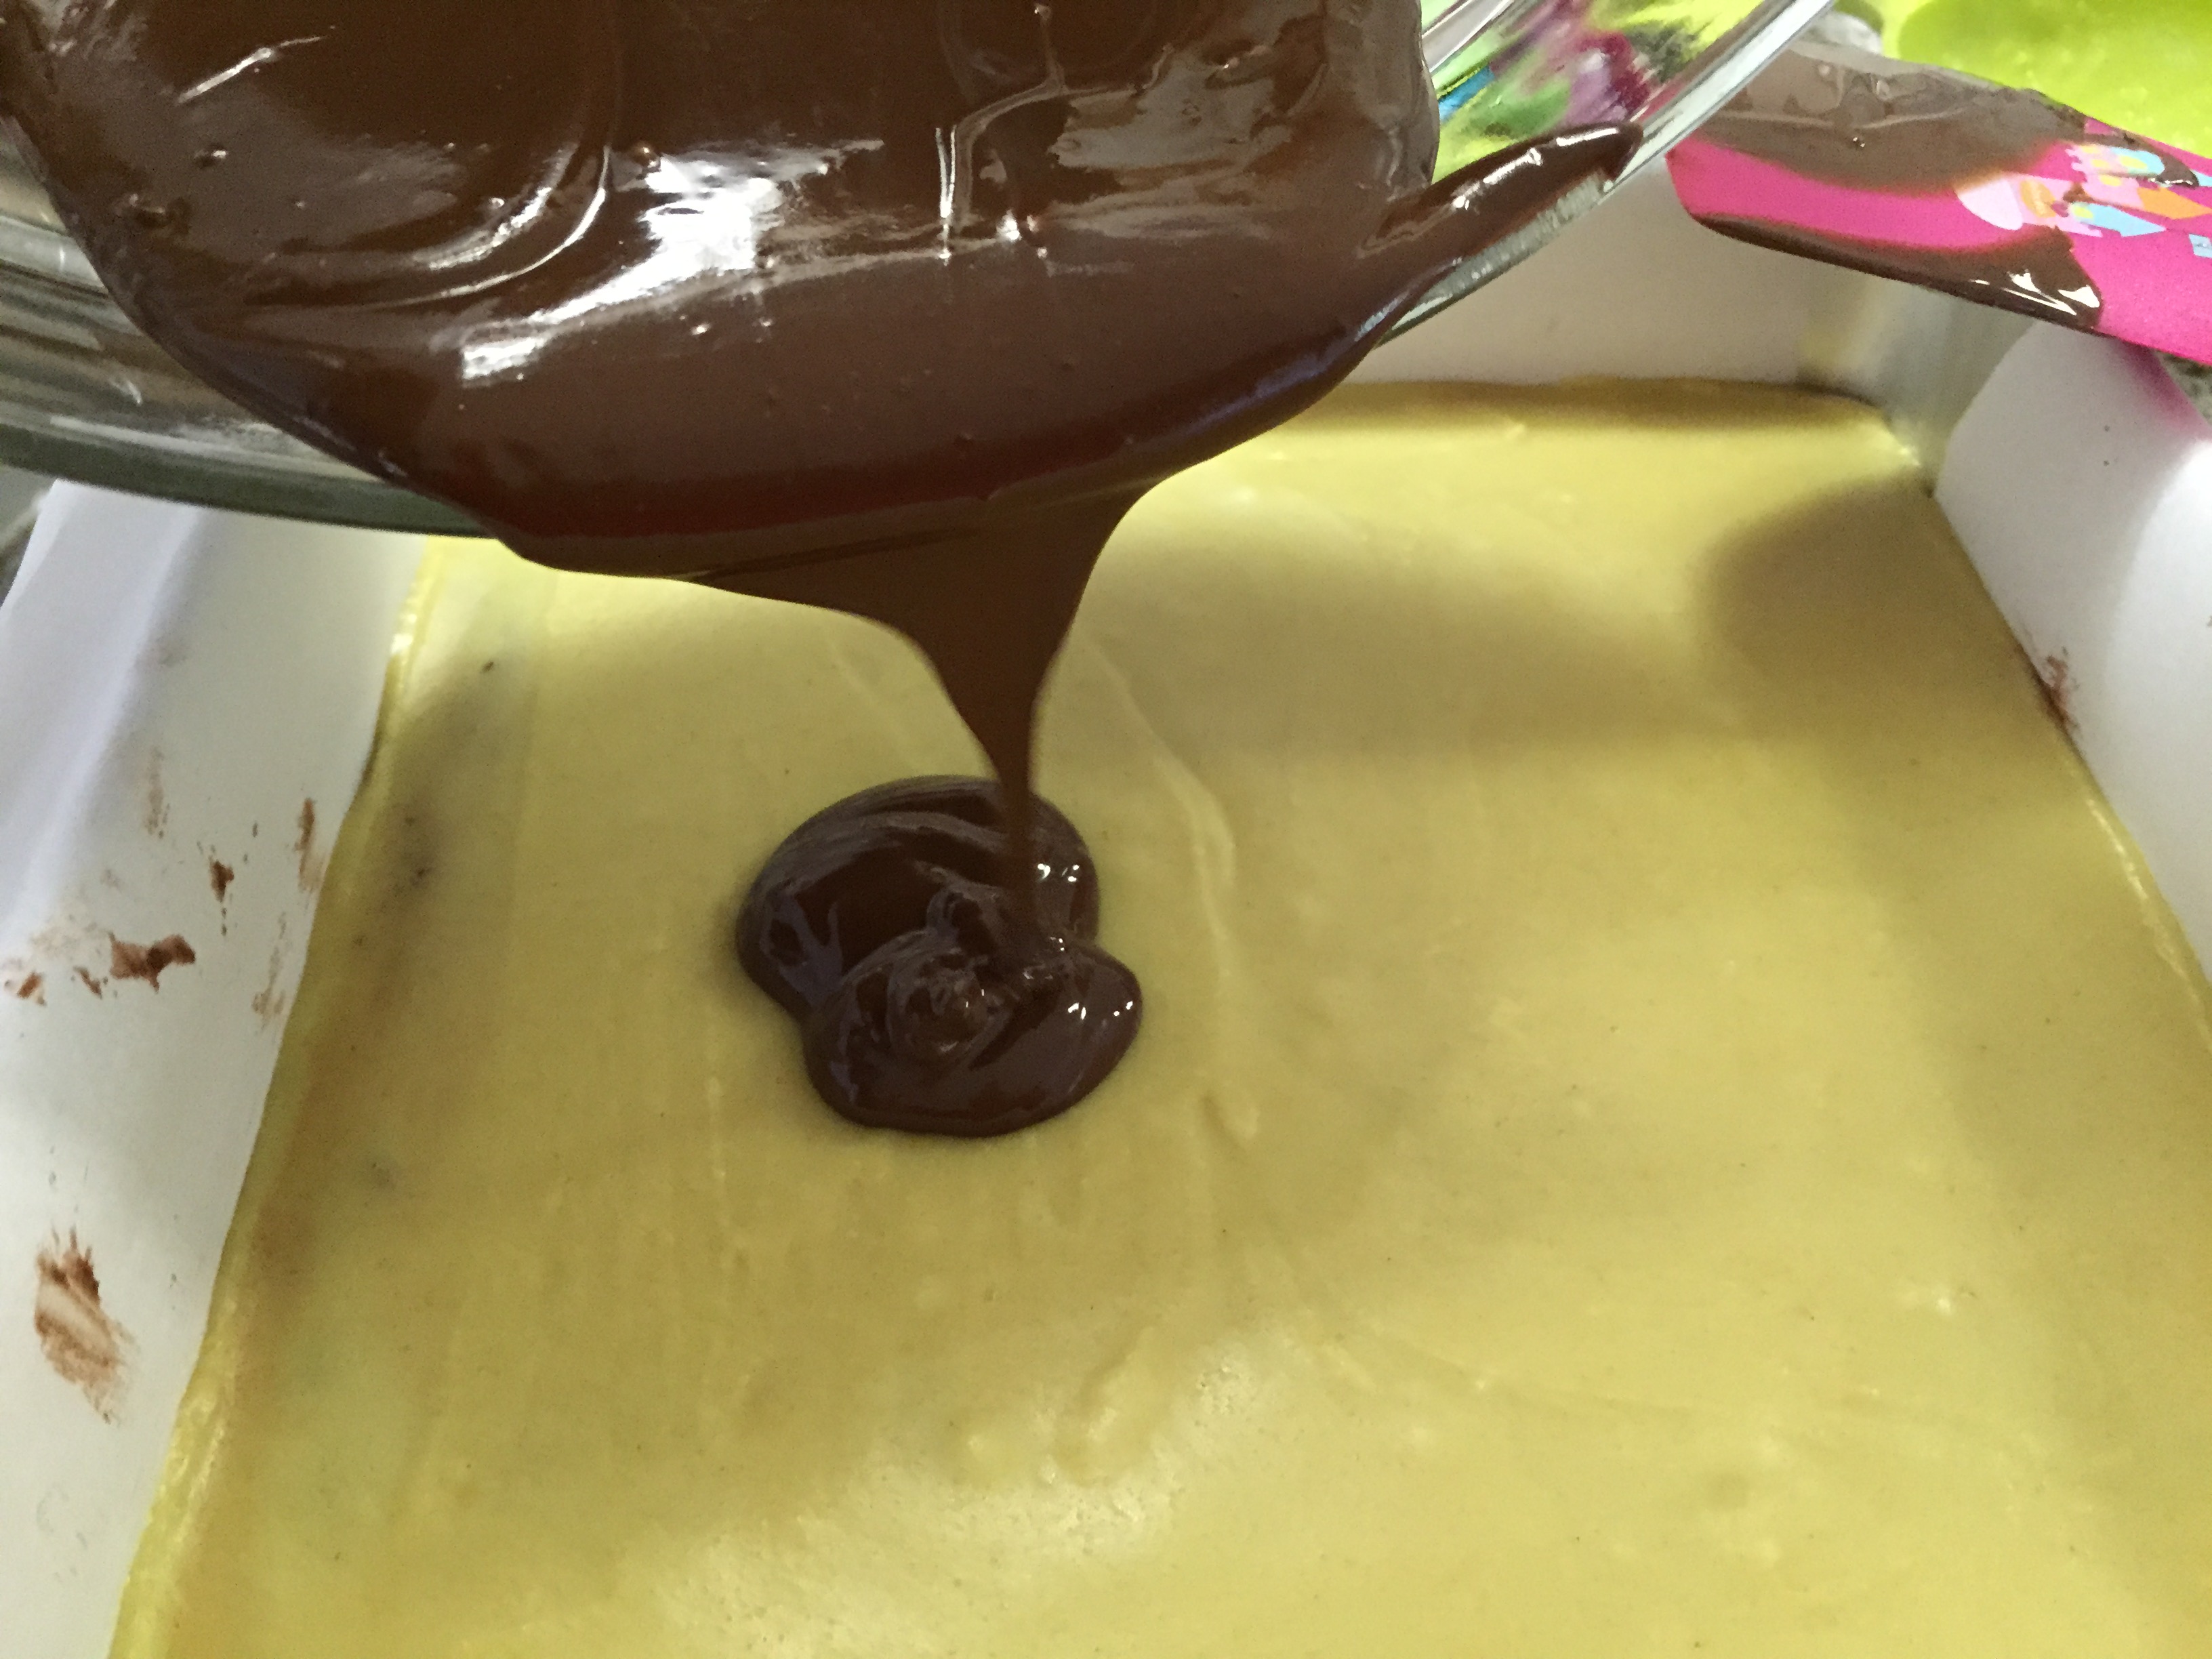
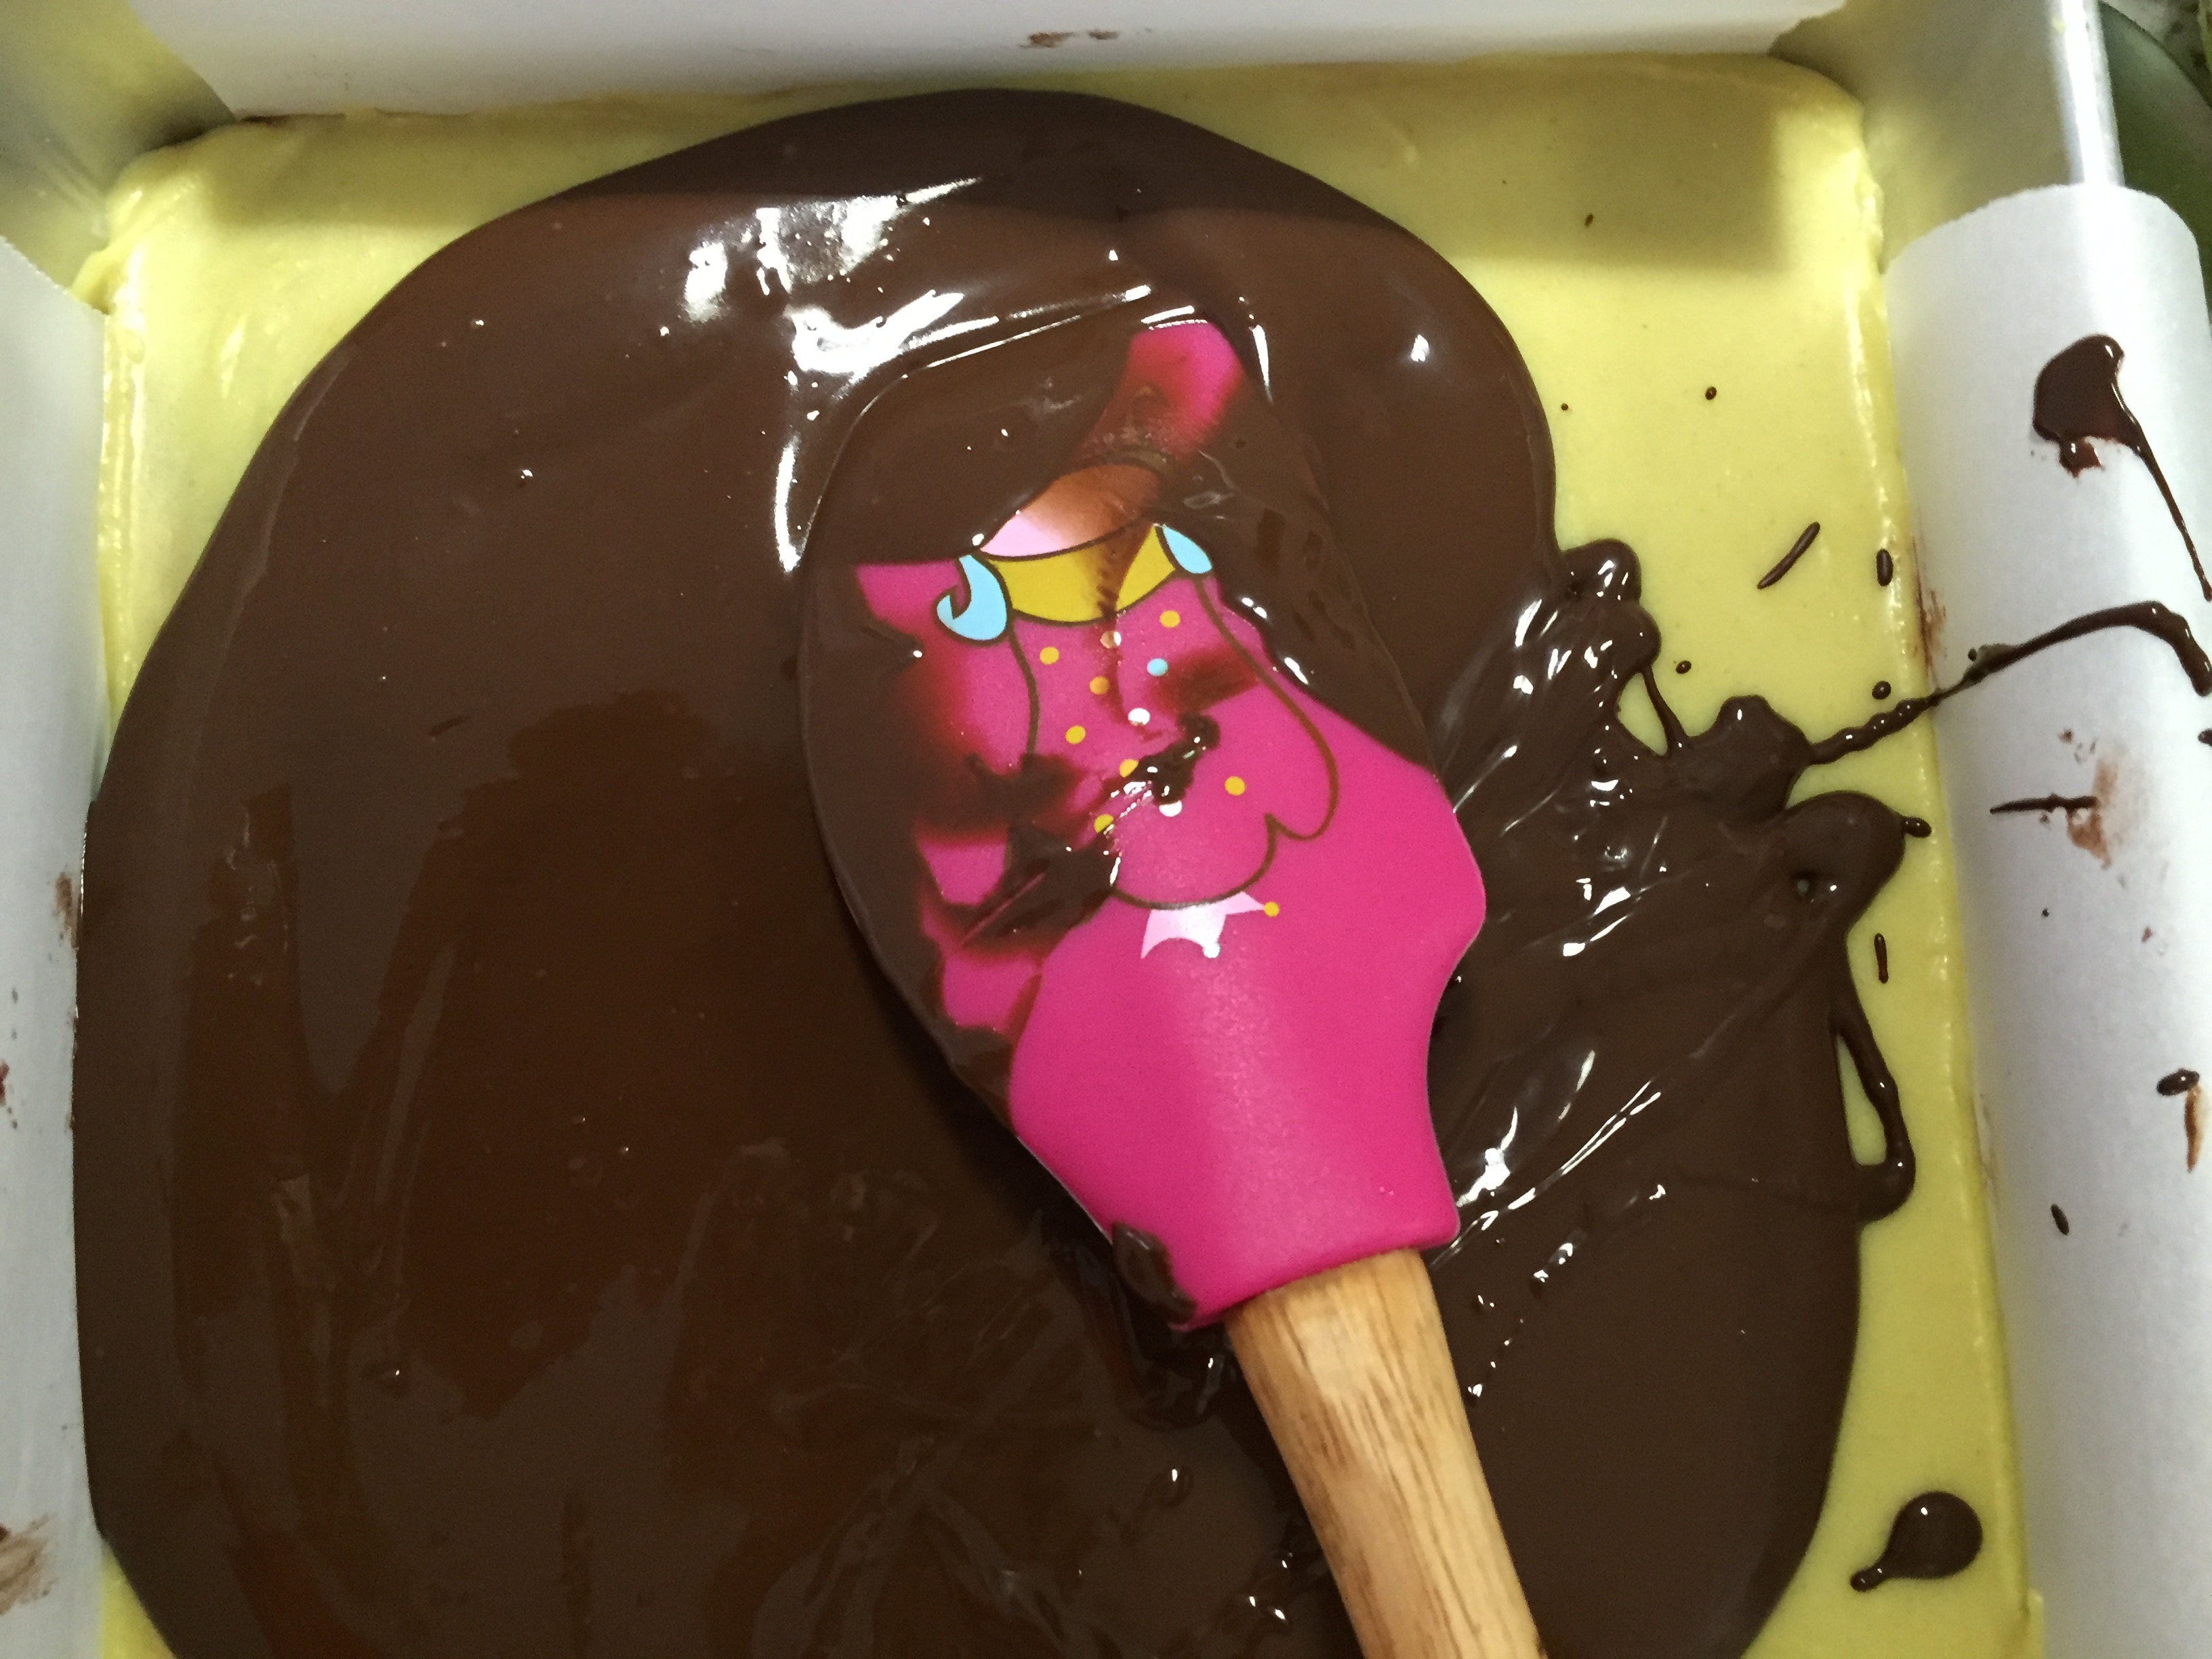
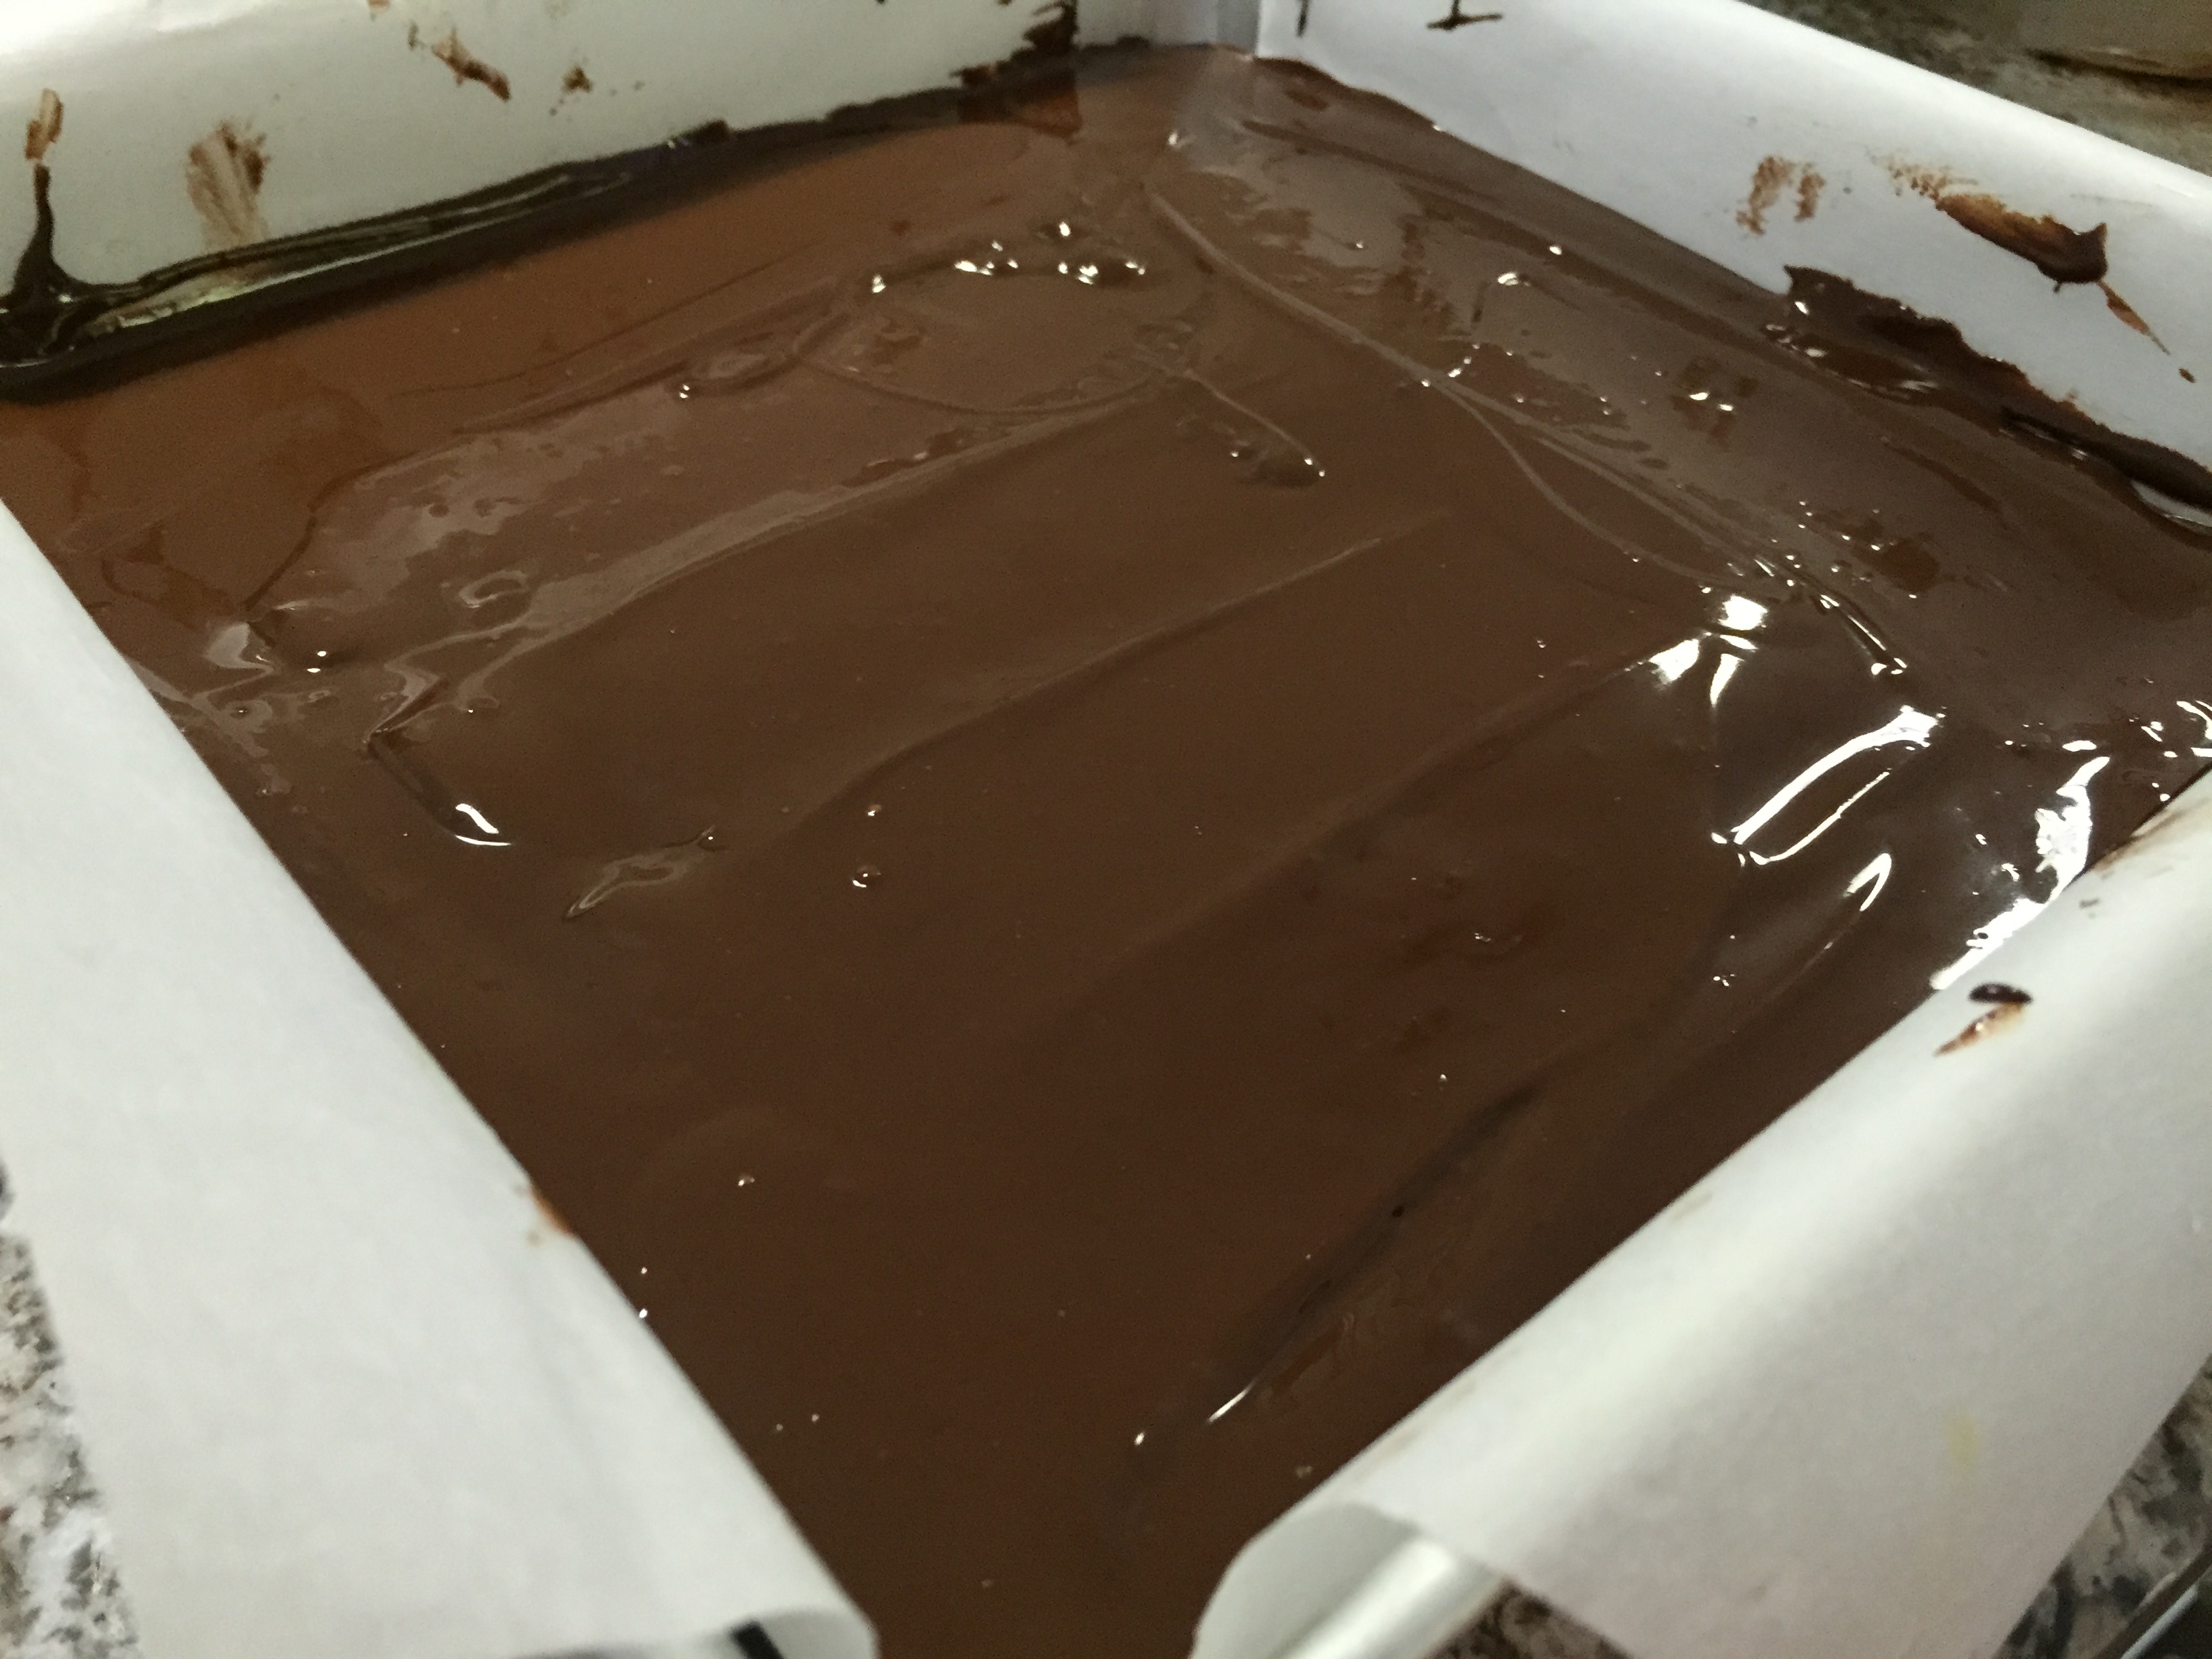
- 11Remove pan from the freezer and add the chocolate to create the last layer of the Nanaimo squares. Spread chocolate out evenly.
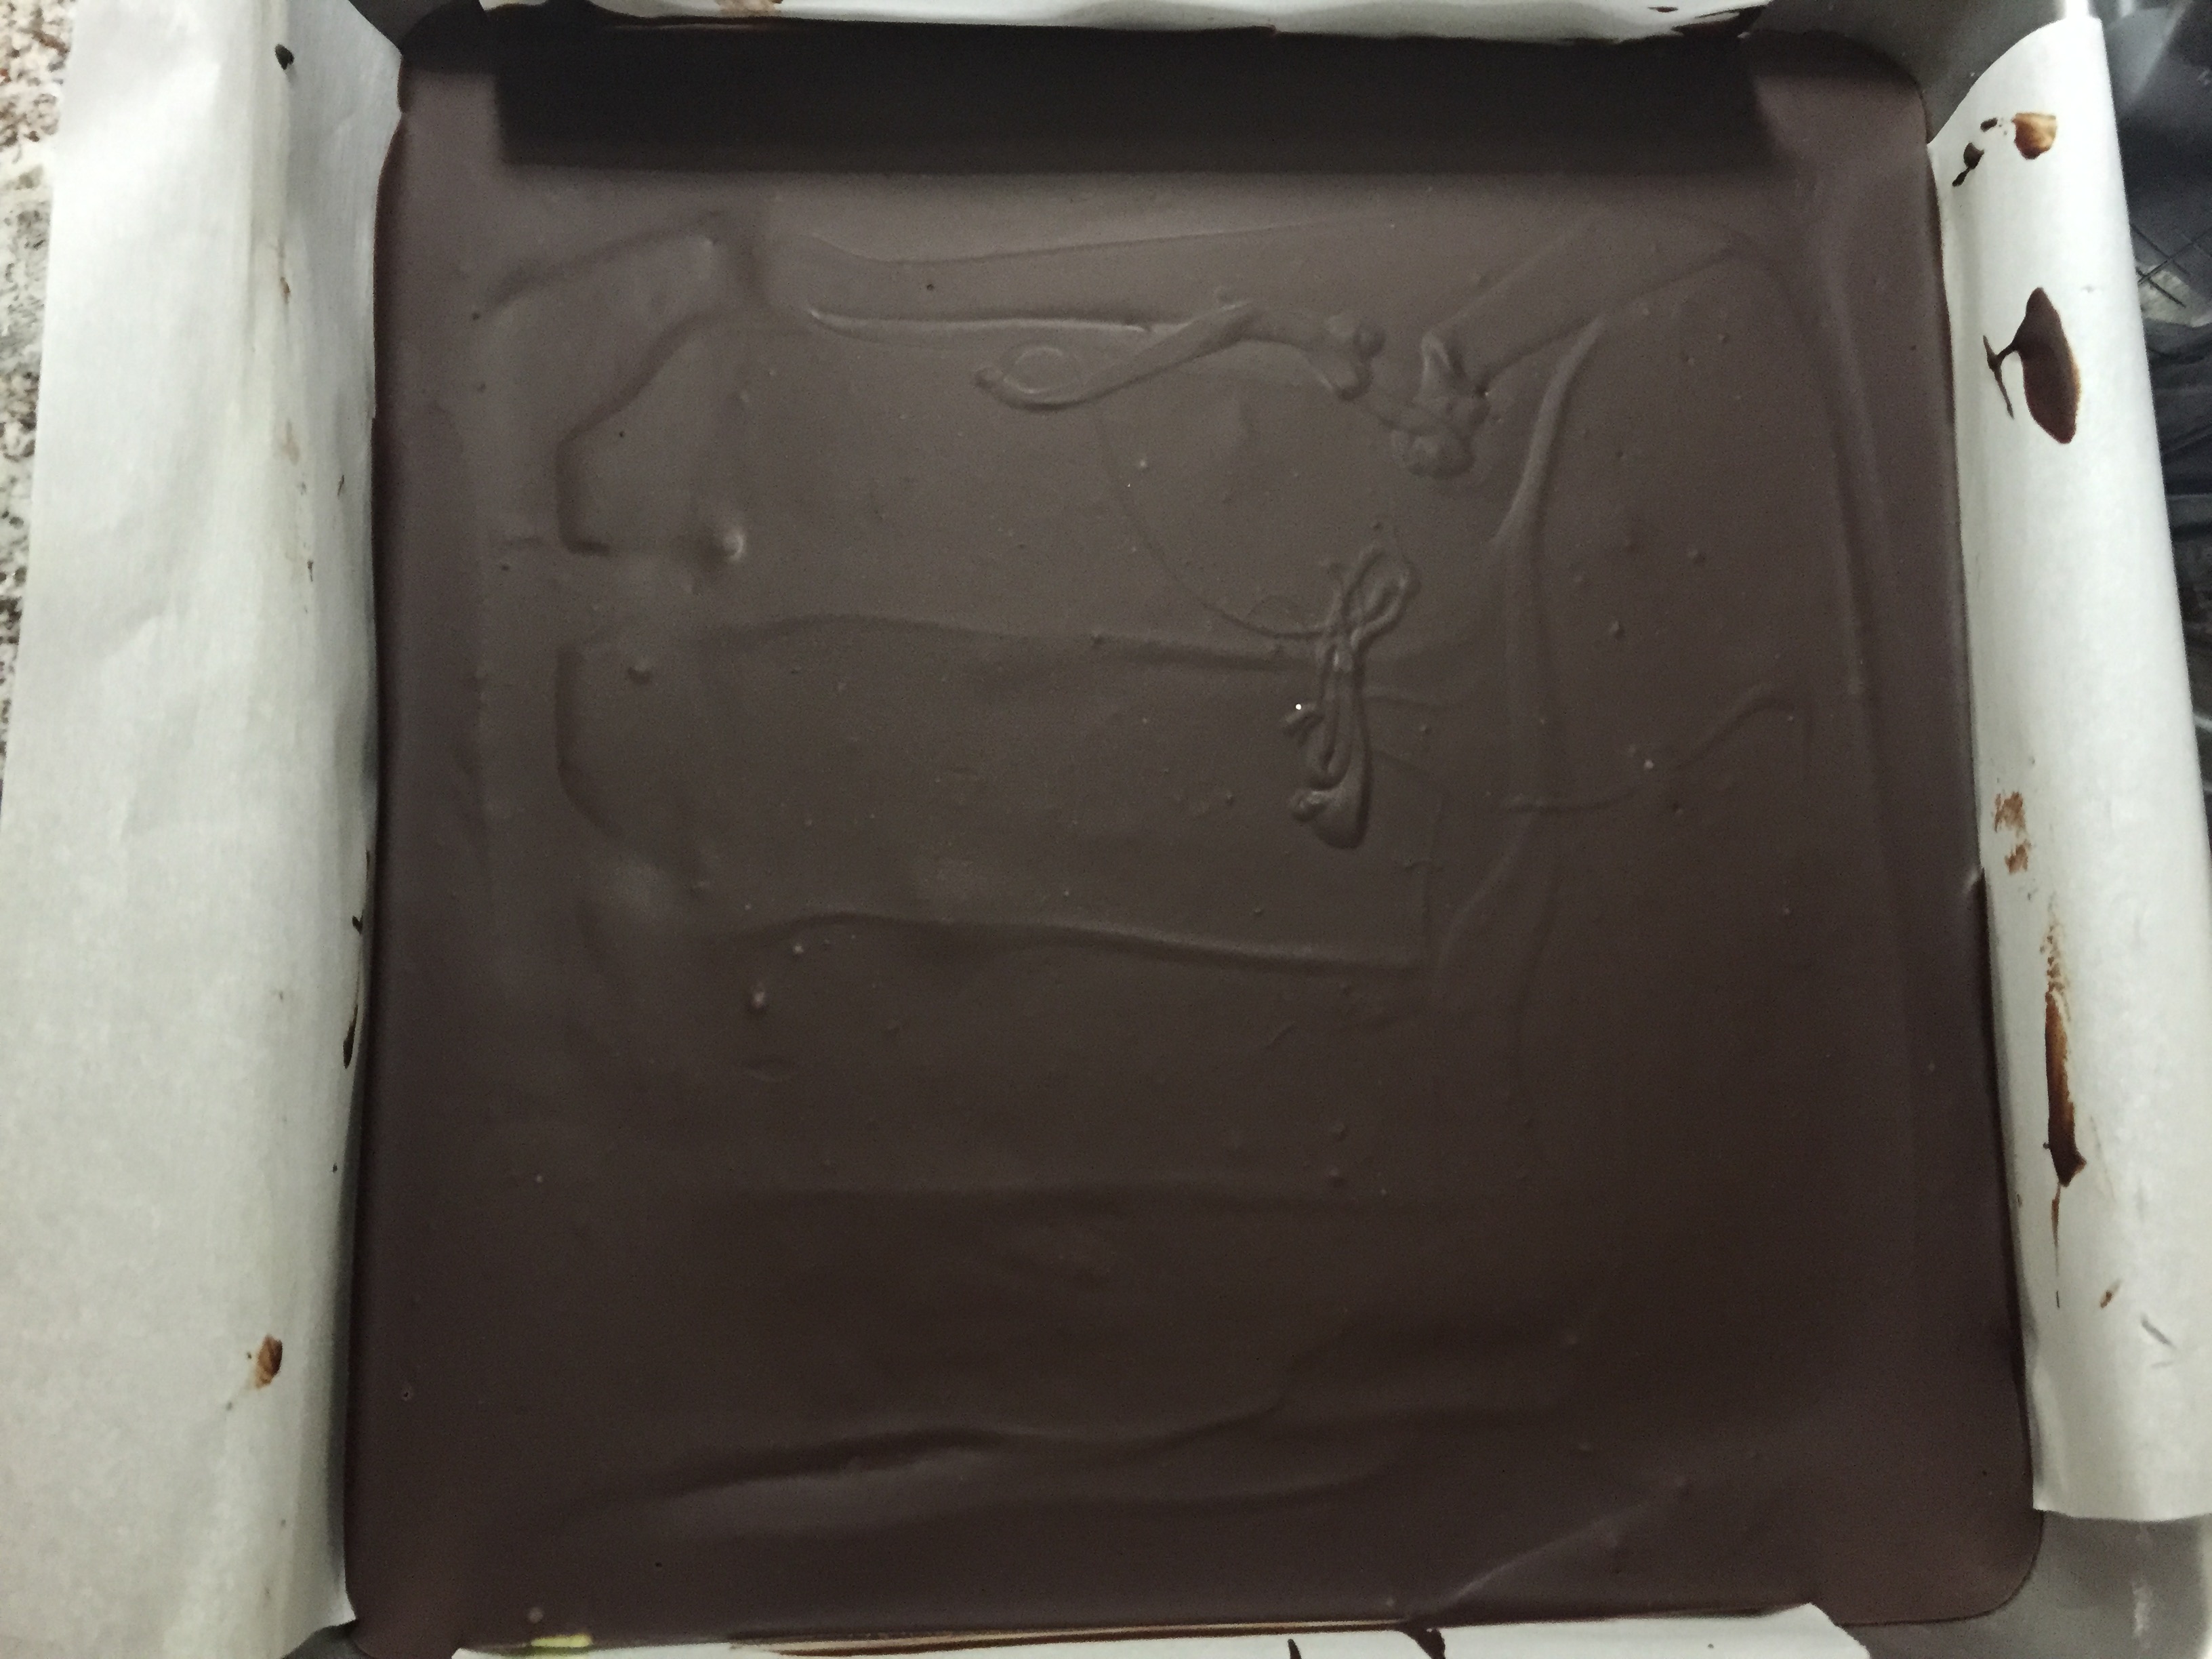
- 12Place in the fridge to set completely, approximately 1 1/2 hours+.
Notes
Depending on the size you cut, this recipe will yield anywhere from 20 to 25 squares.
Instructions
1. Line an 8×8 baking pan with parchment paper. Set aside.
2. Starting with the bottom layer, mix all dry ingredients in a bowl. Add softened coconut oil and mix until fully incorporated.
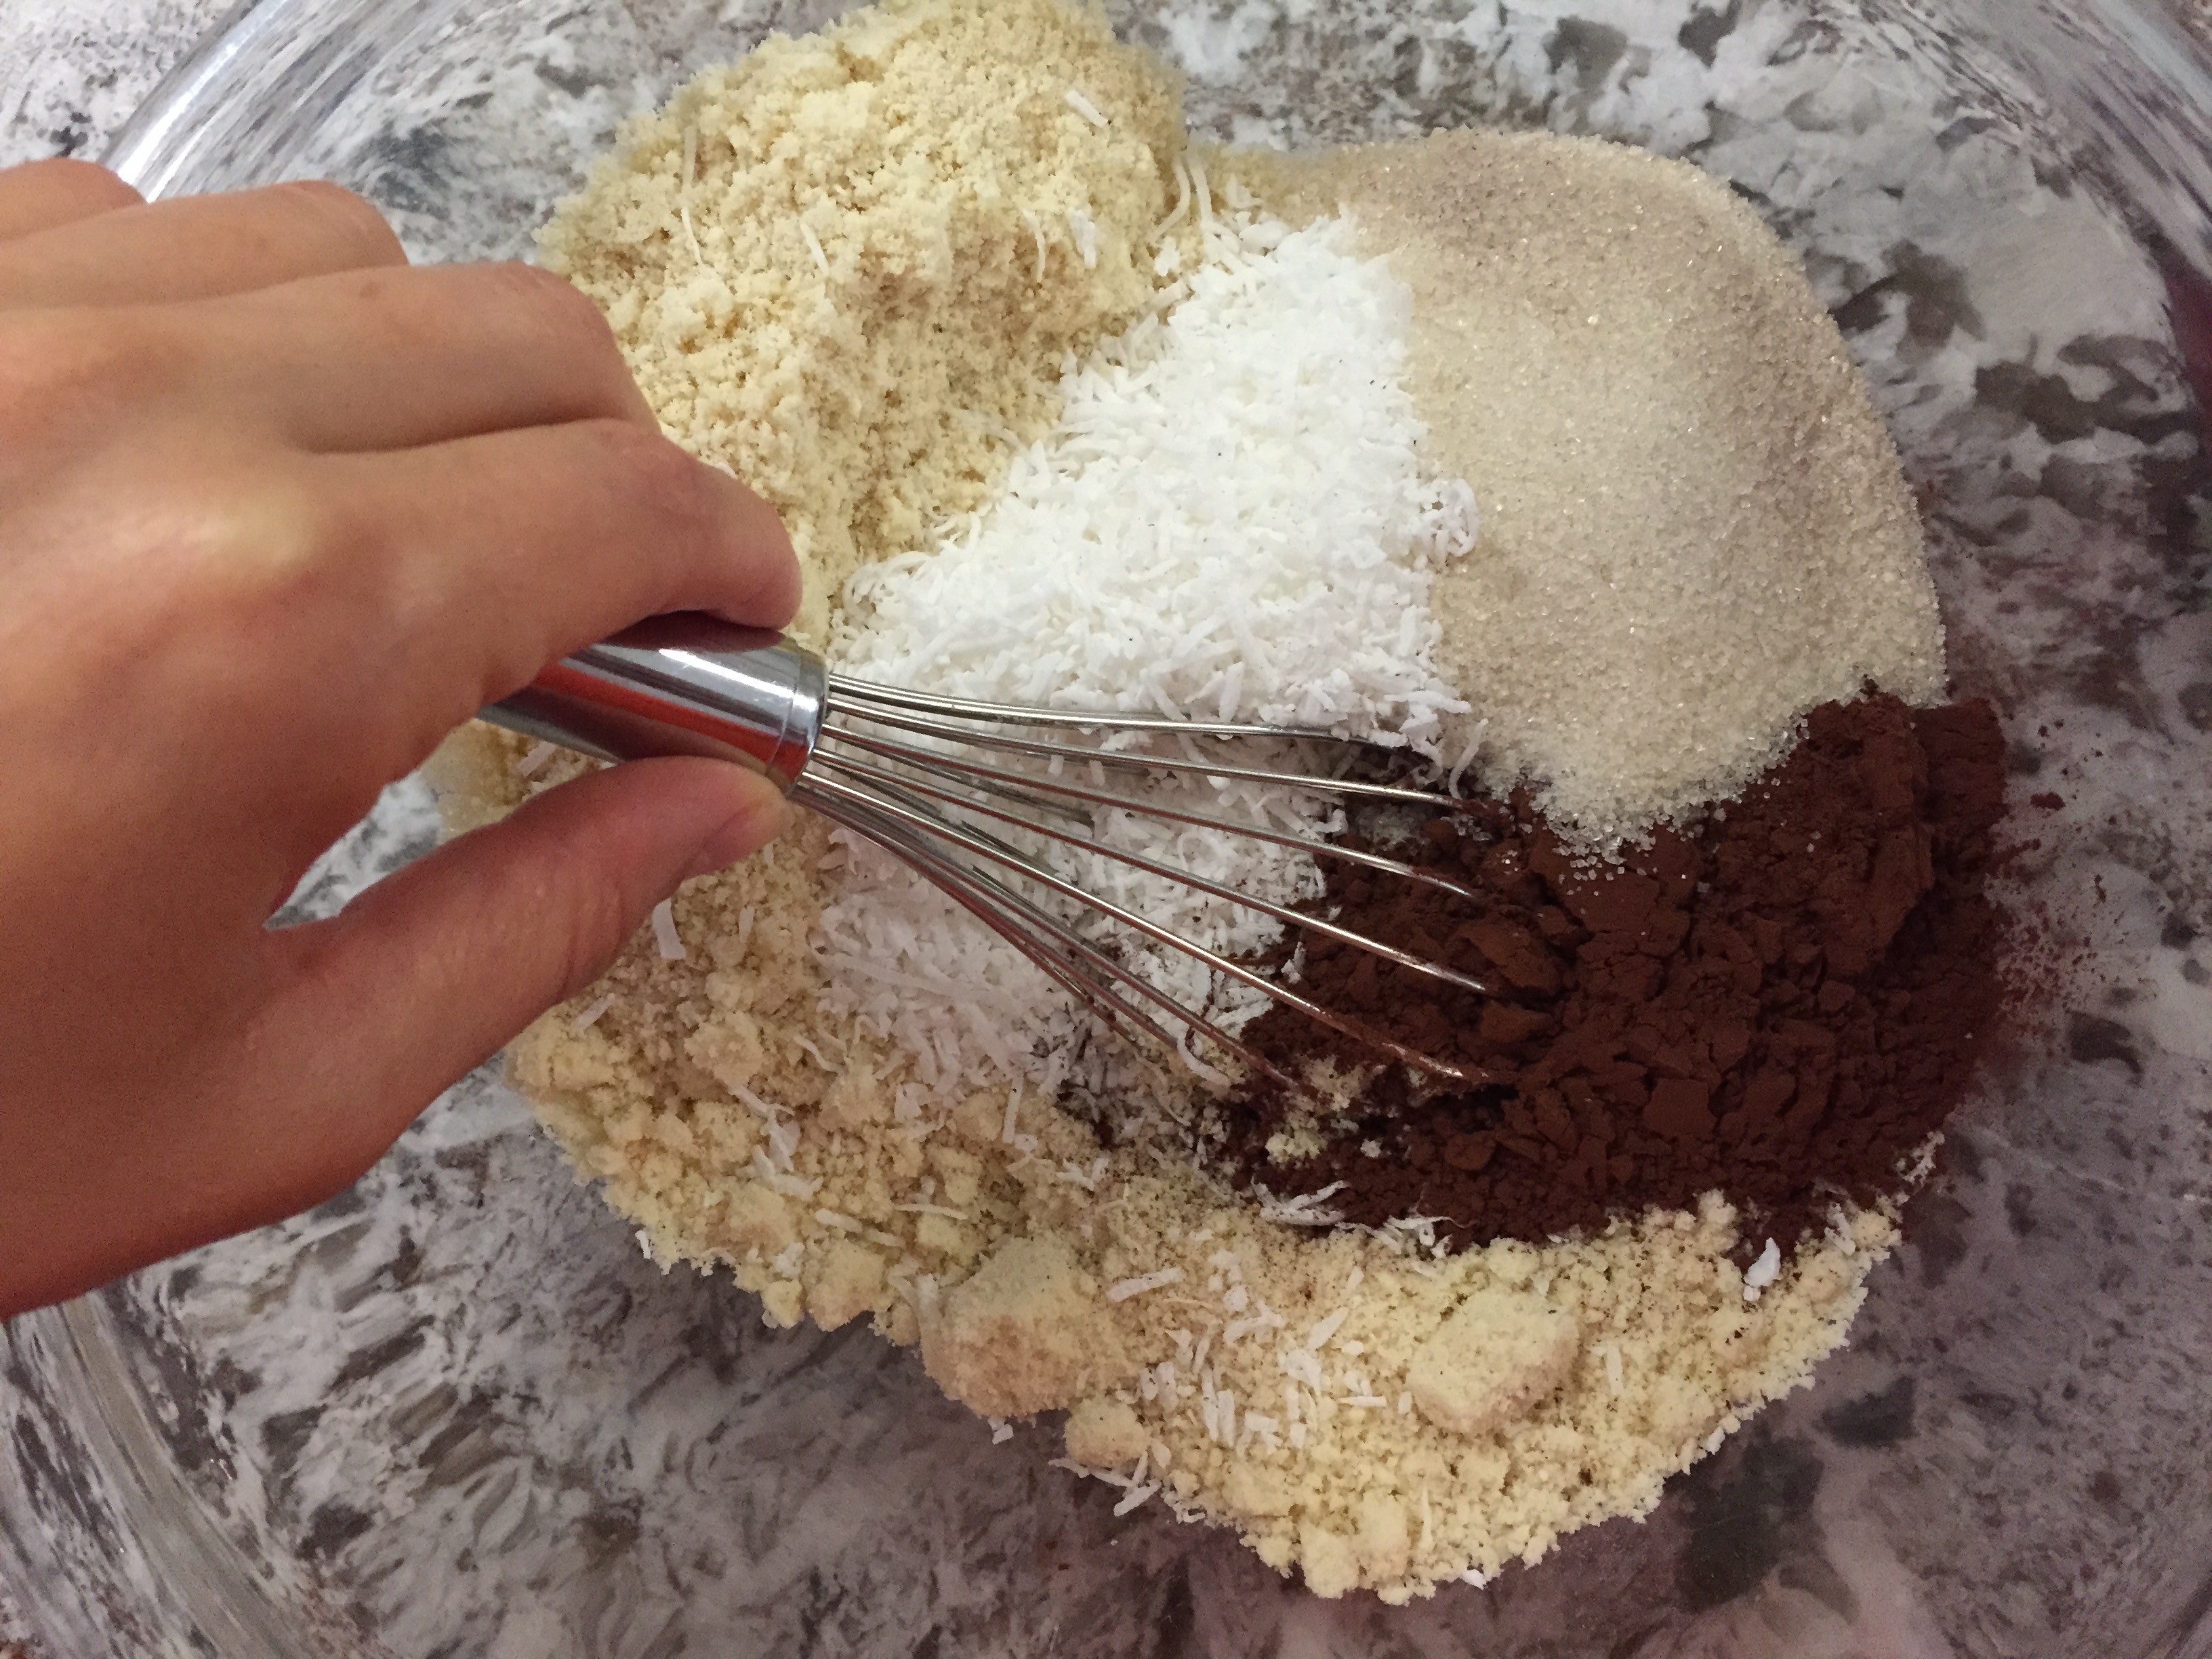
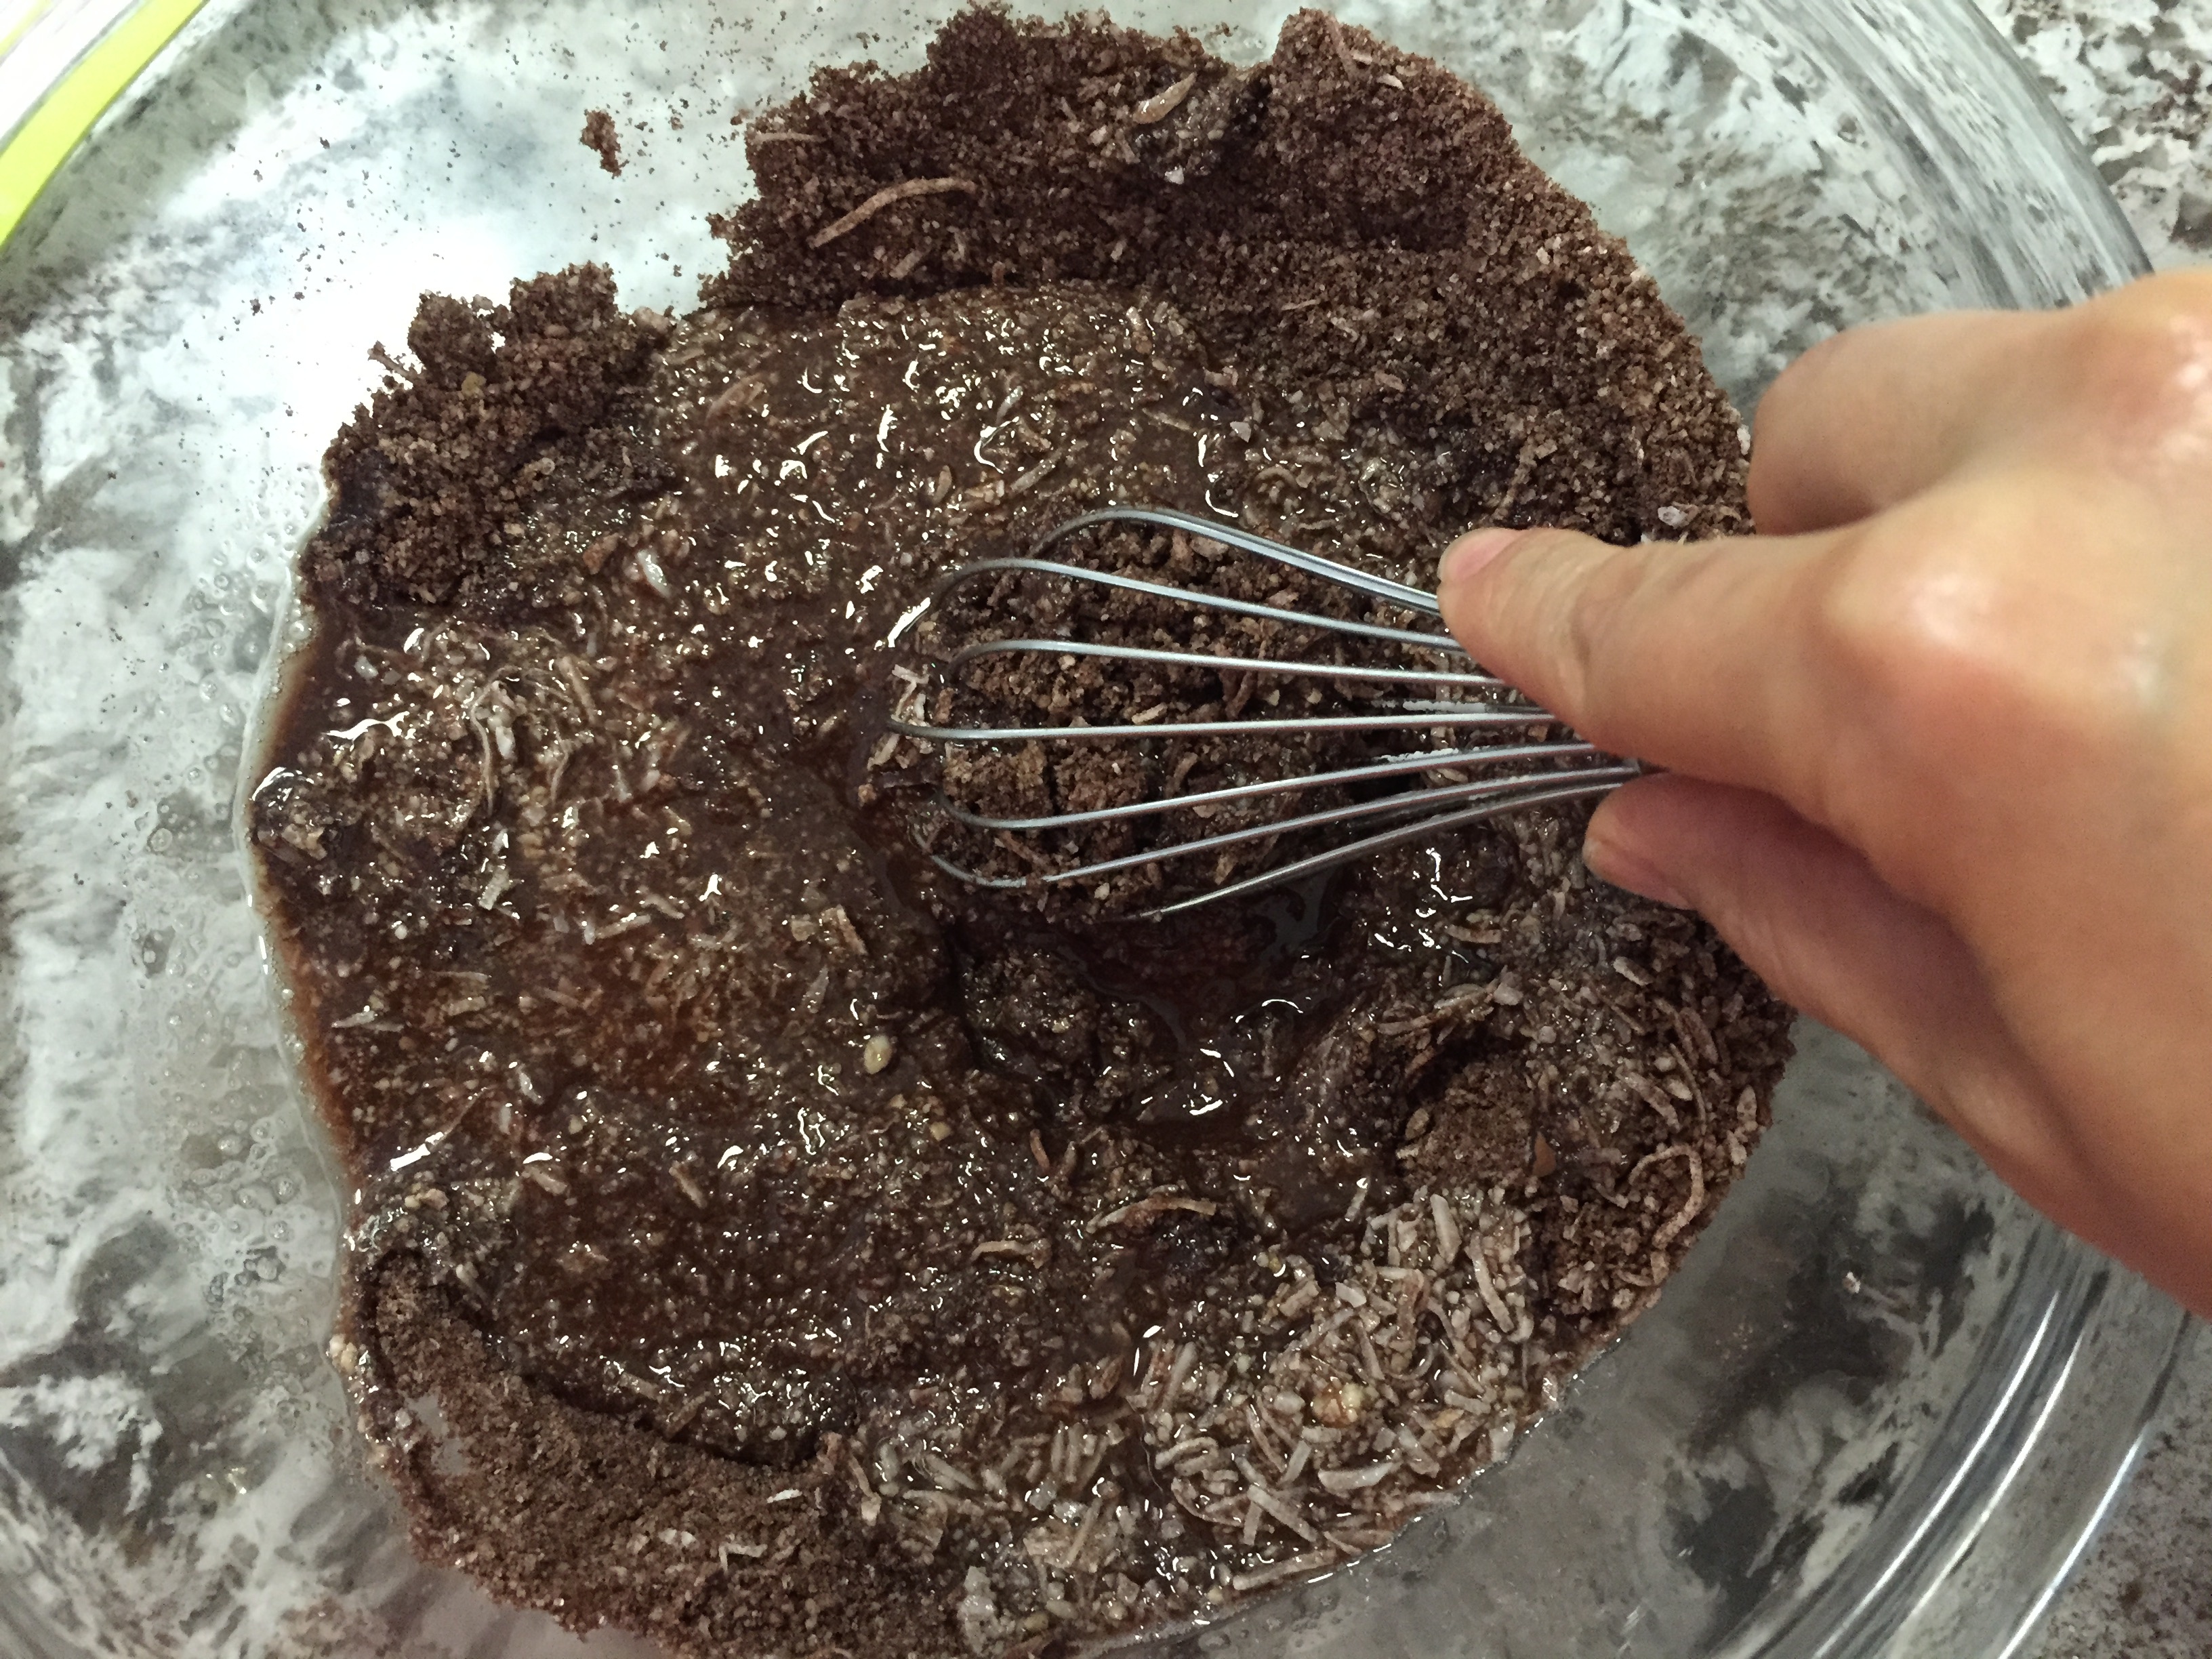
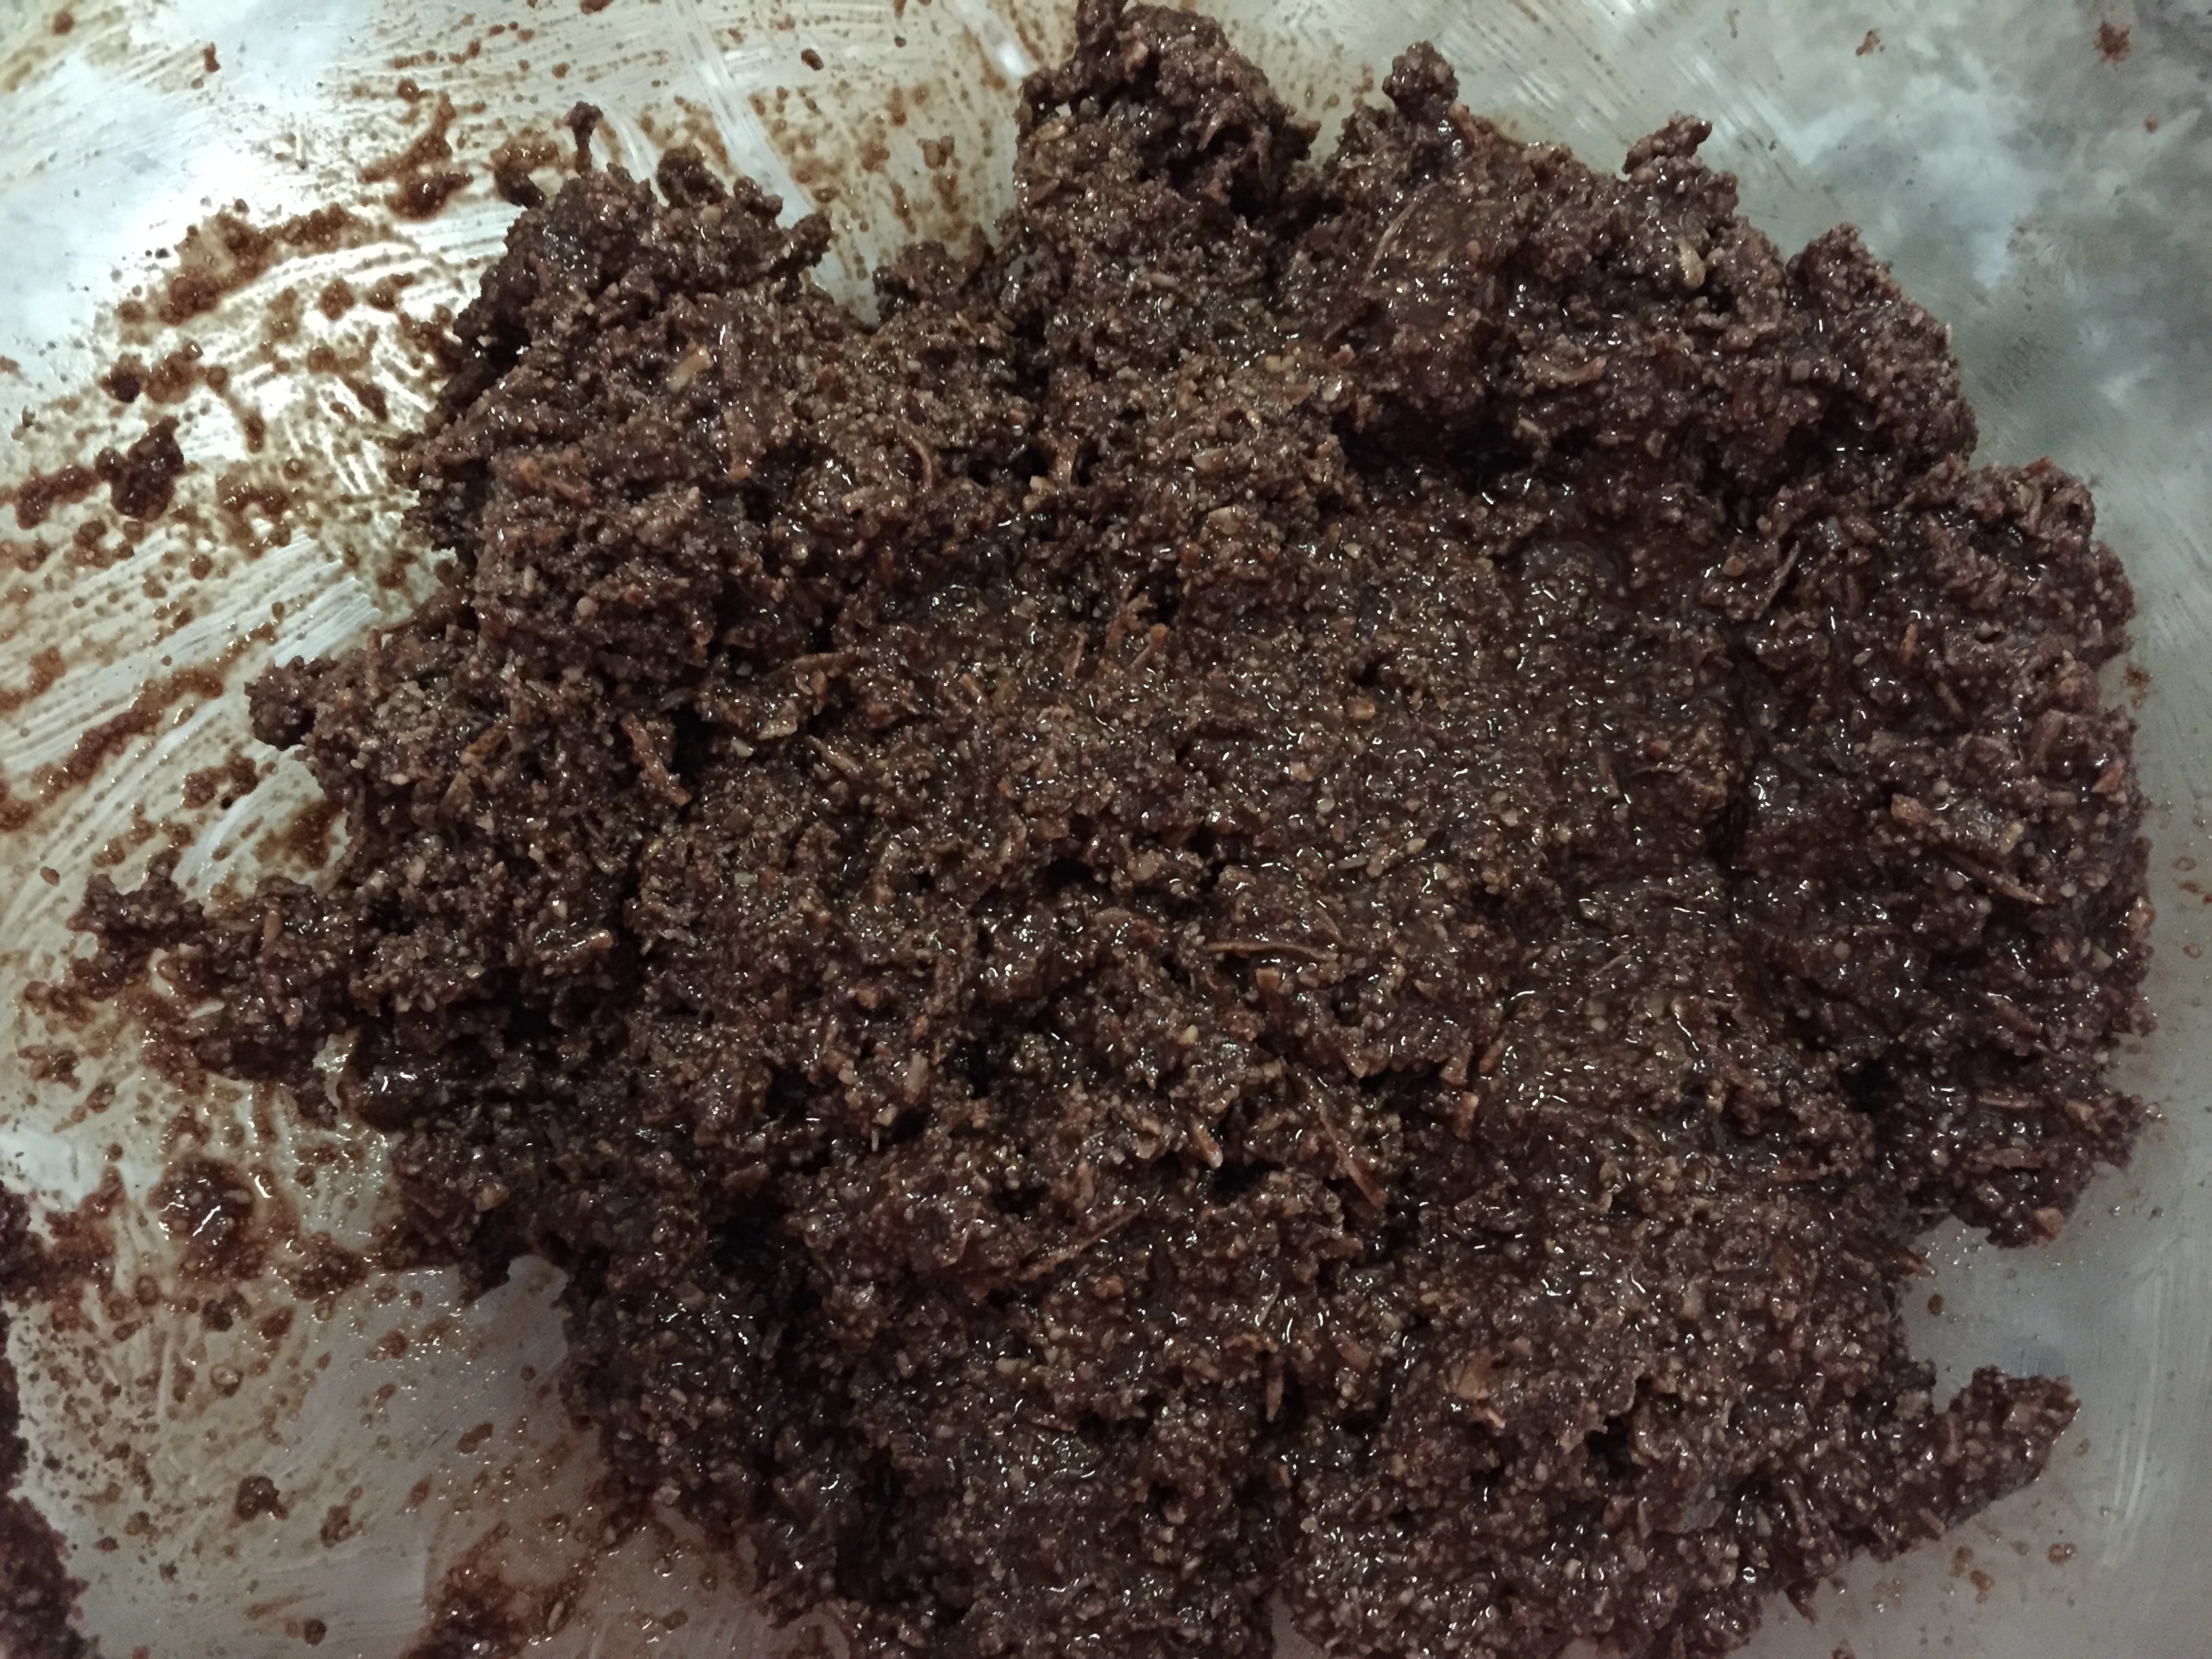
3. Add mixture to pan and press and spread until you get a nice even layer. Place pan in the freezer while you prepare the middle layer.
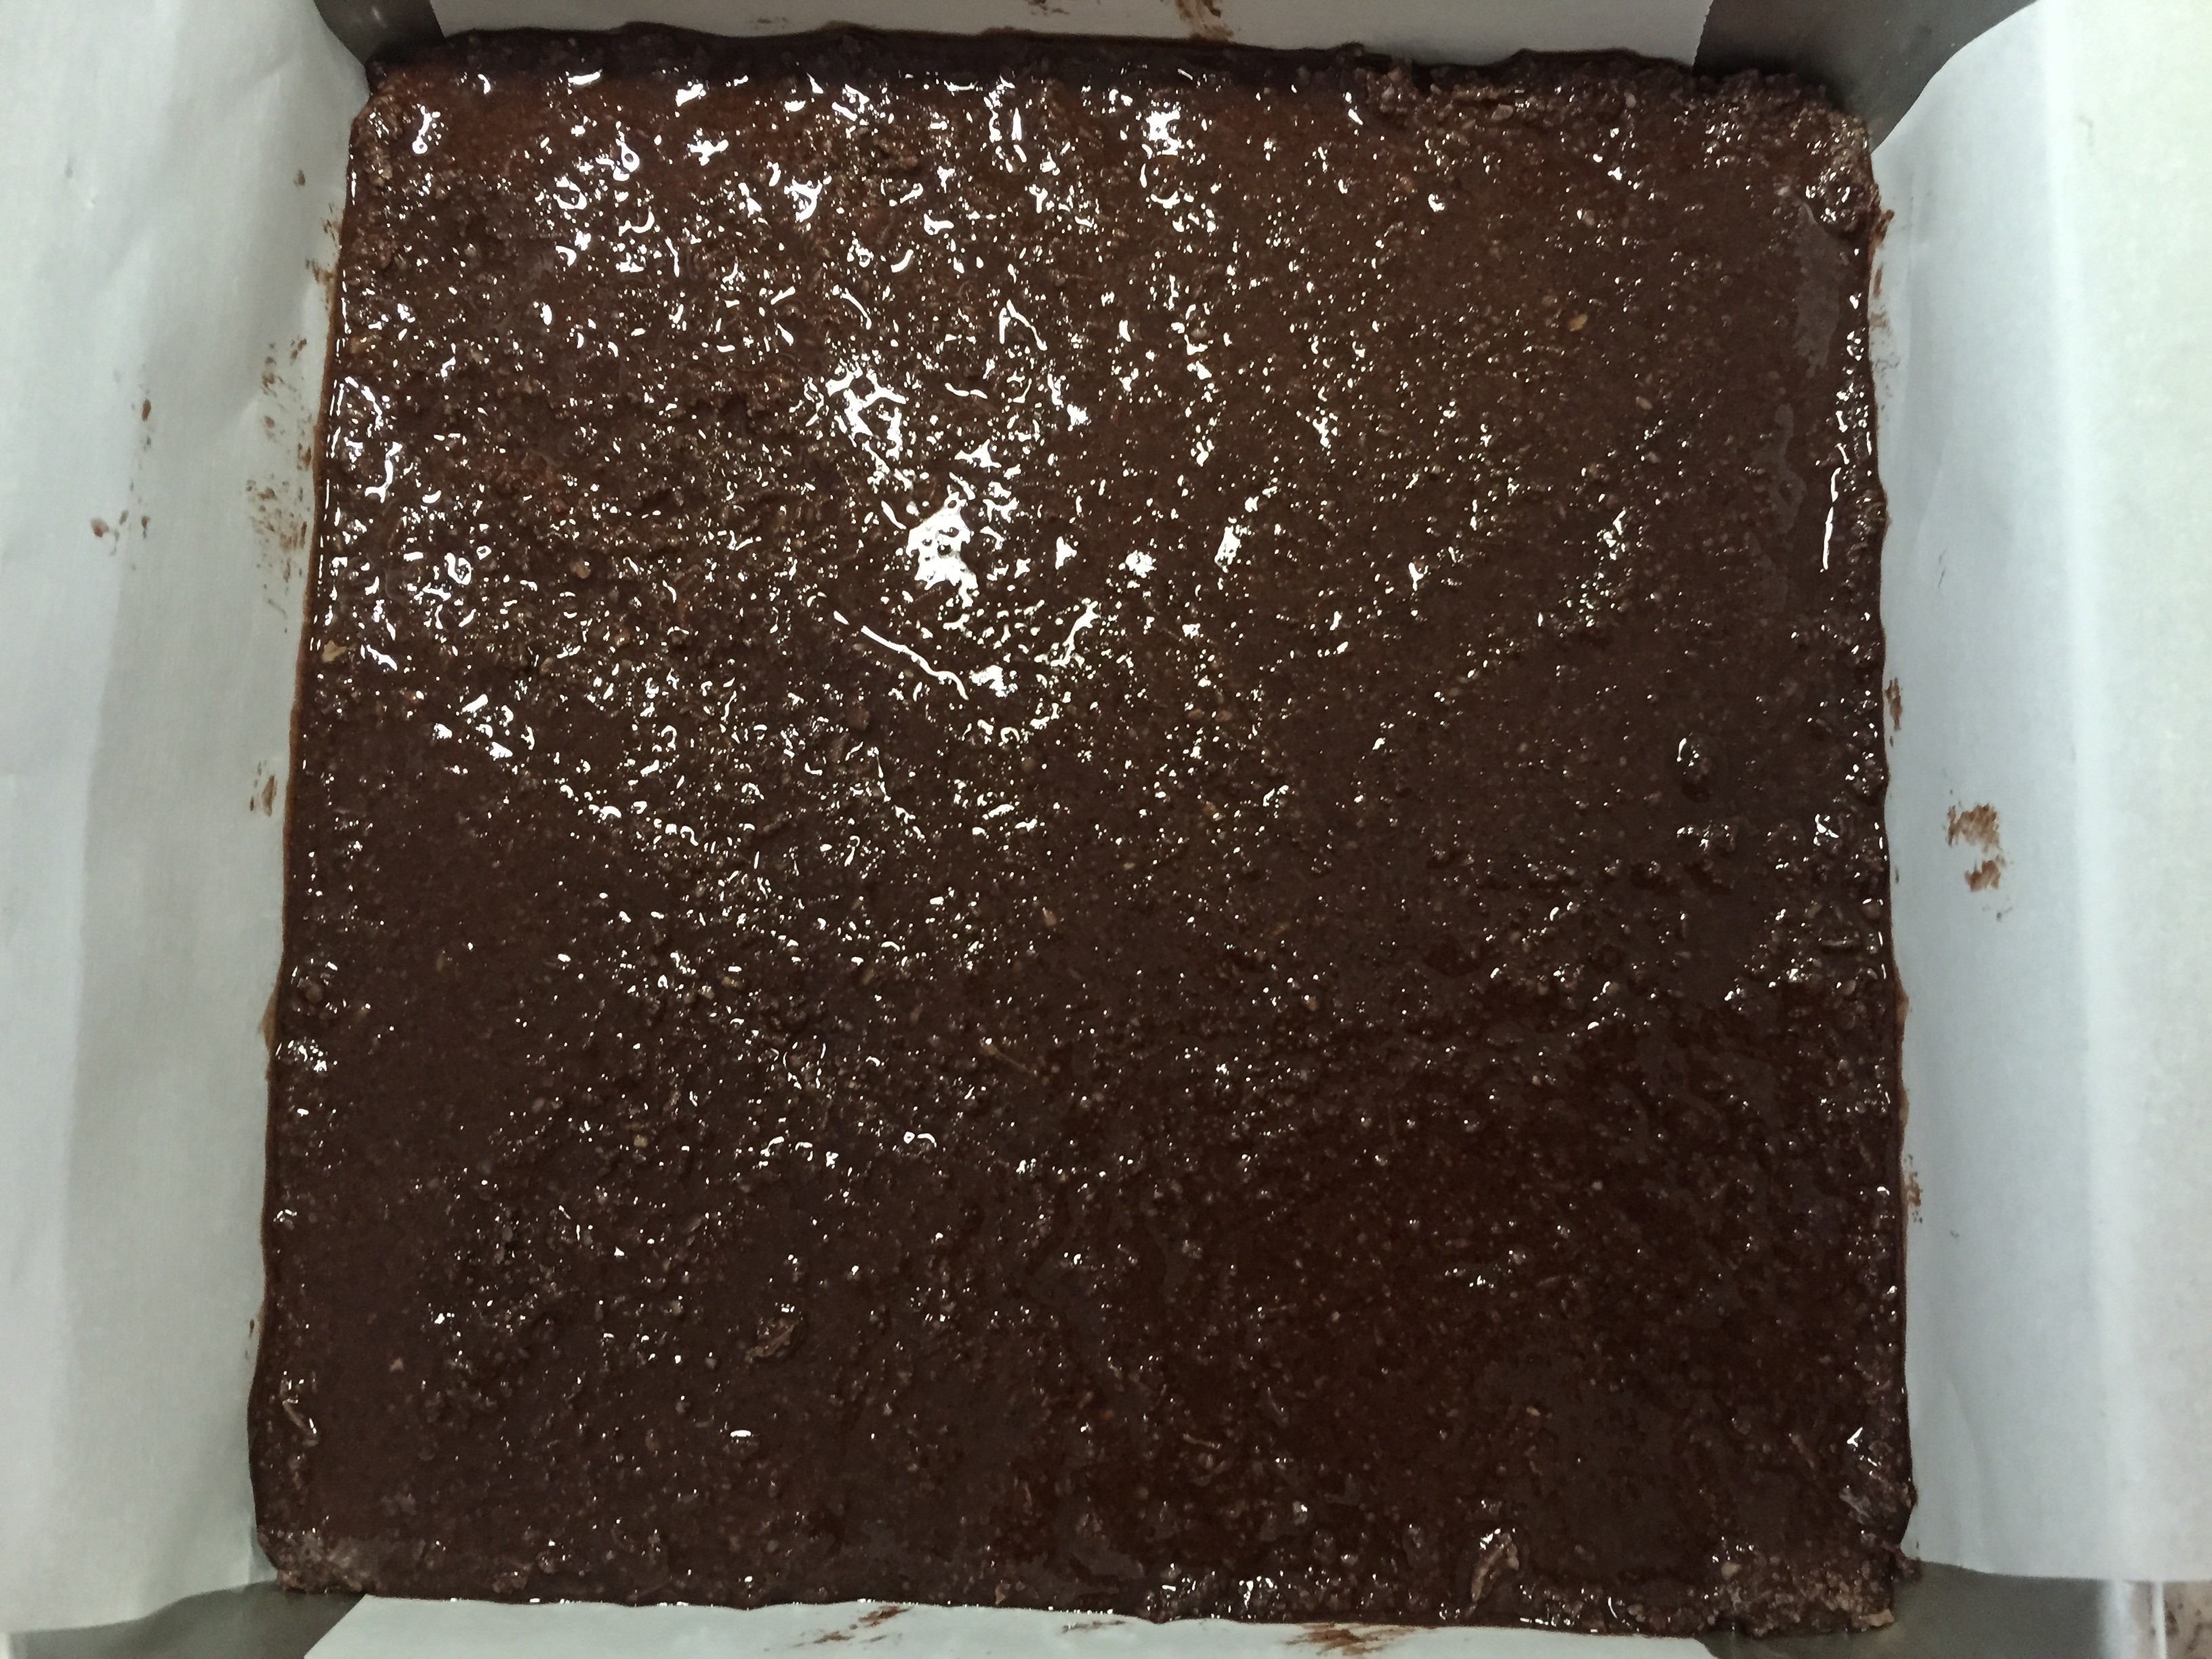
4. In a small bowl, combine milk and cornstarch then place mixture in a pot on the stove and stir on medium heat until mixture thickens up slightly. Remove from heat.
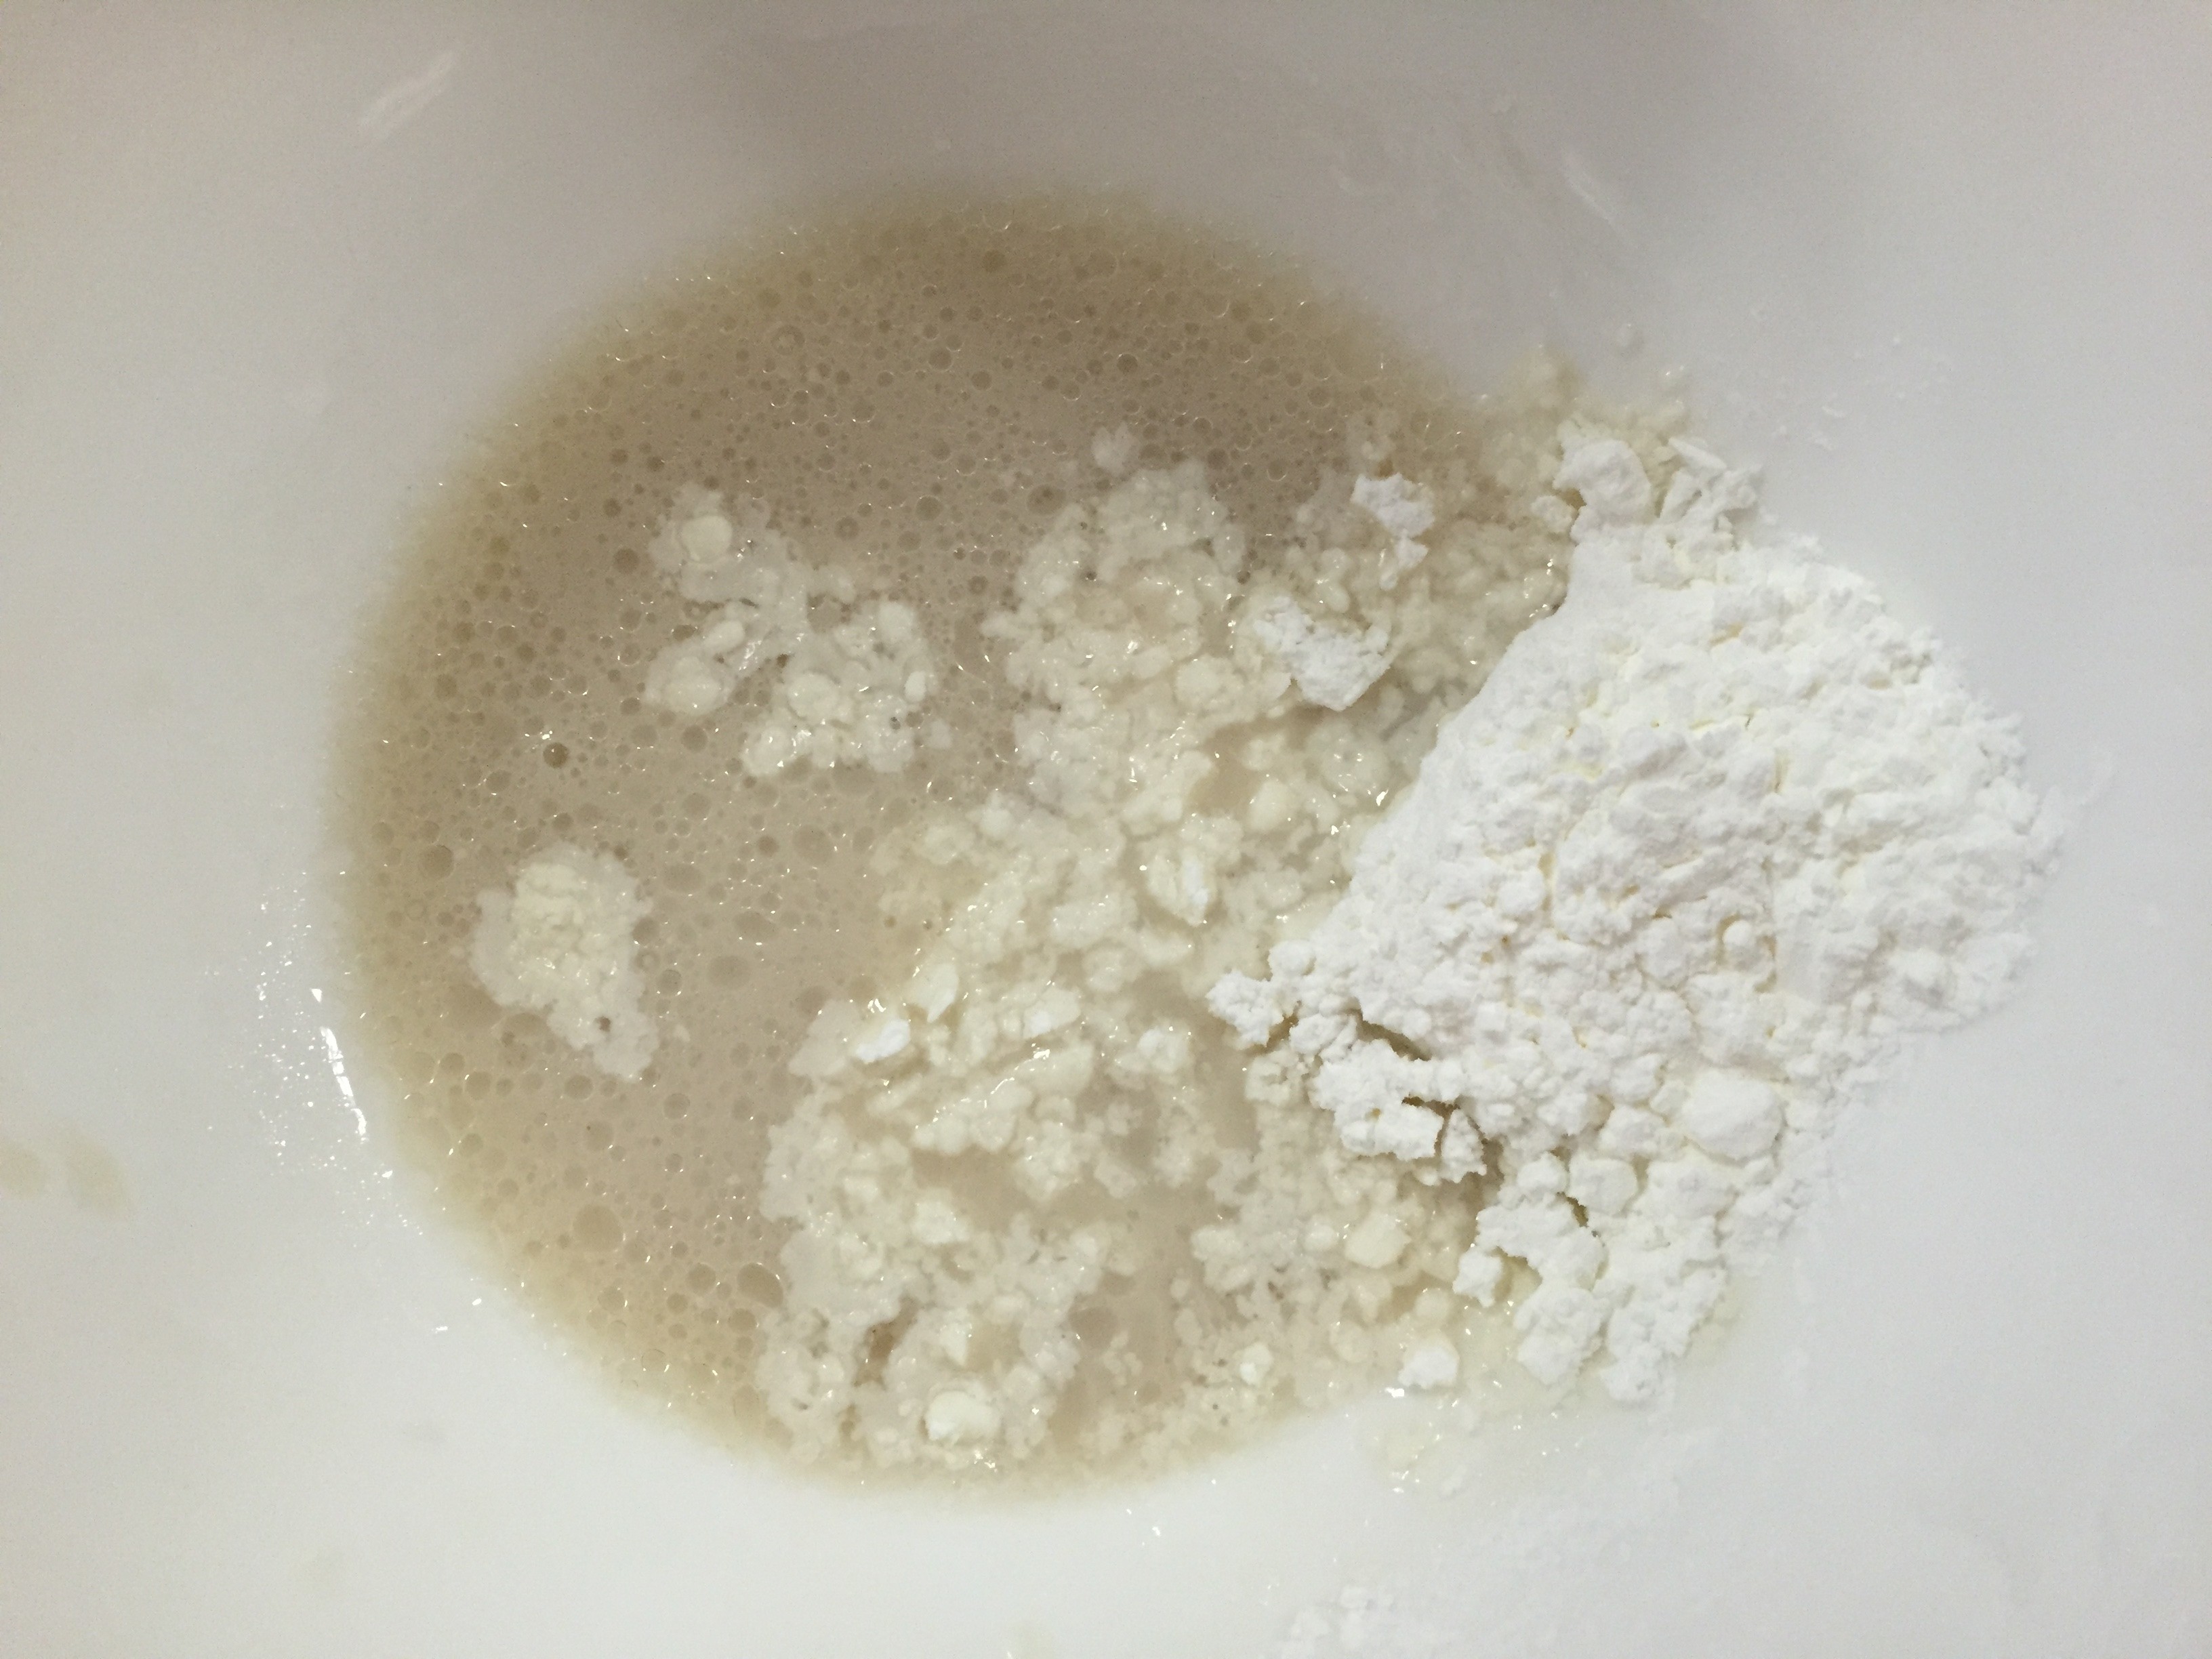
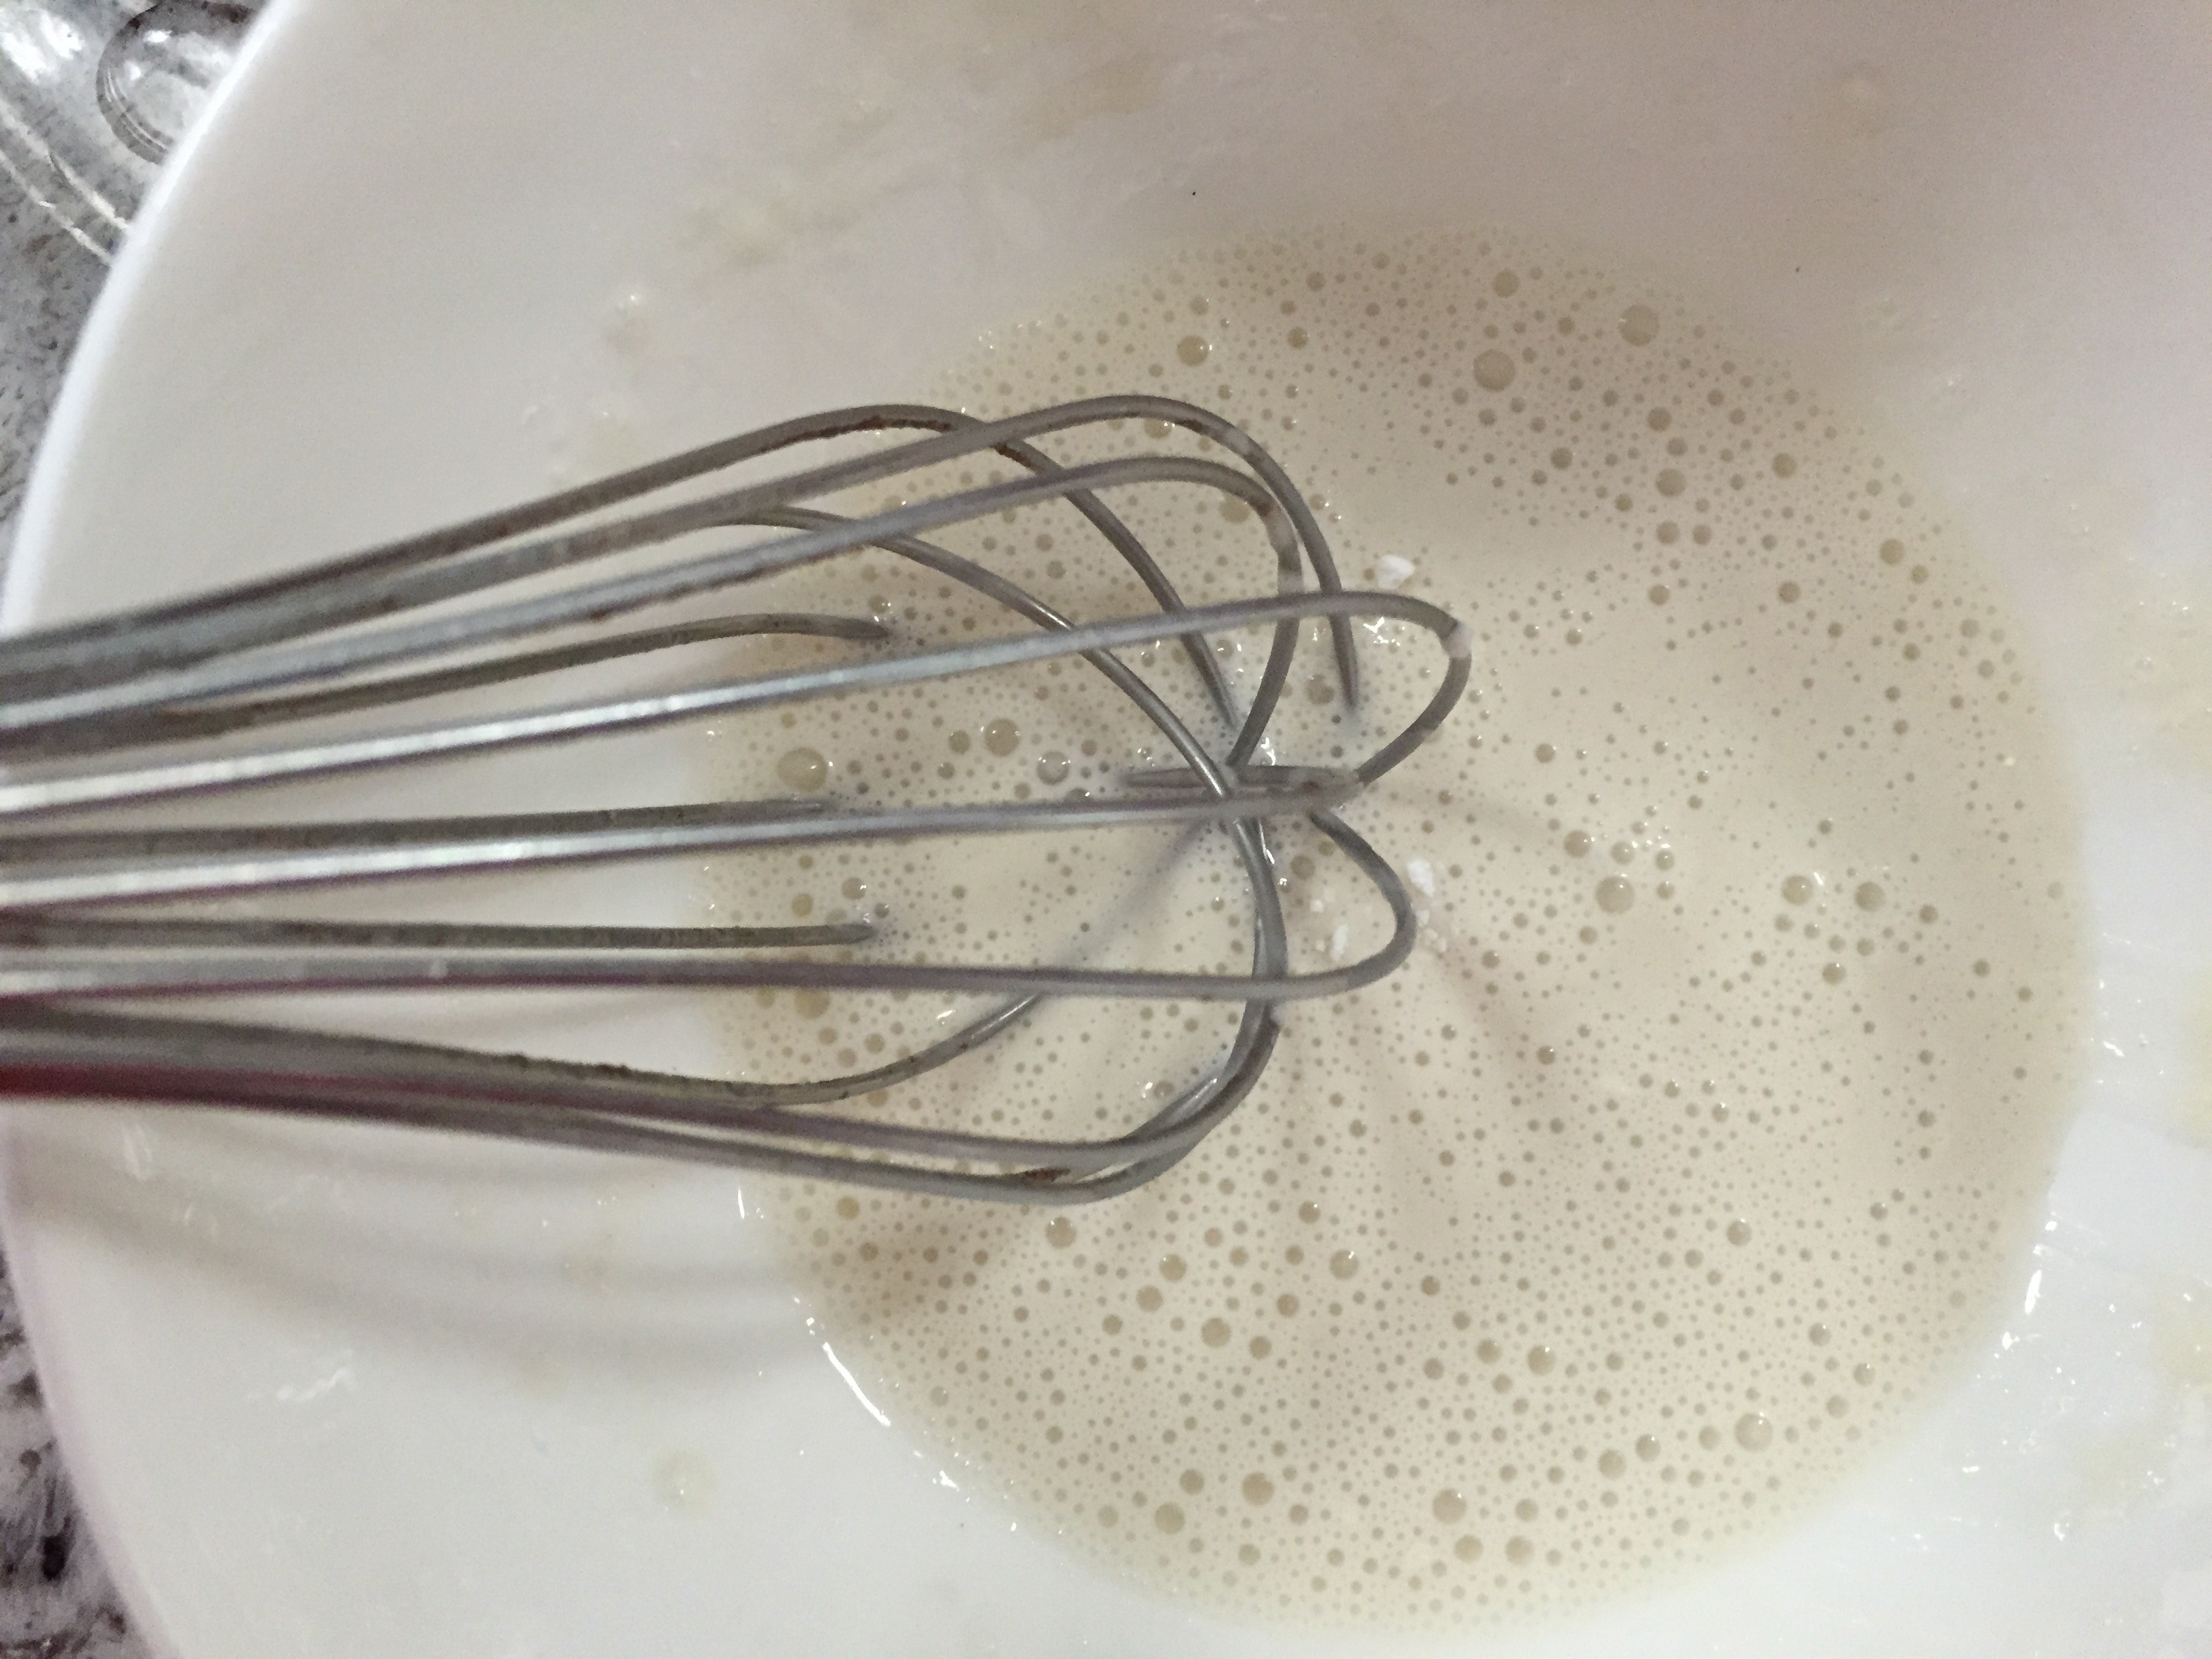
5.a) In another bowl, add sugar and add to that the thickened milk mixture. Whisk until sugar and milk are combined.
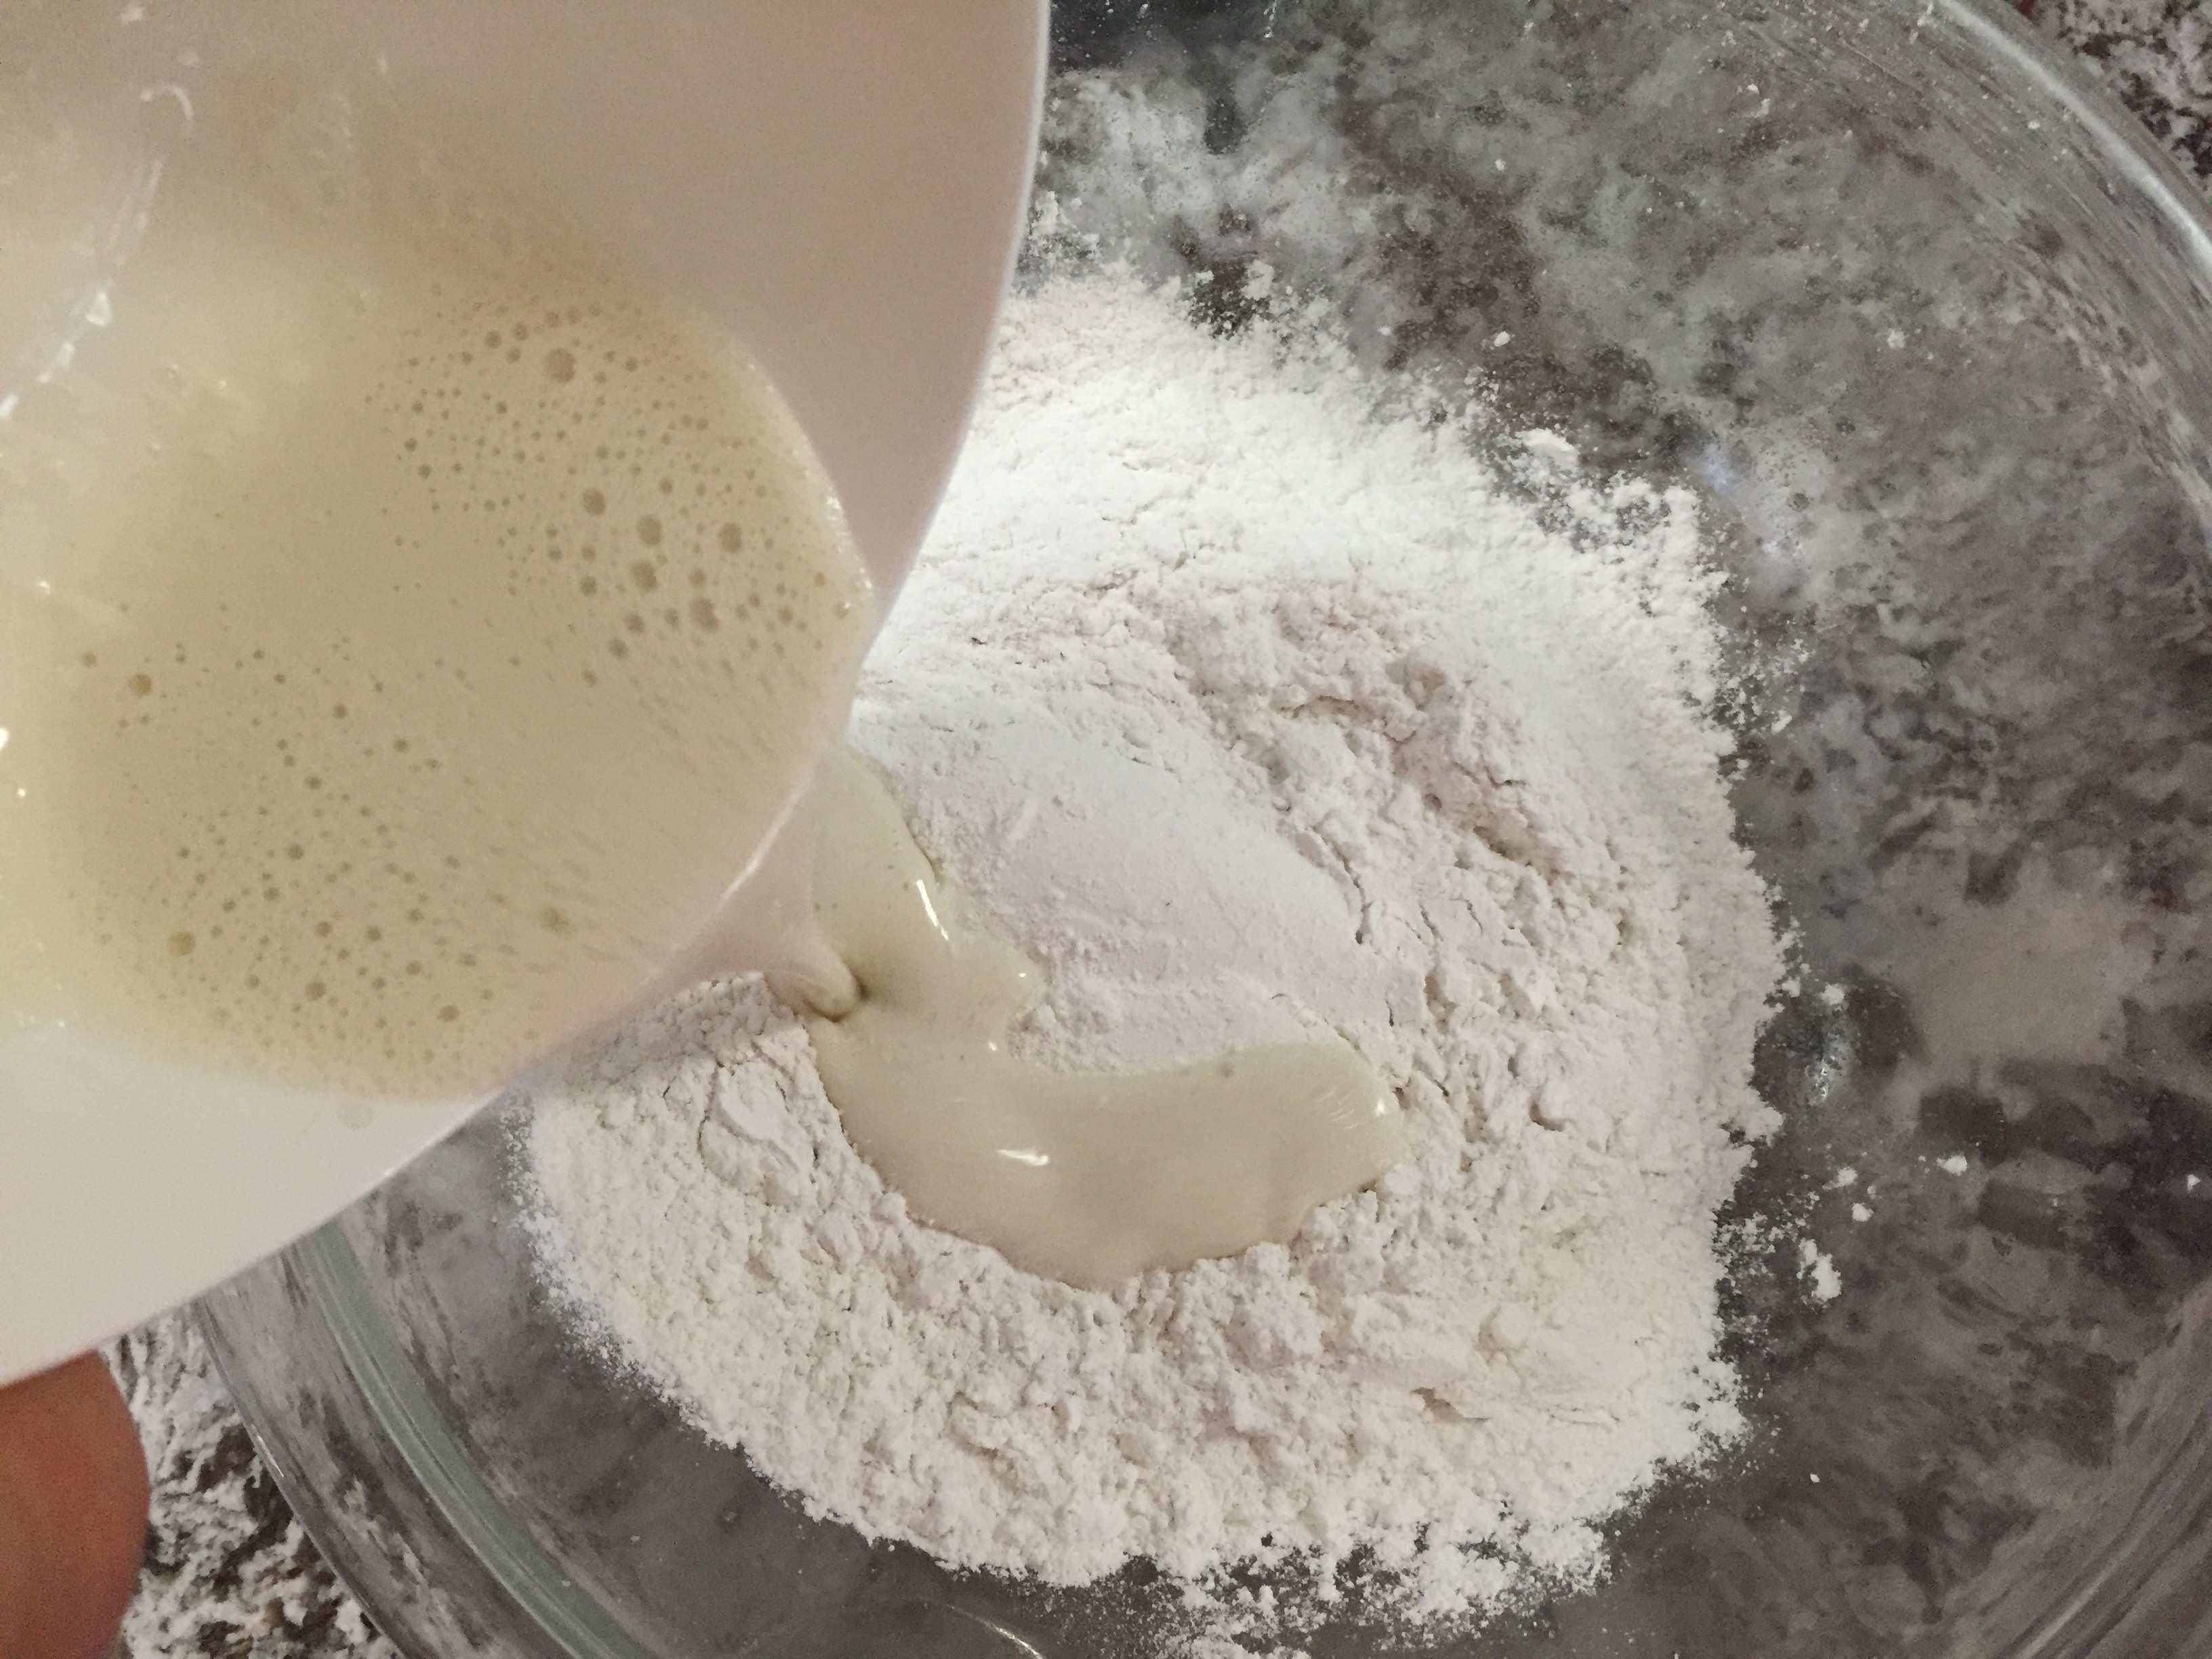
5.b) Add coconut oil and whisk.
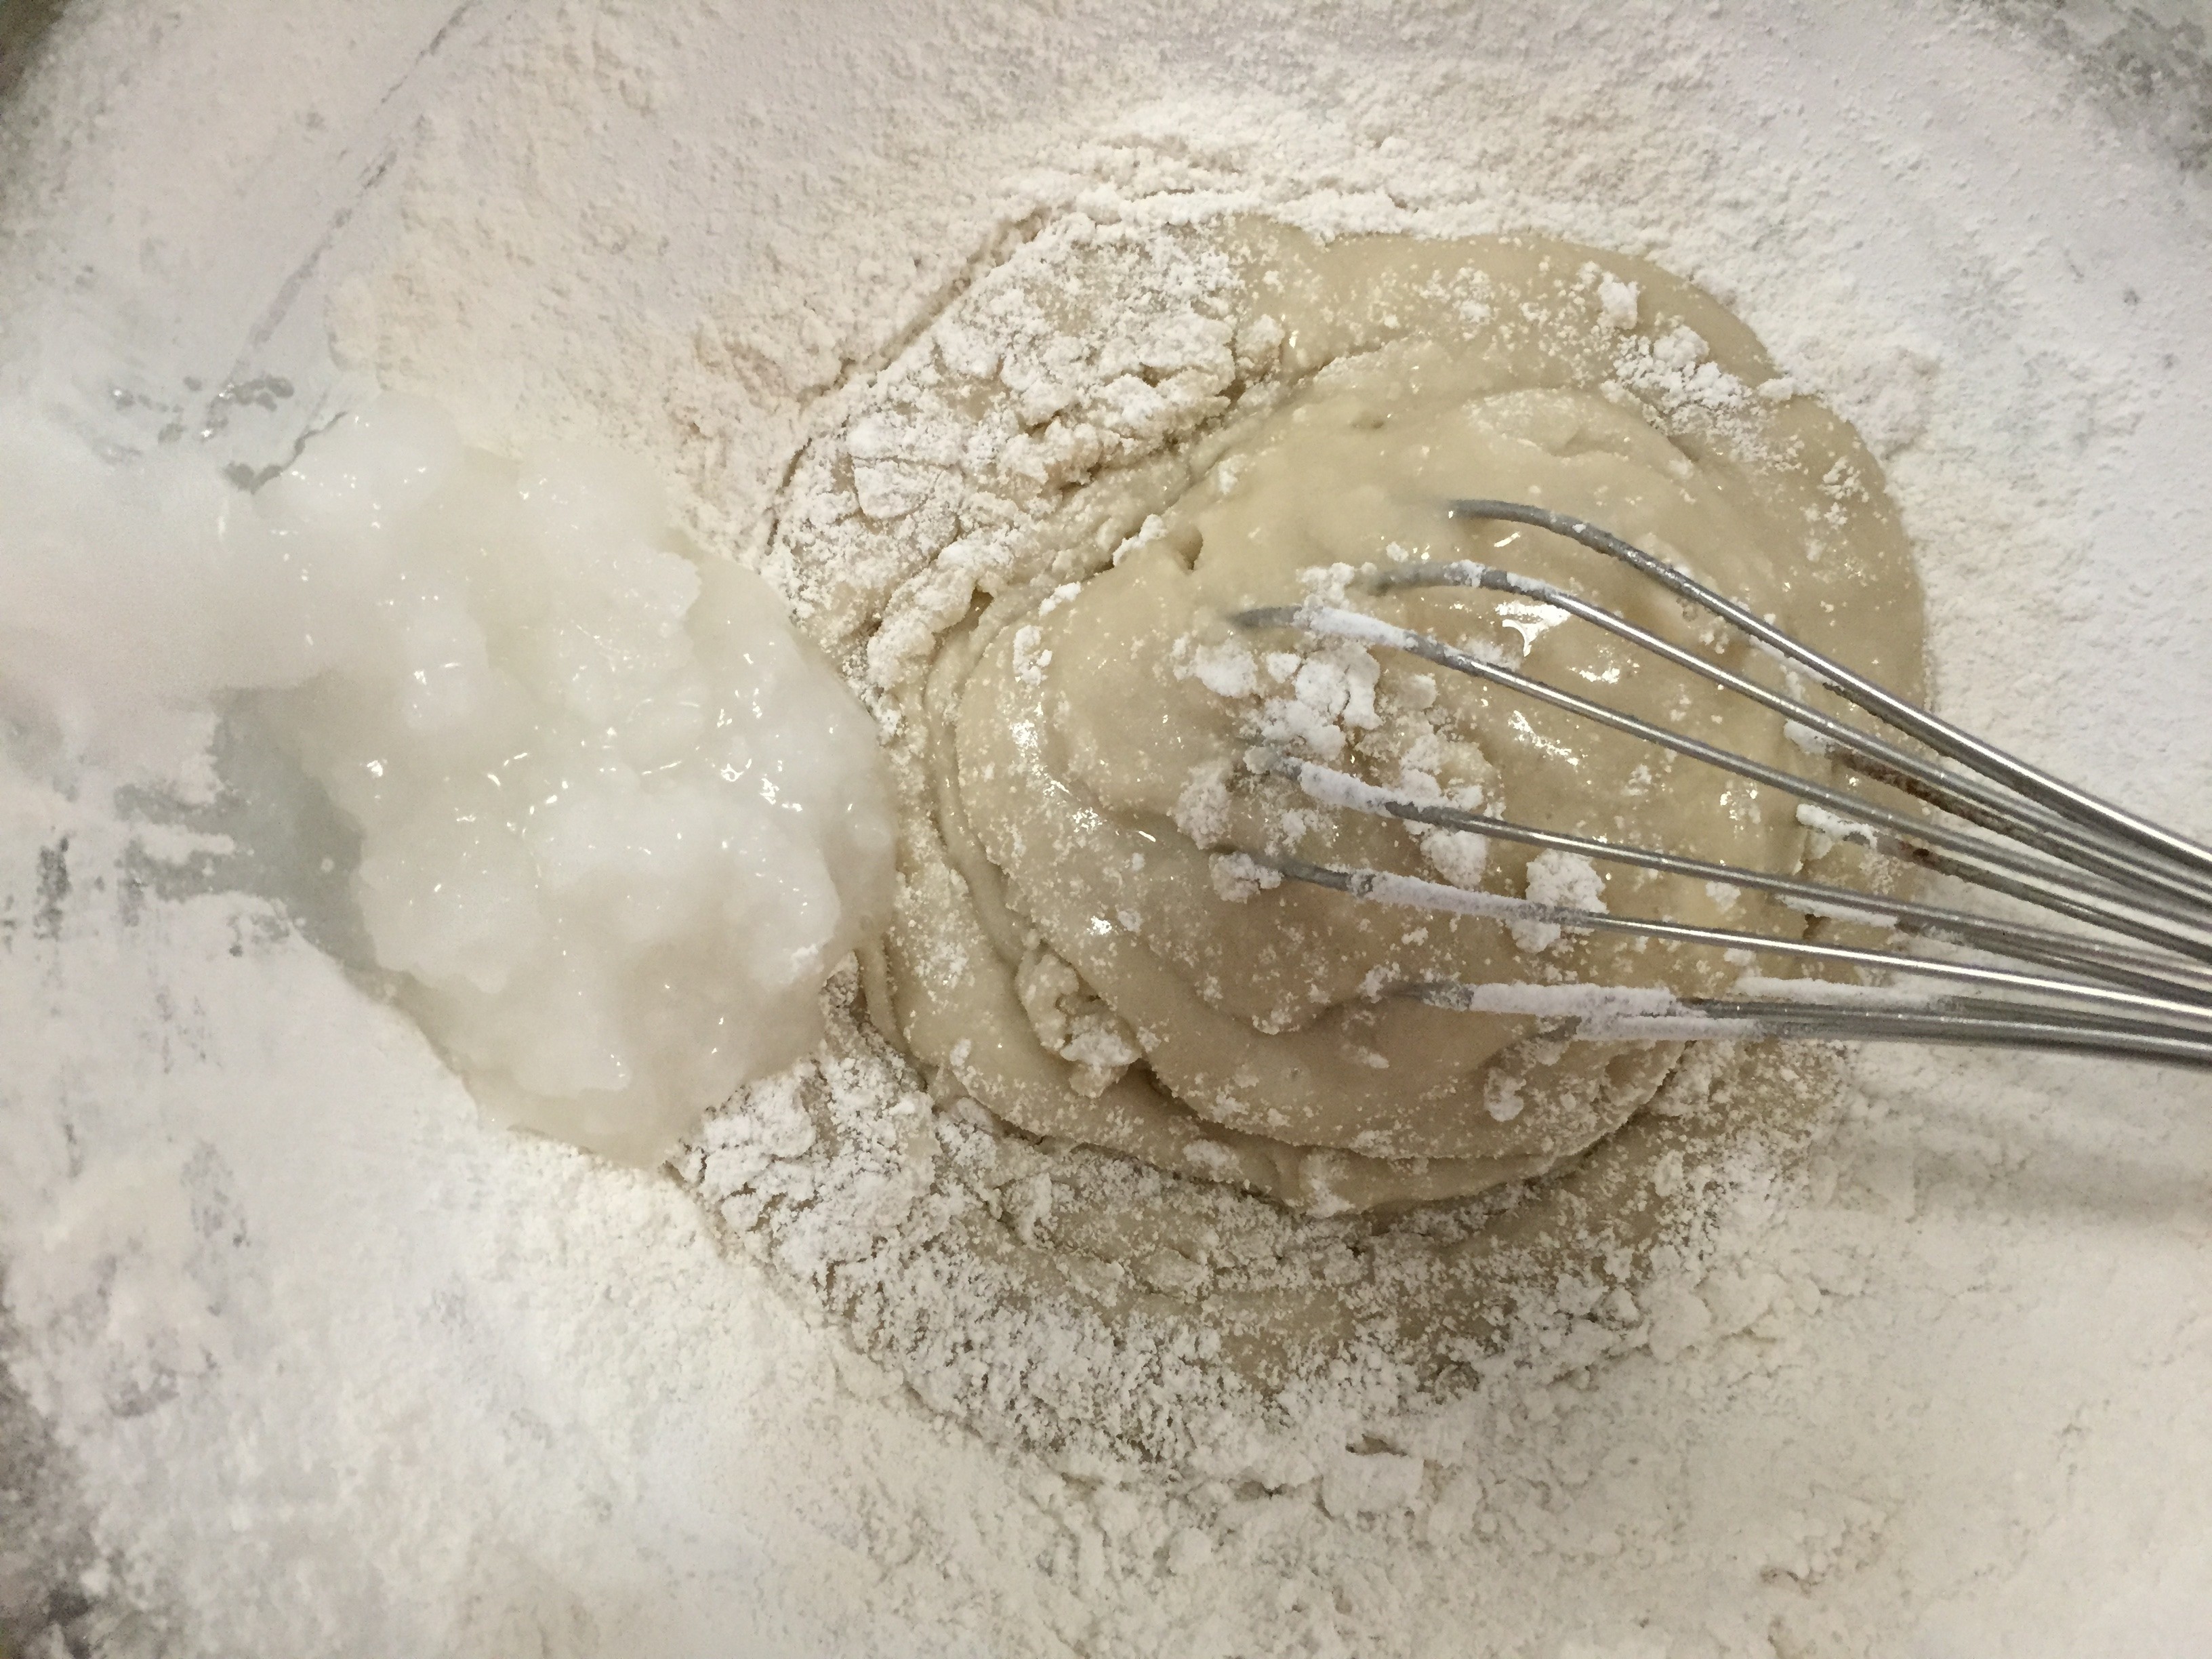
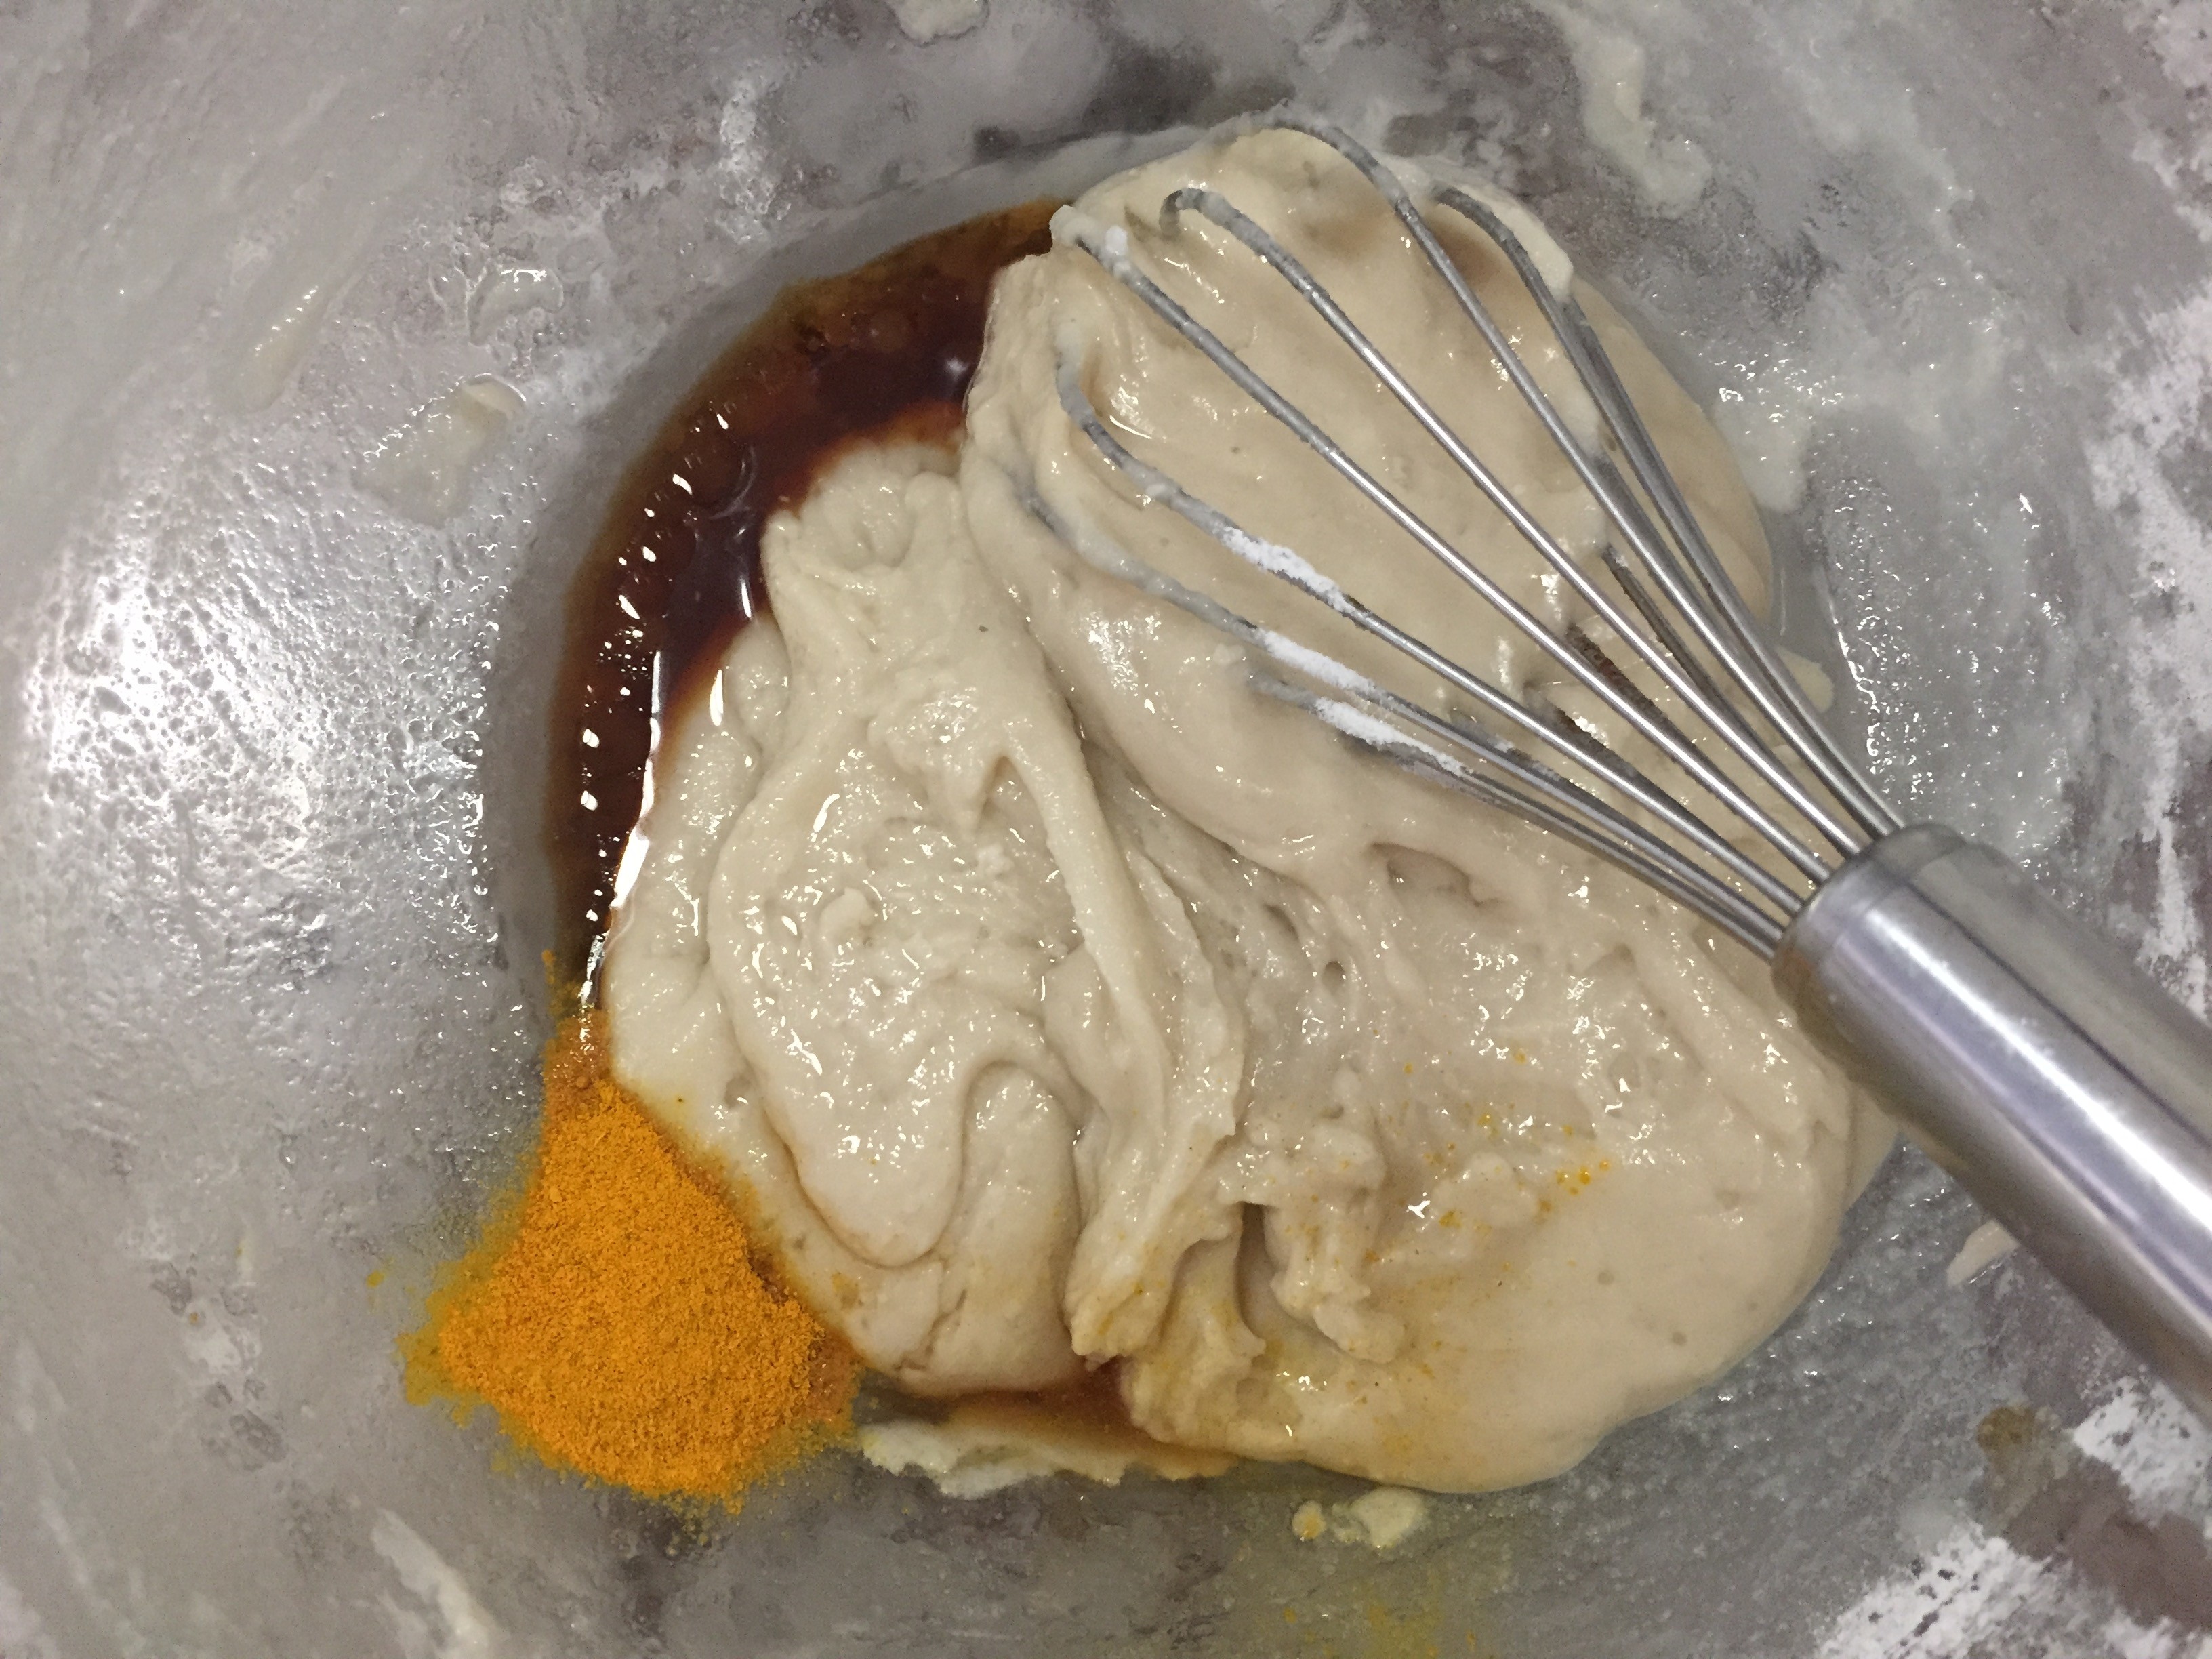
6. Add vanilla and turmeric powder and whisk until fully incorporated and mixture turns a beautiful yellow.
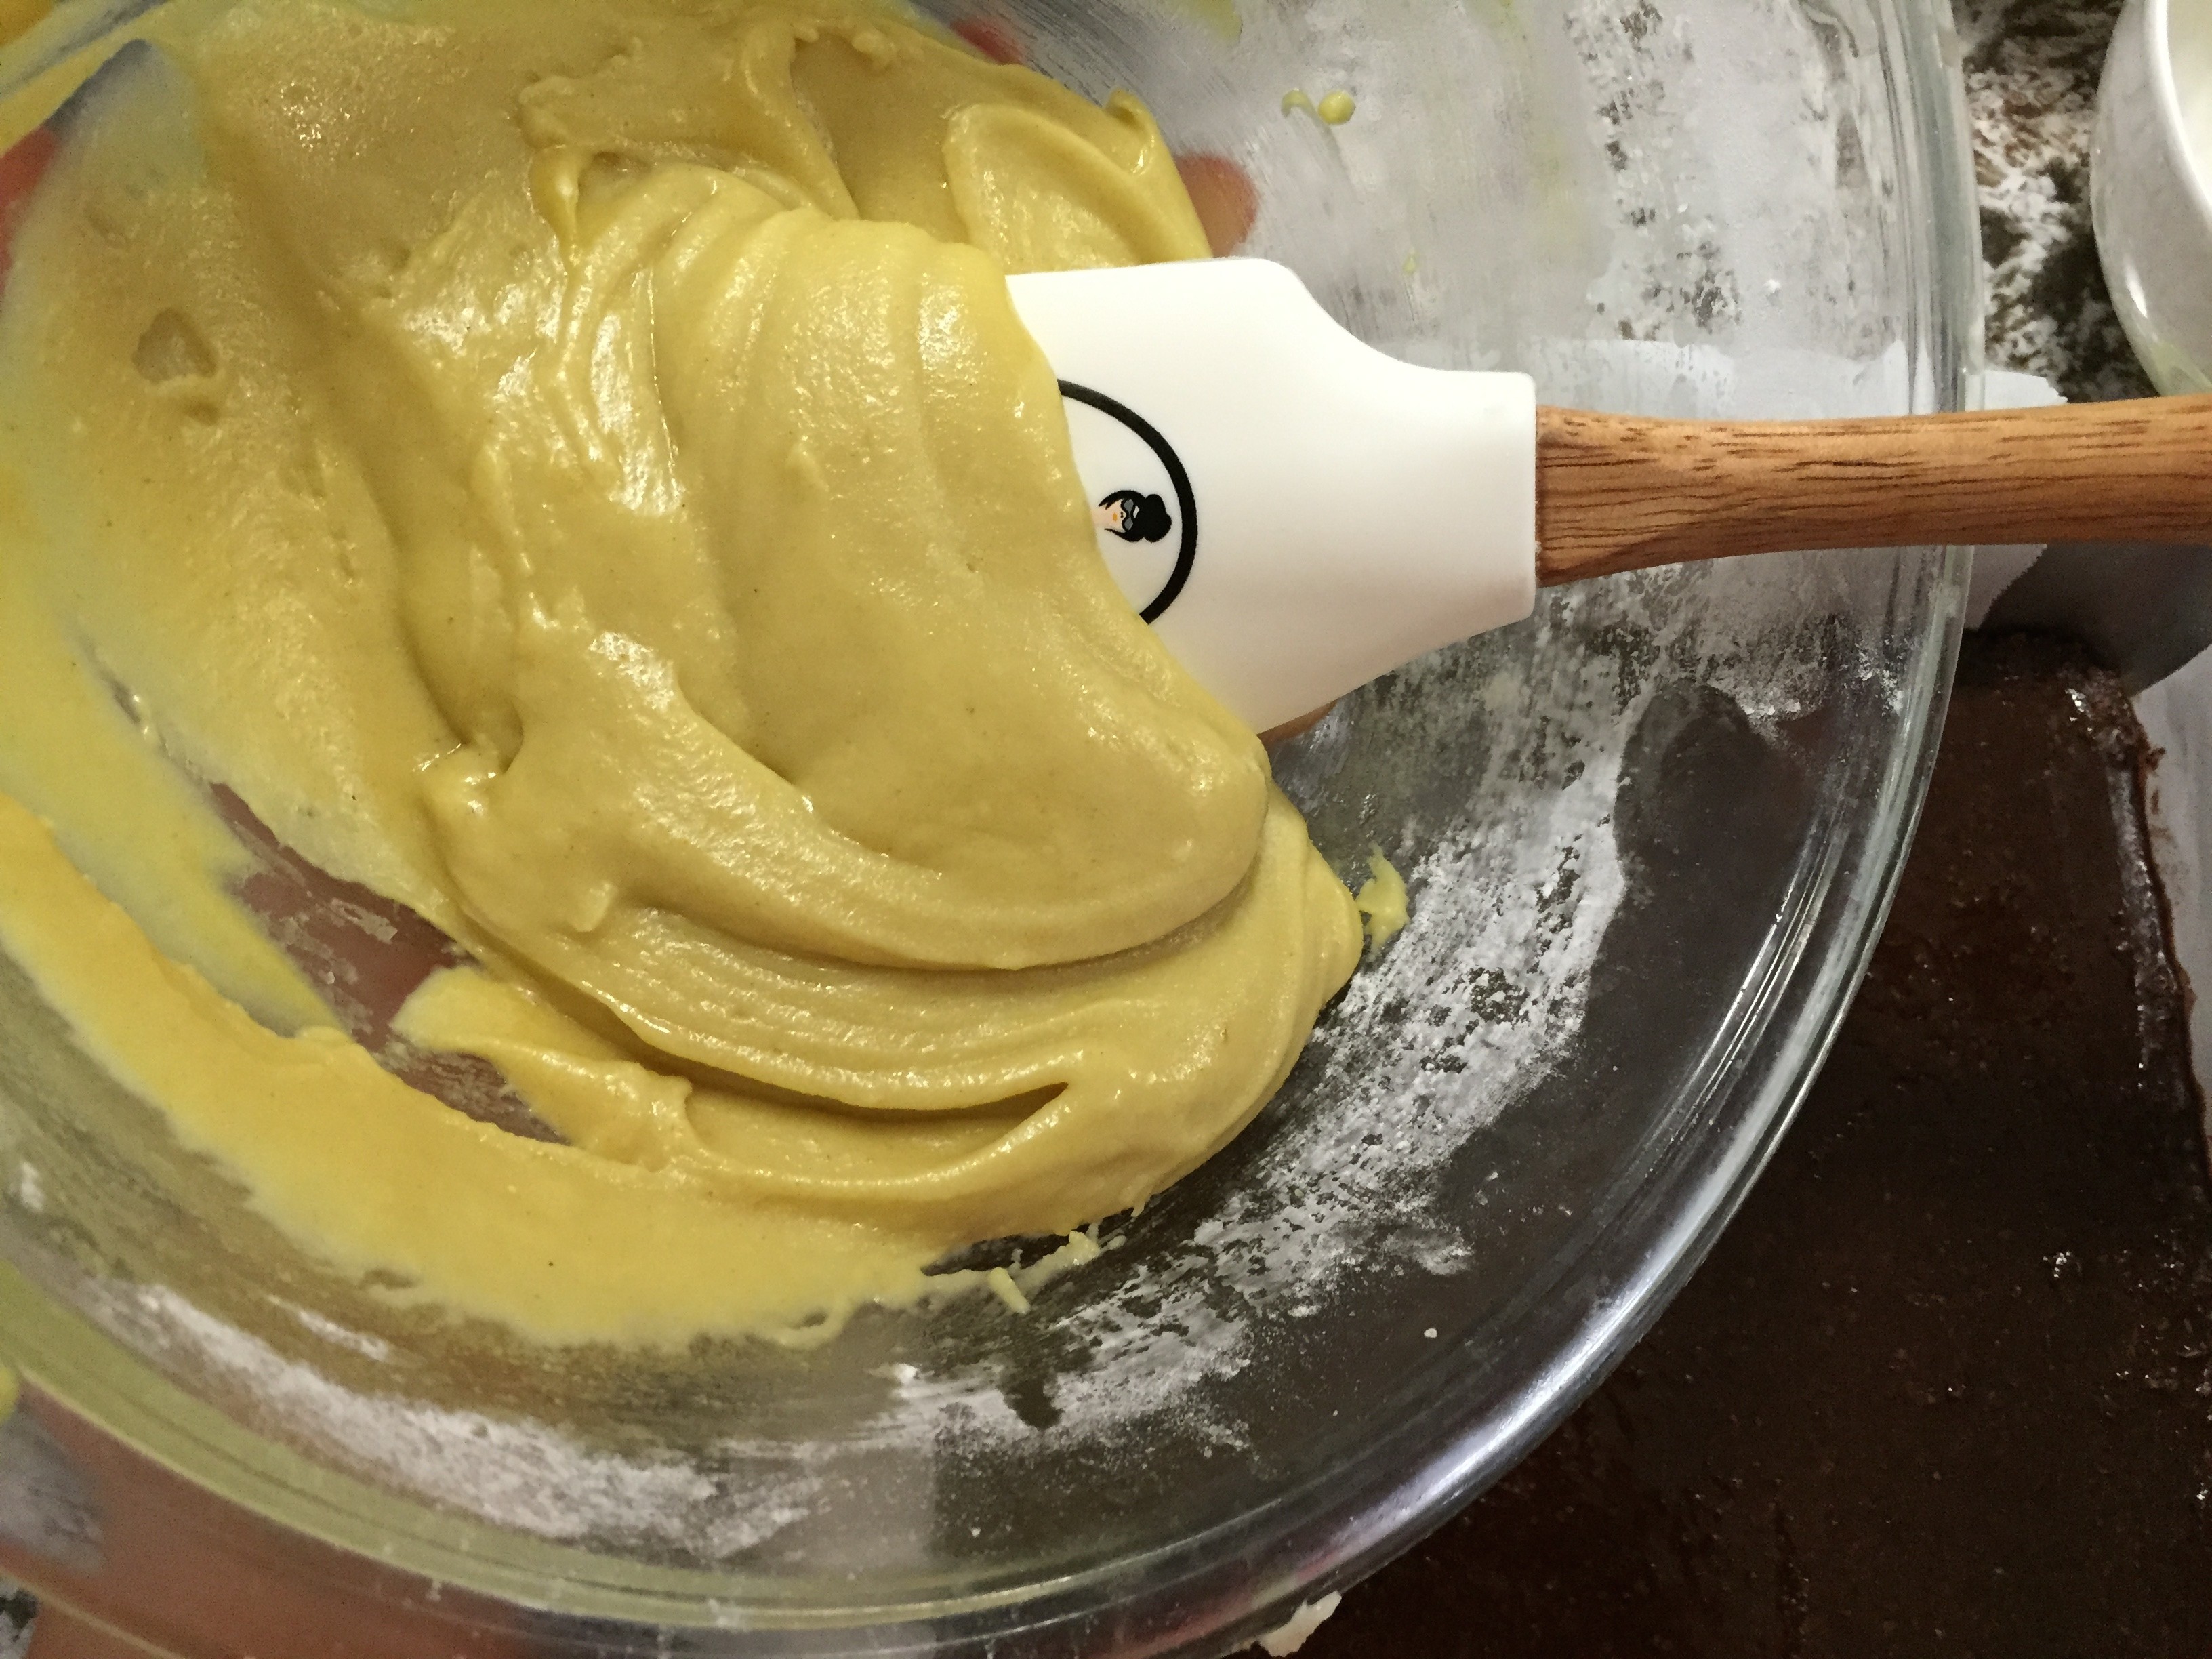
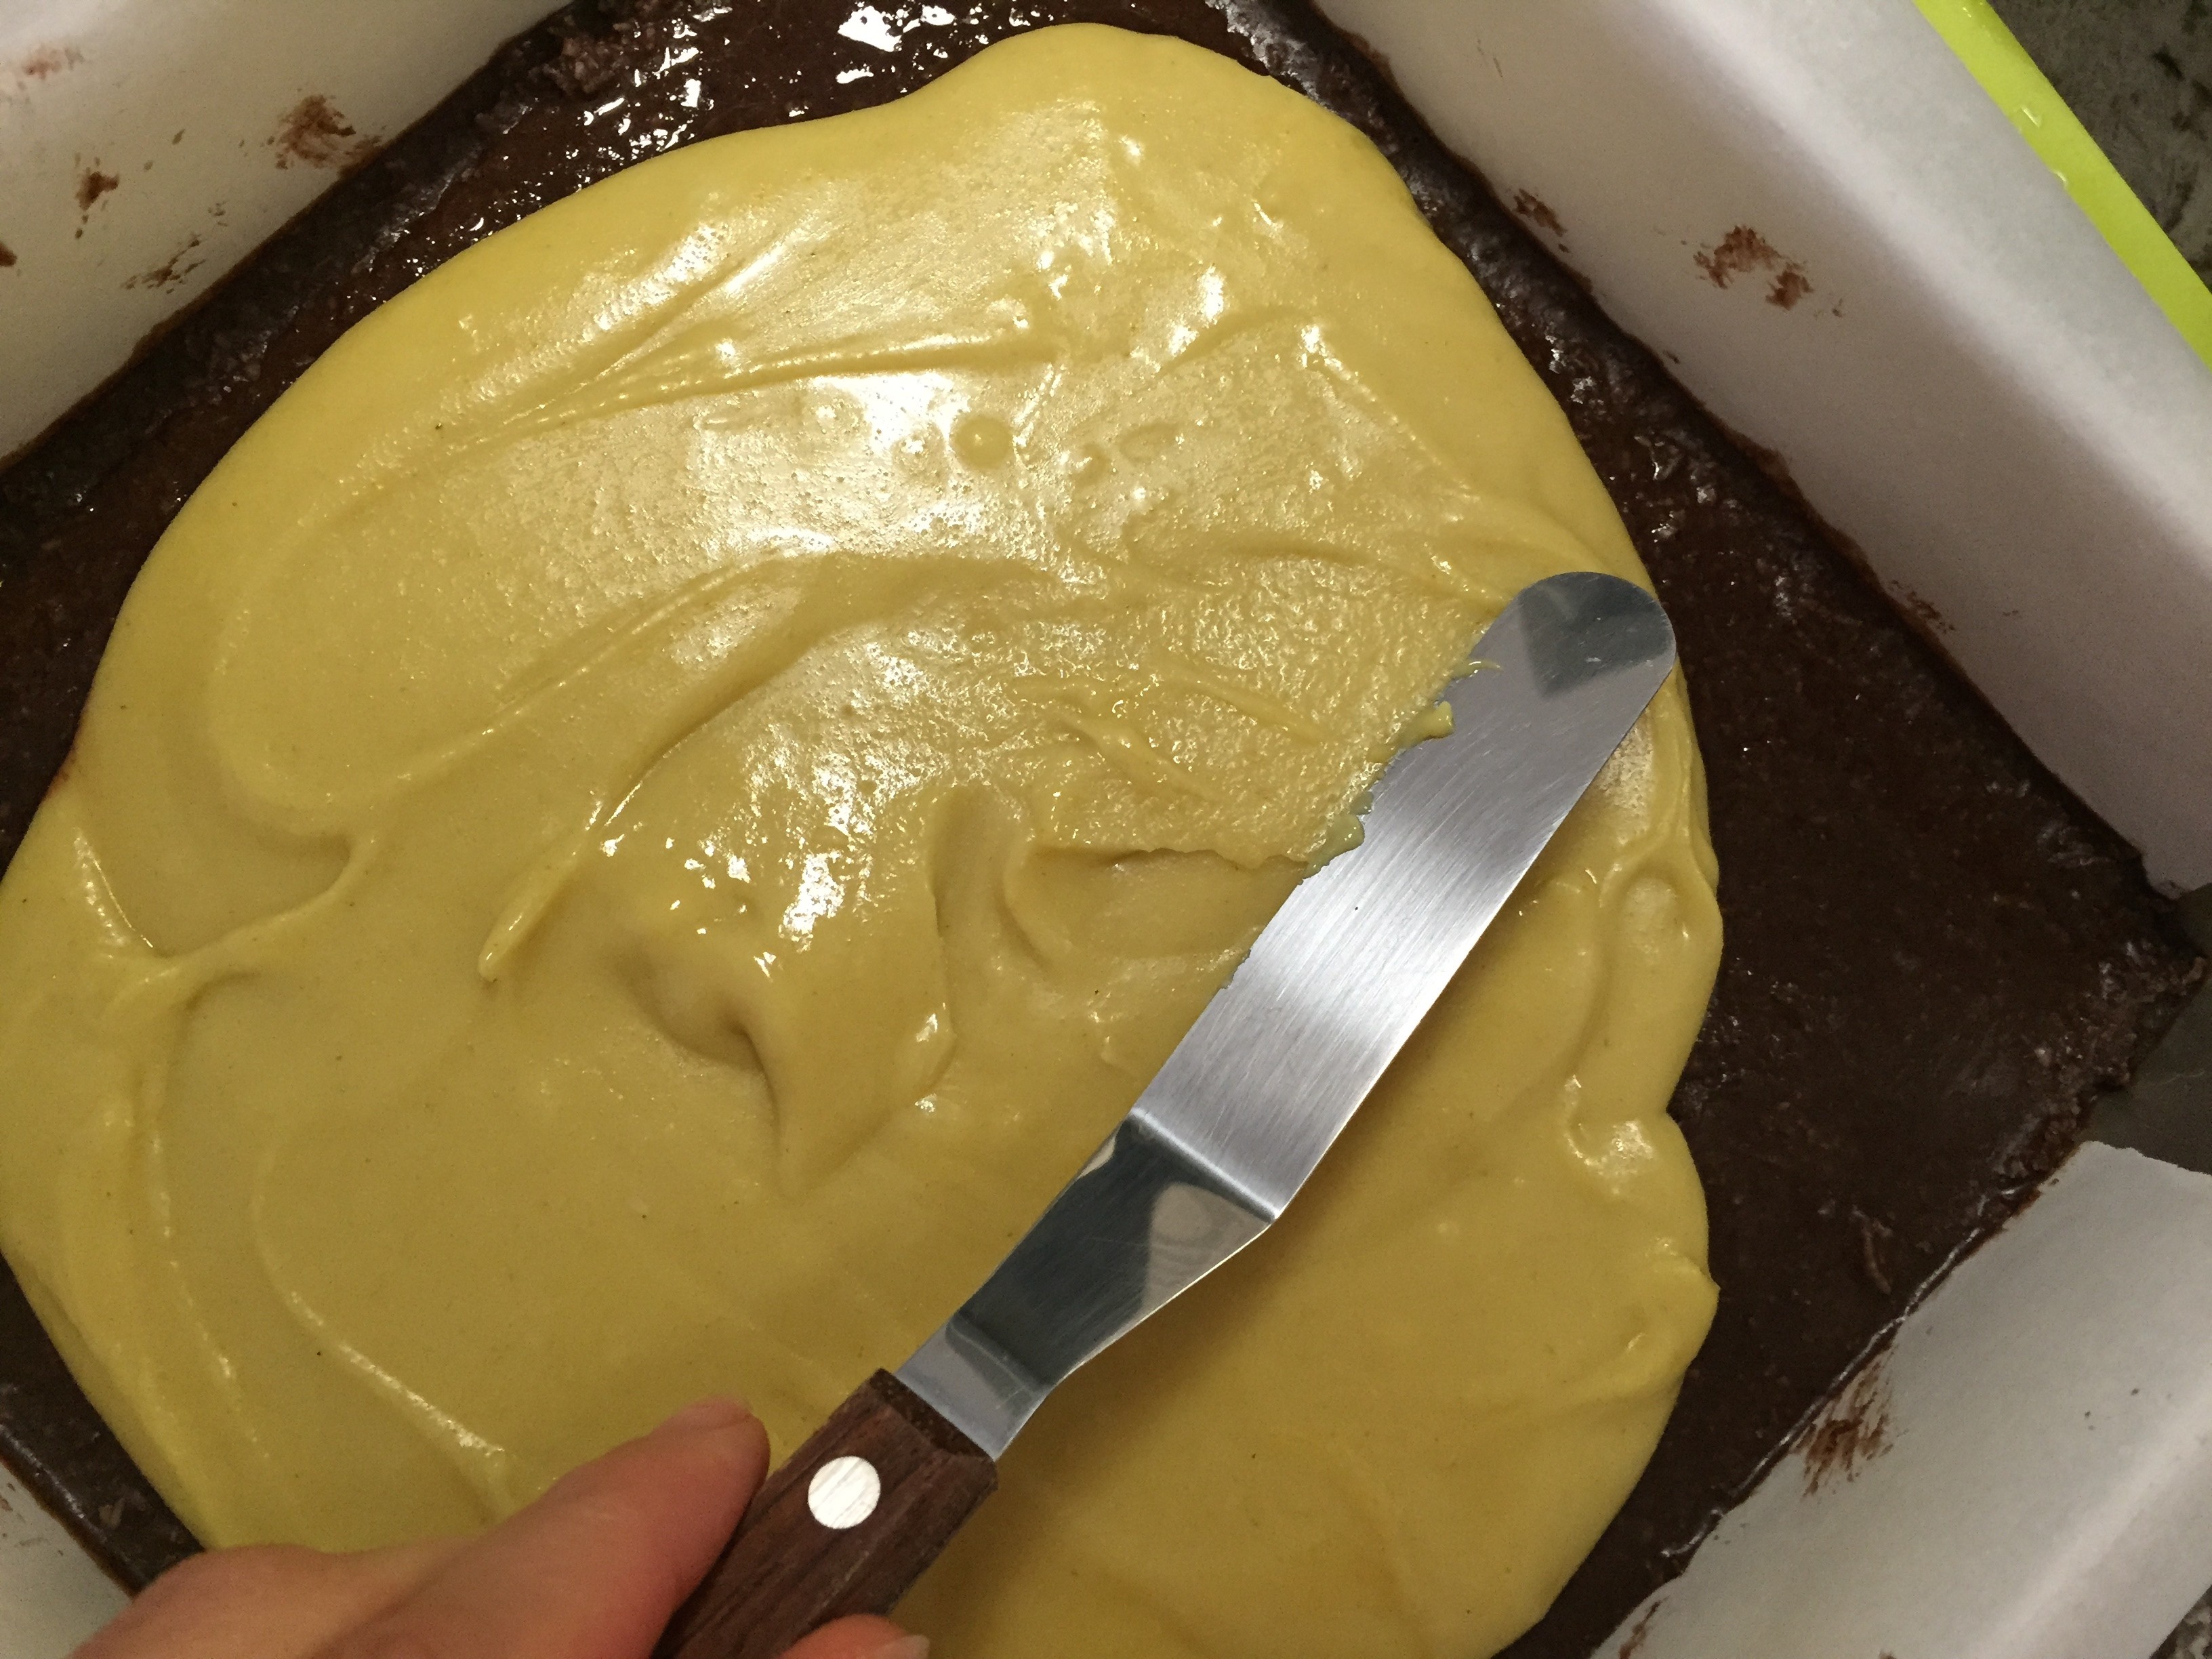
7. Remove baking pan from the freezer and add middle layer to it. Spread evenly using either a spatula or an offset spatula. Return pan to freezer until you prepare your final layer.
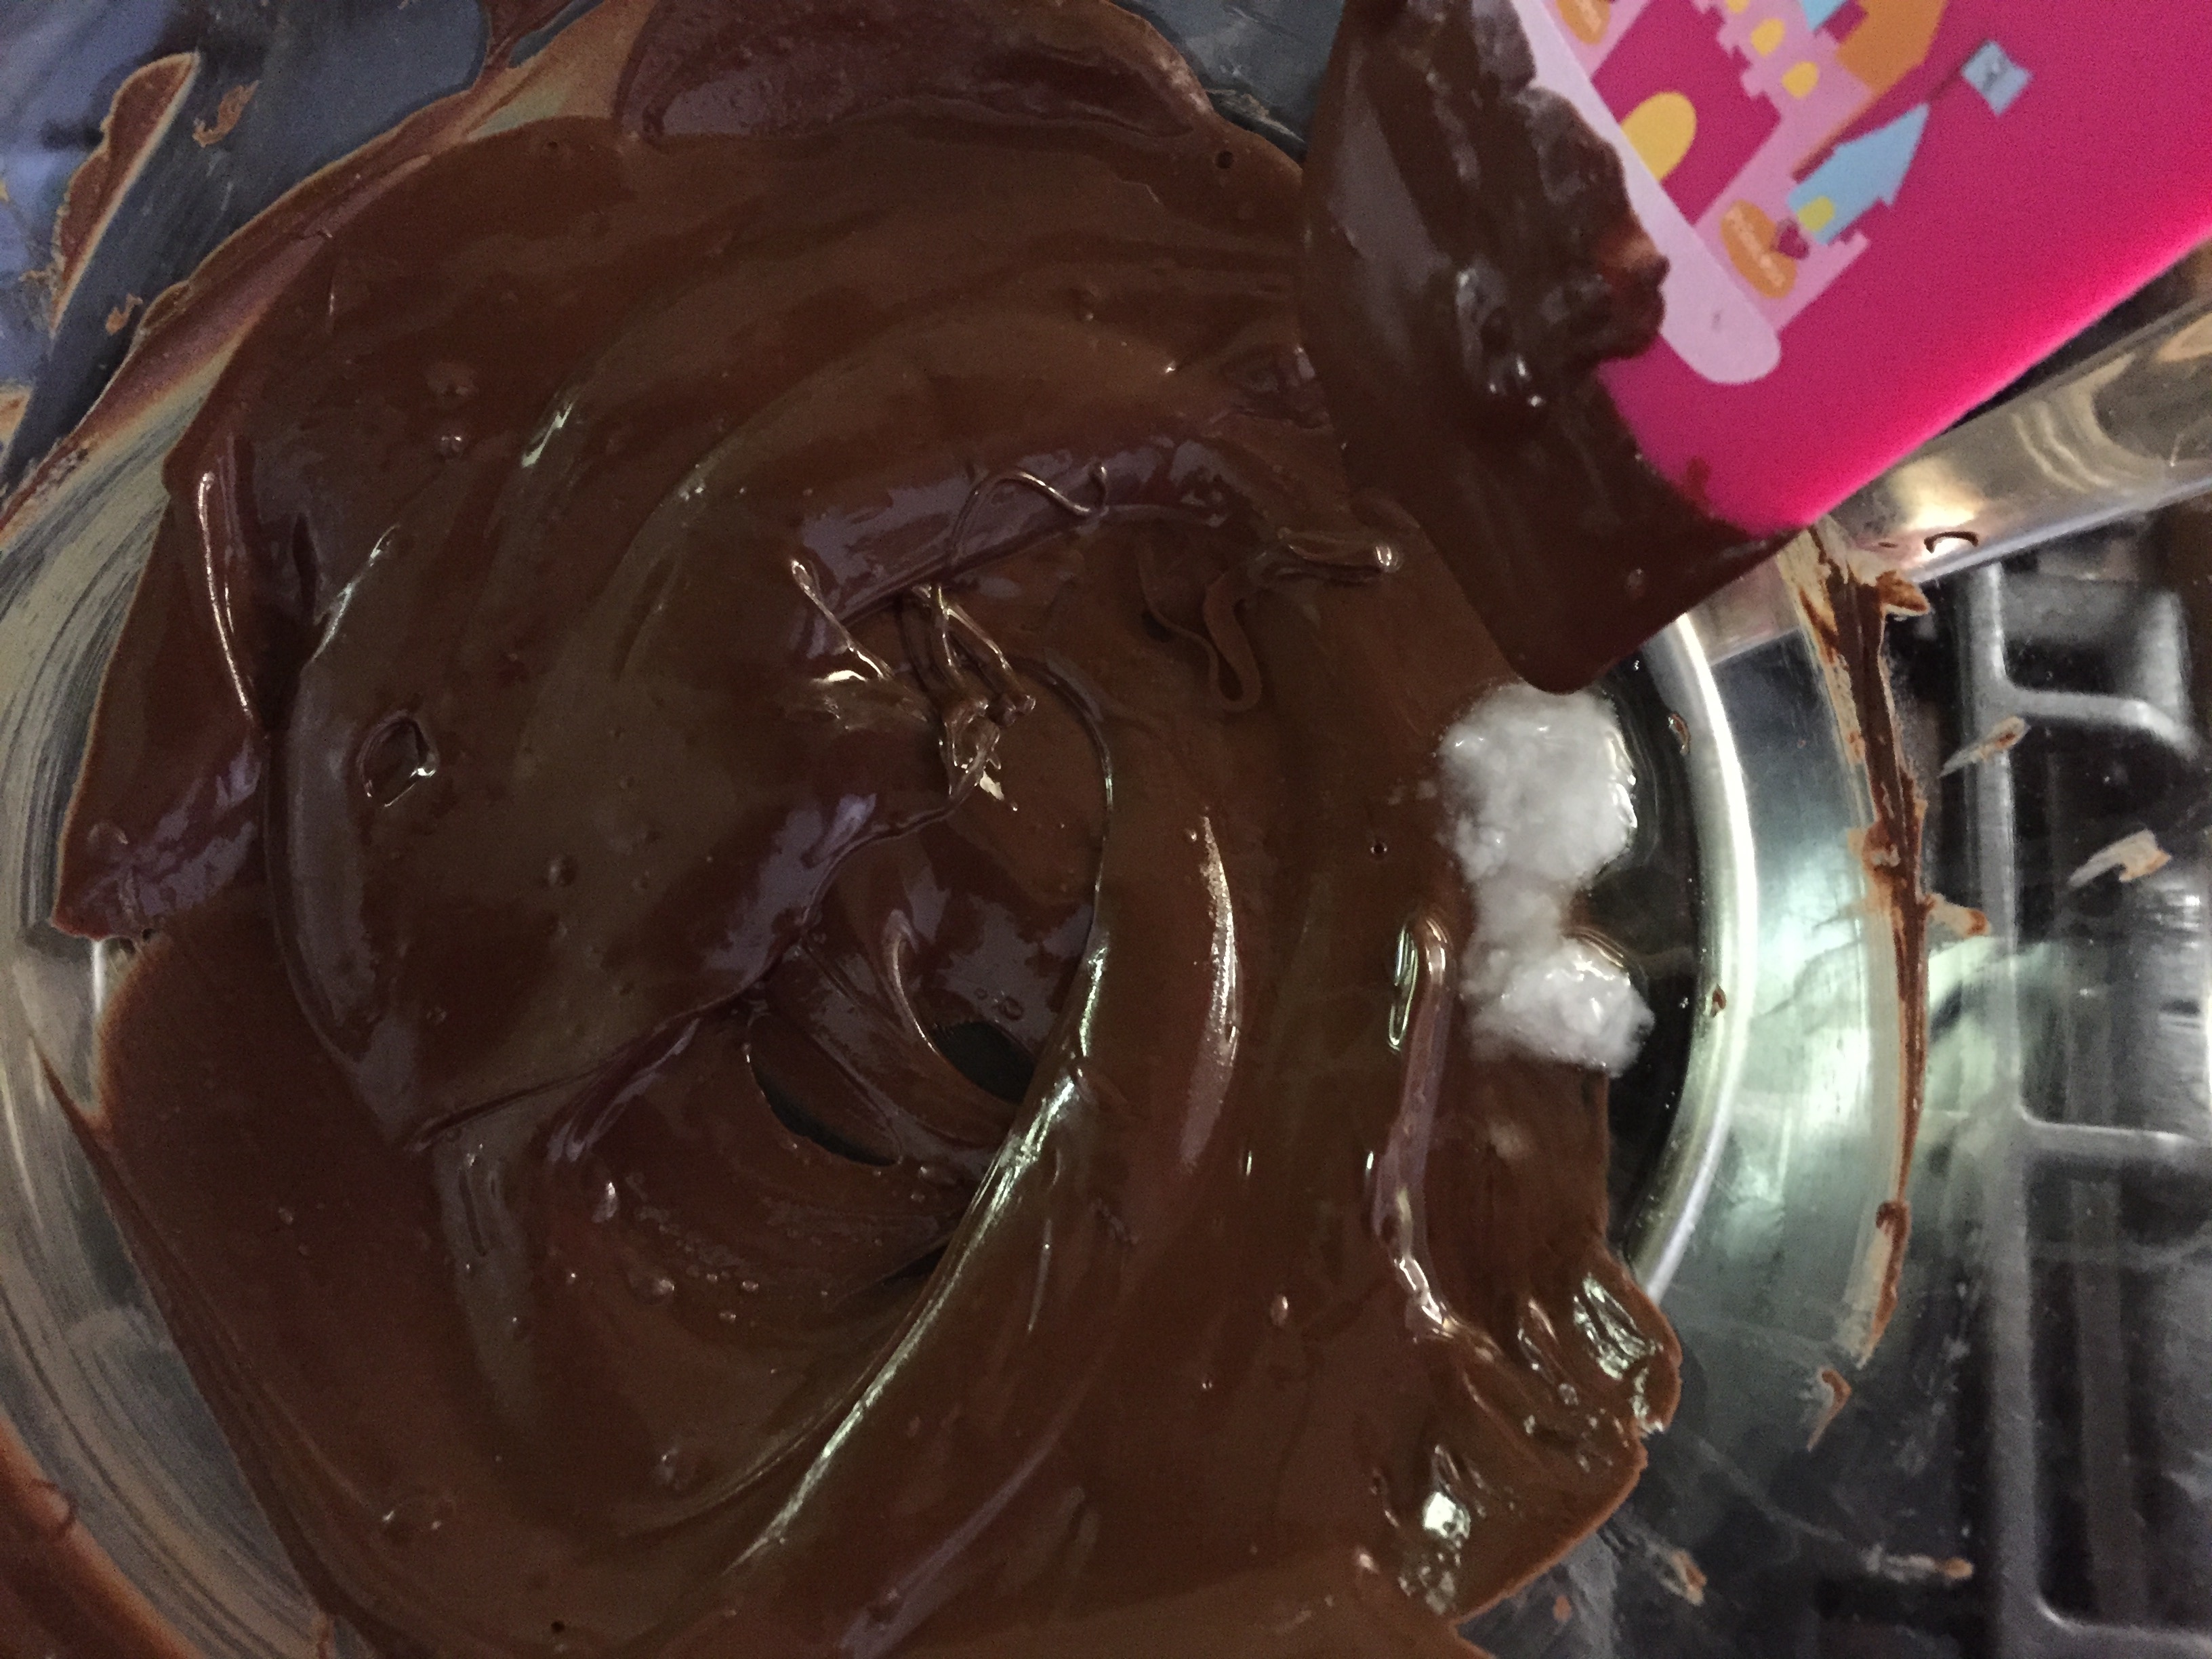
8. Using a double boiler, melt 1 cup of the chocolate over medium high heat – reserving the rest for later.
Add coconut oil once chocolate has melted. Stir until fully combined.
9. Then, remove from heat and add remaining chocolate into the melted chocolate and stir until all of the chocolate has melted.
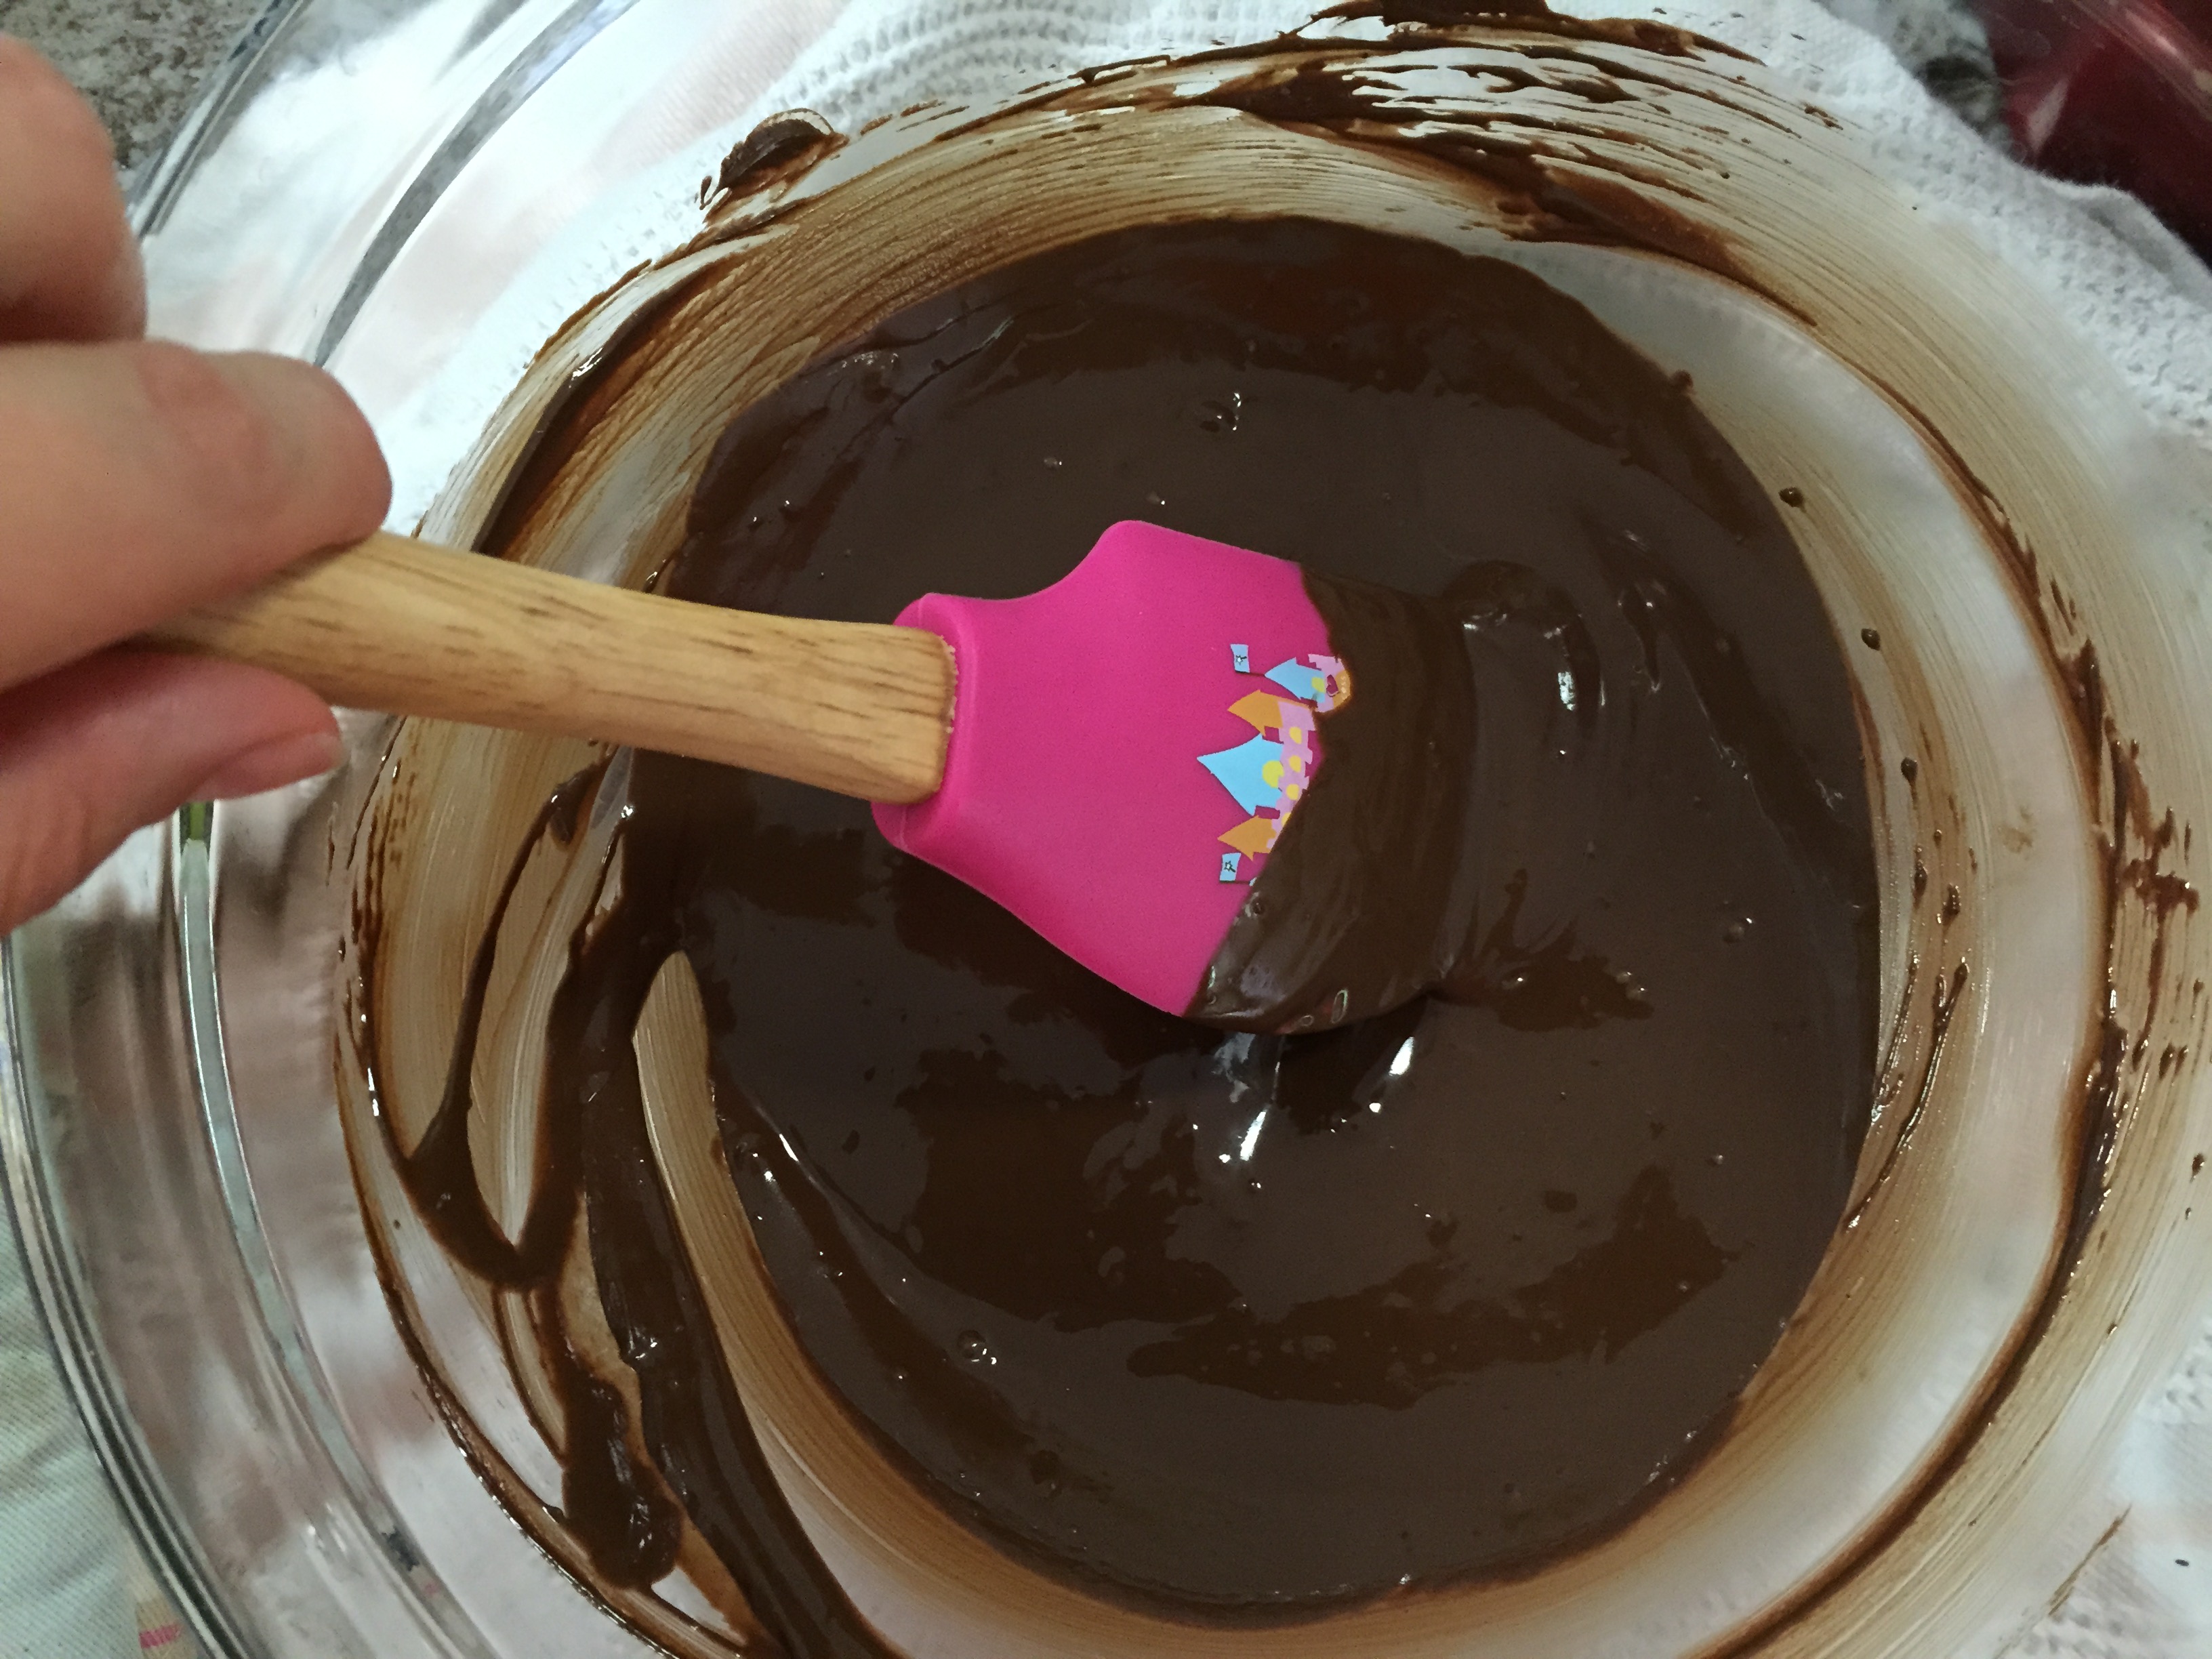
11. Remove pan from the freezer and add the chocolate to create the last layer of the Nanaimo squares. Spread chocolate out evenly.
12. Place in the fridge to set completely, approximately 1 1/2 hours+.
To cut the Nanaimo into squares:
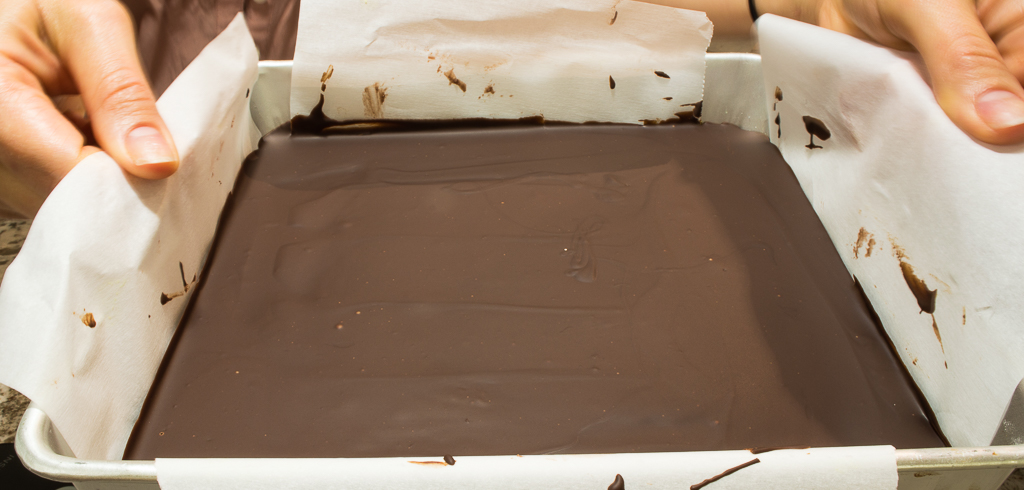
1. Remove Nanaimo from the pan by lifting it gently using the parchment papers that are hanging off of pan, as shown.
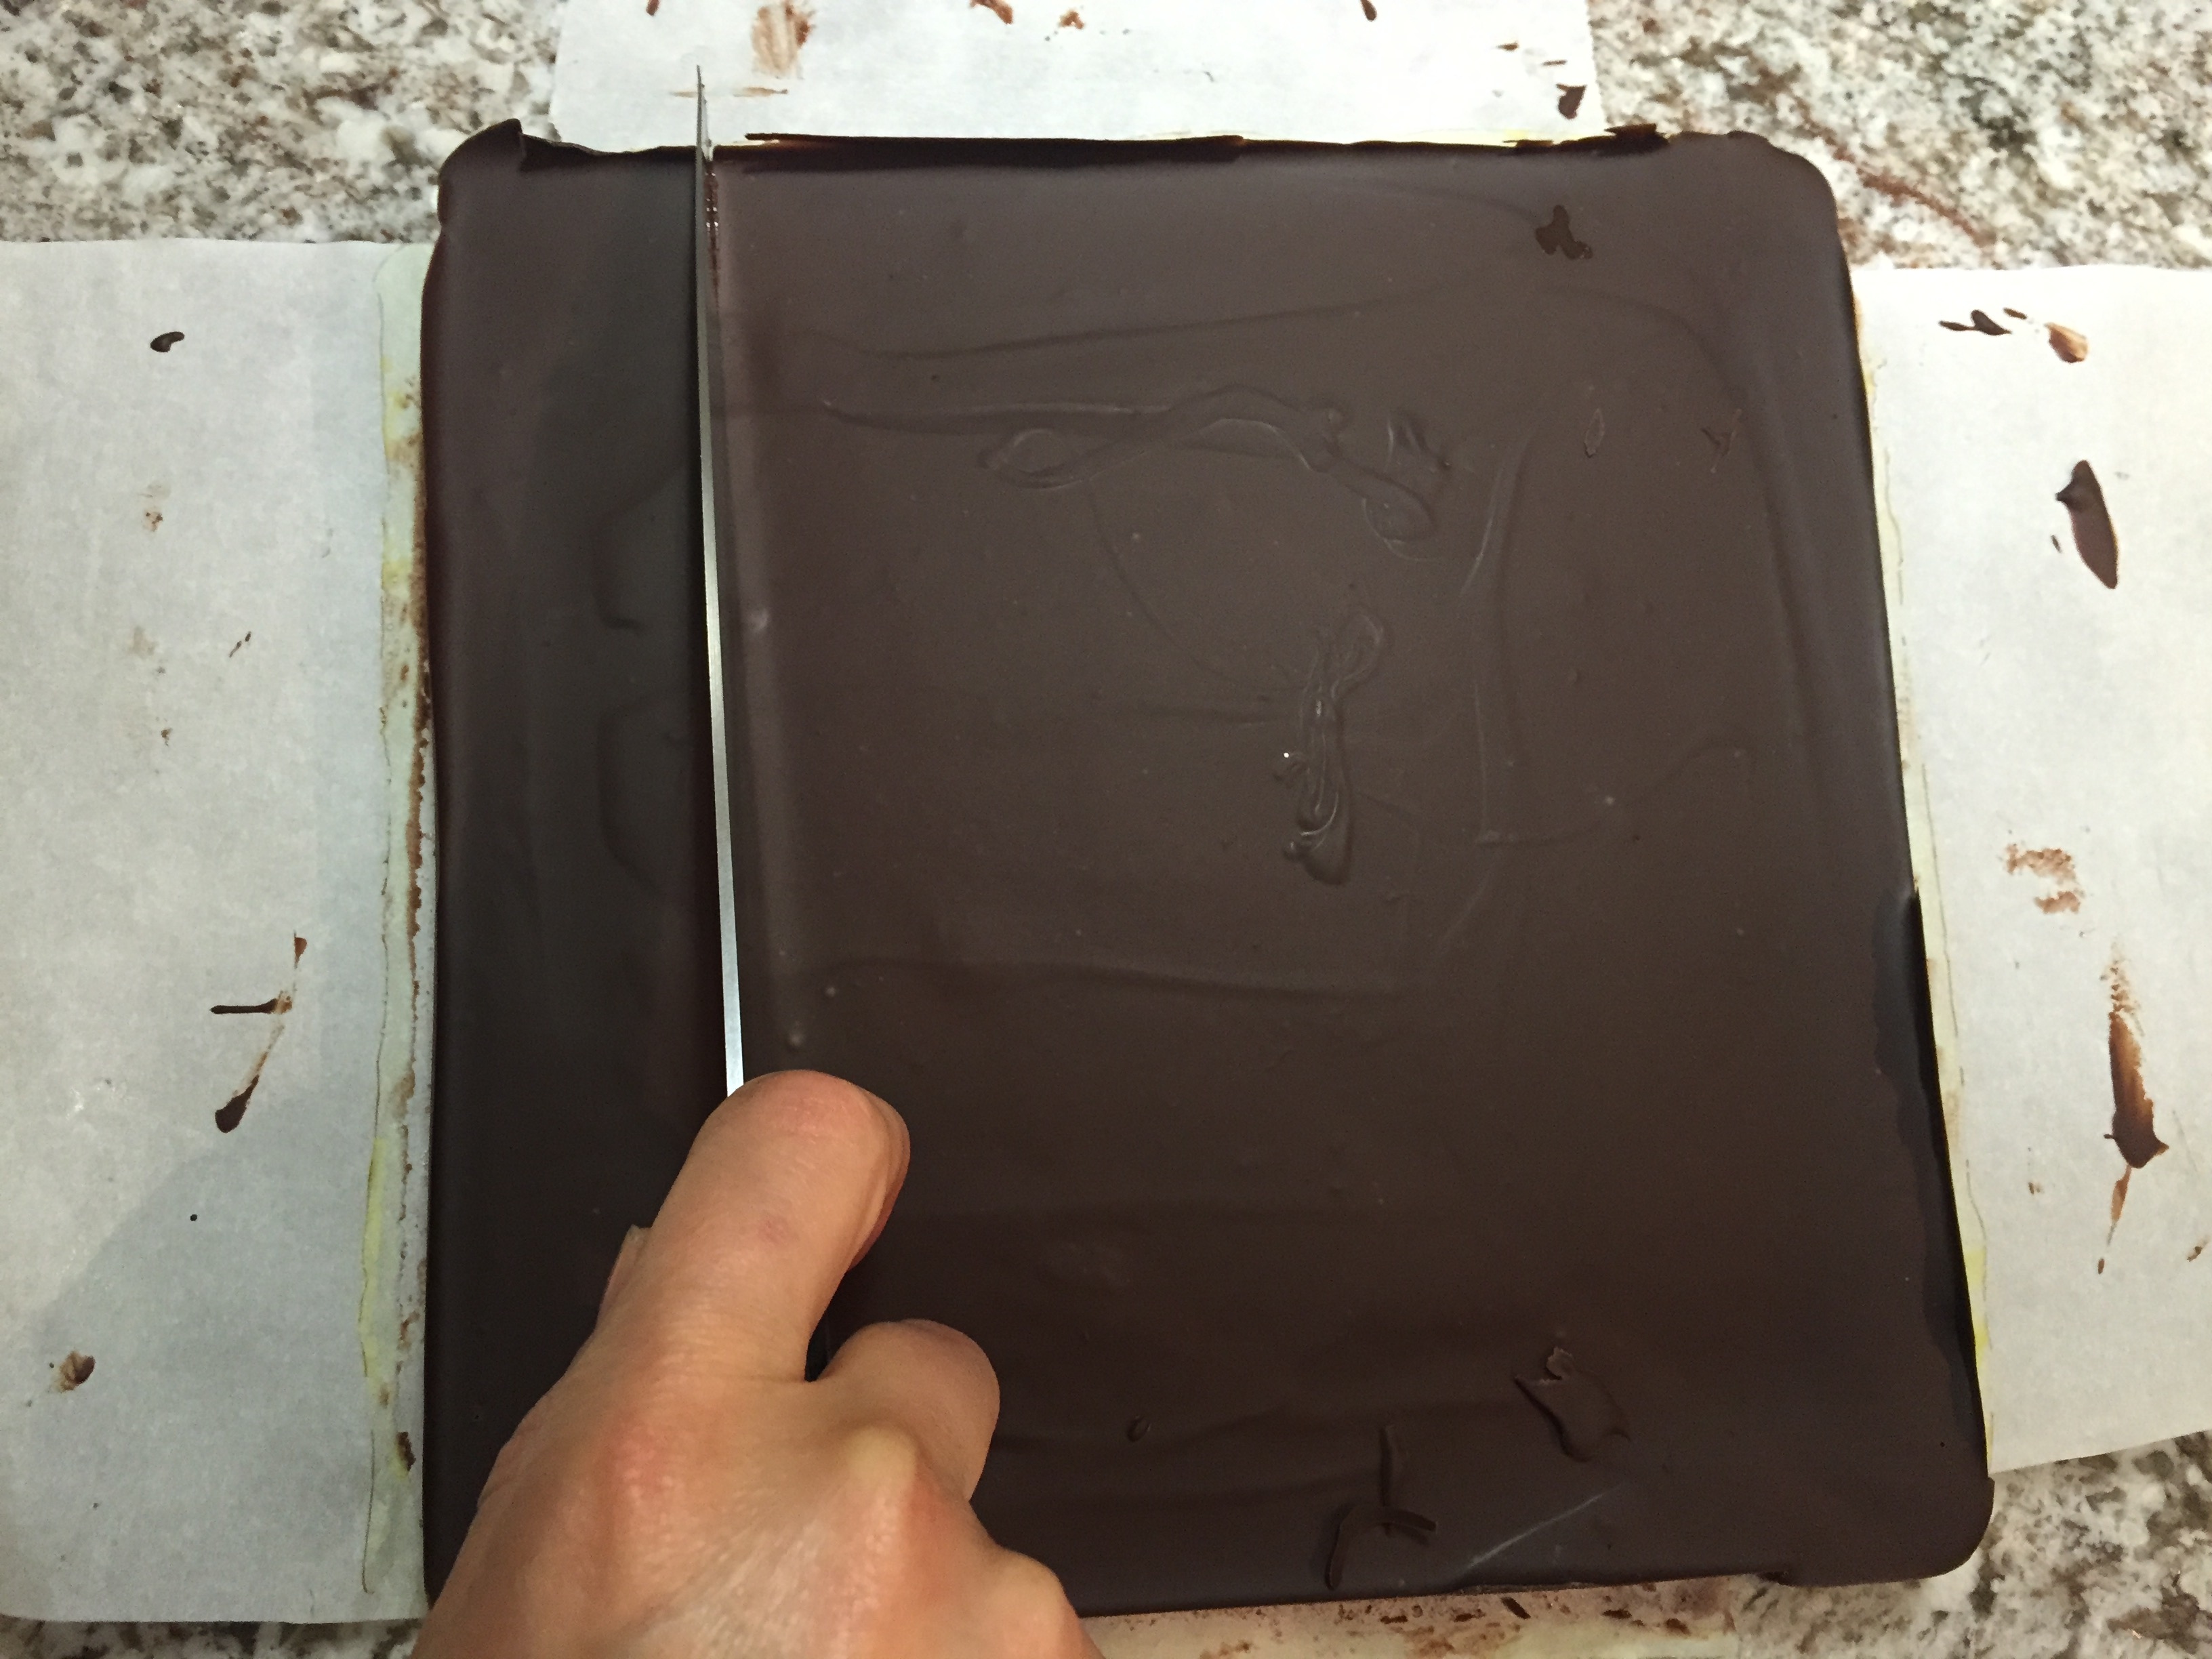
2. Next. run the knife under hot water to warm it up, then wipe completely dry with a towel. Using a smooth motion and not an up-and-down motion (which will break your chocolate layer), slice through one line at a time, making sure you run the knife under hot water and wiping dry between each cut.
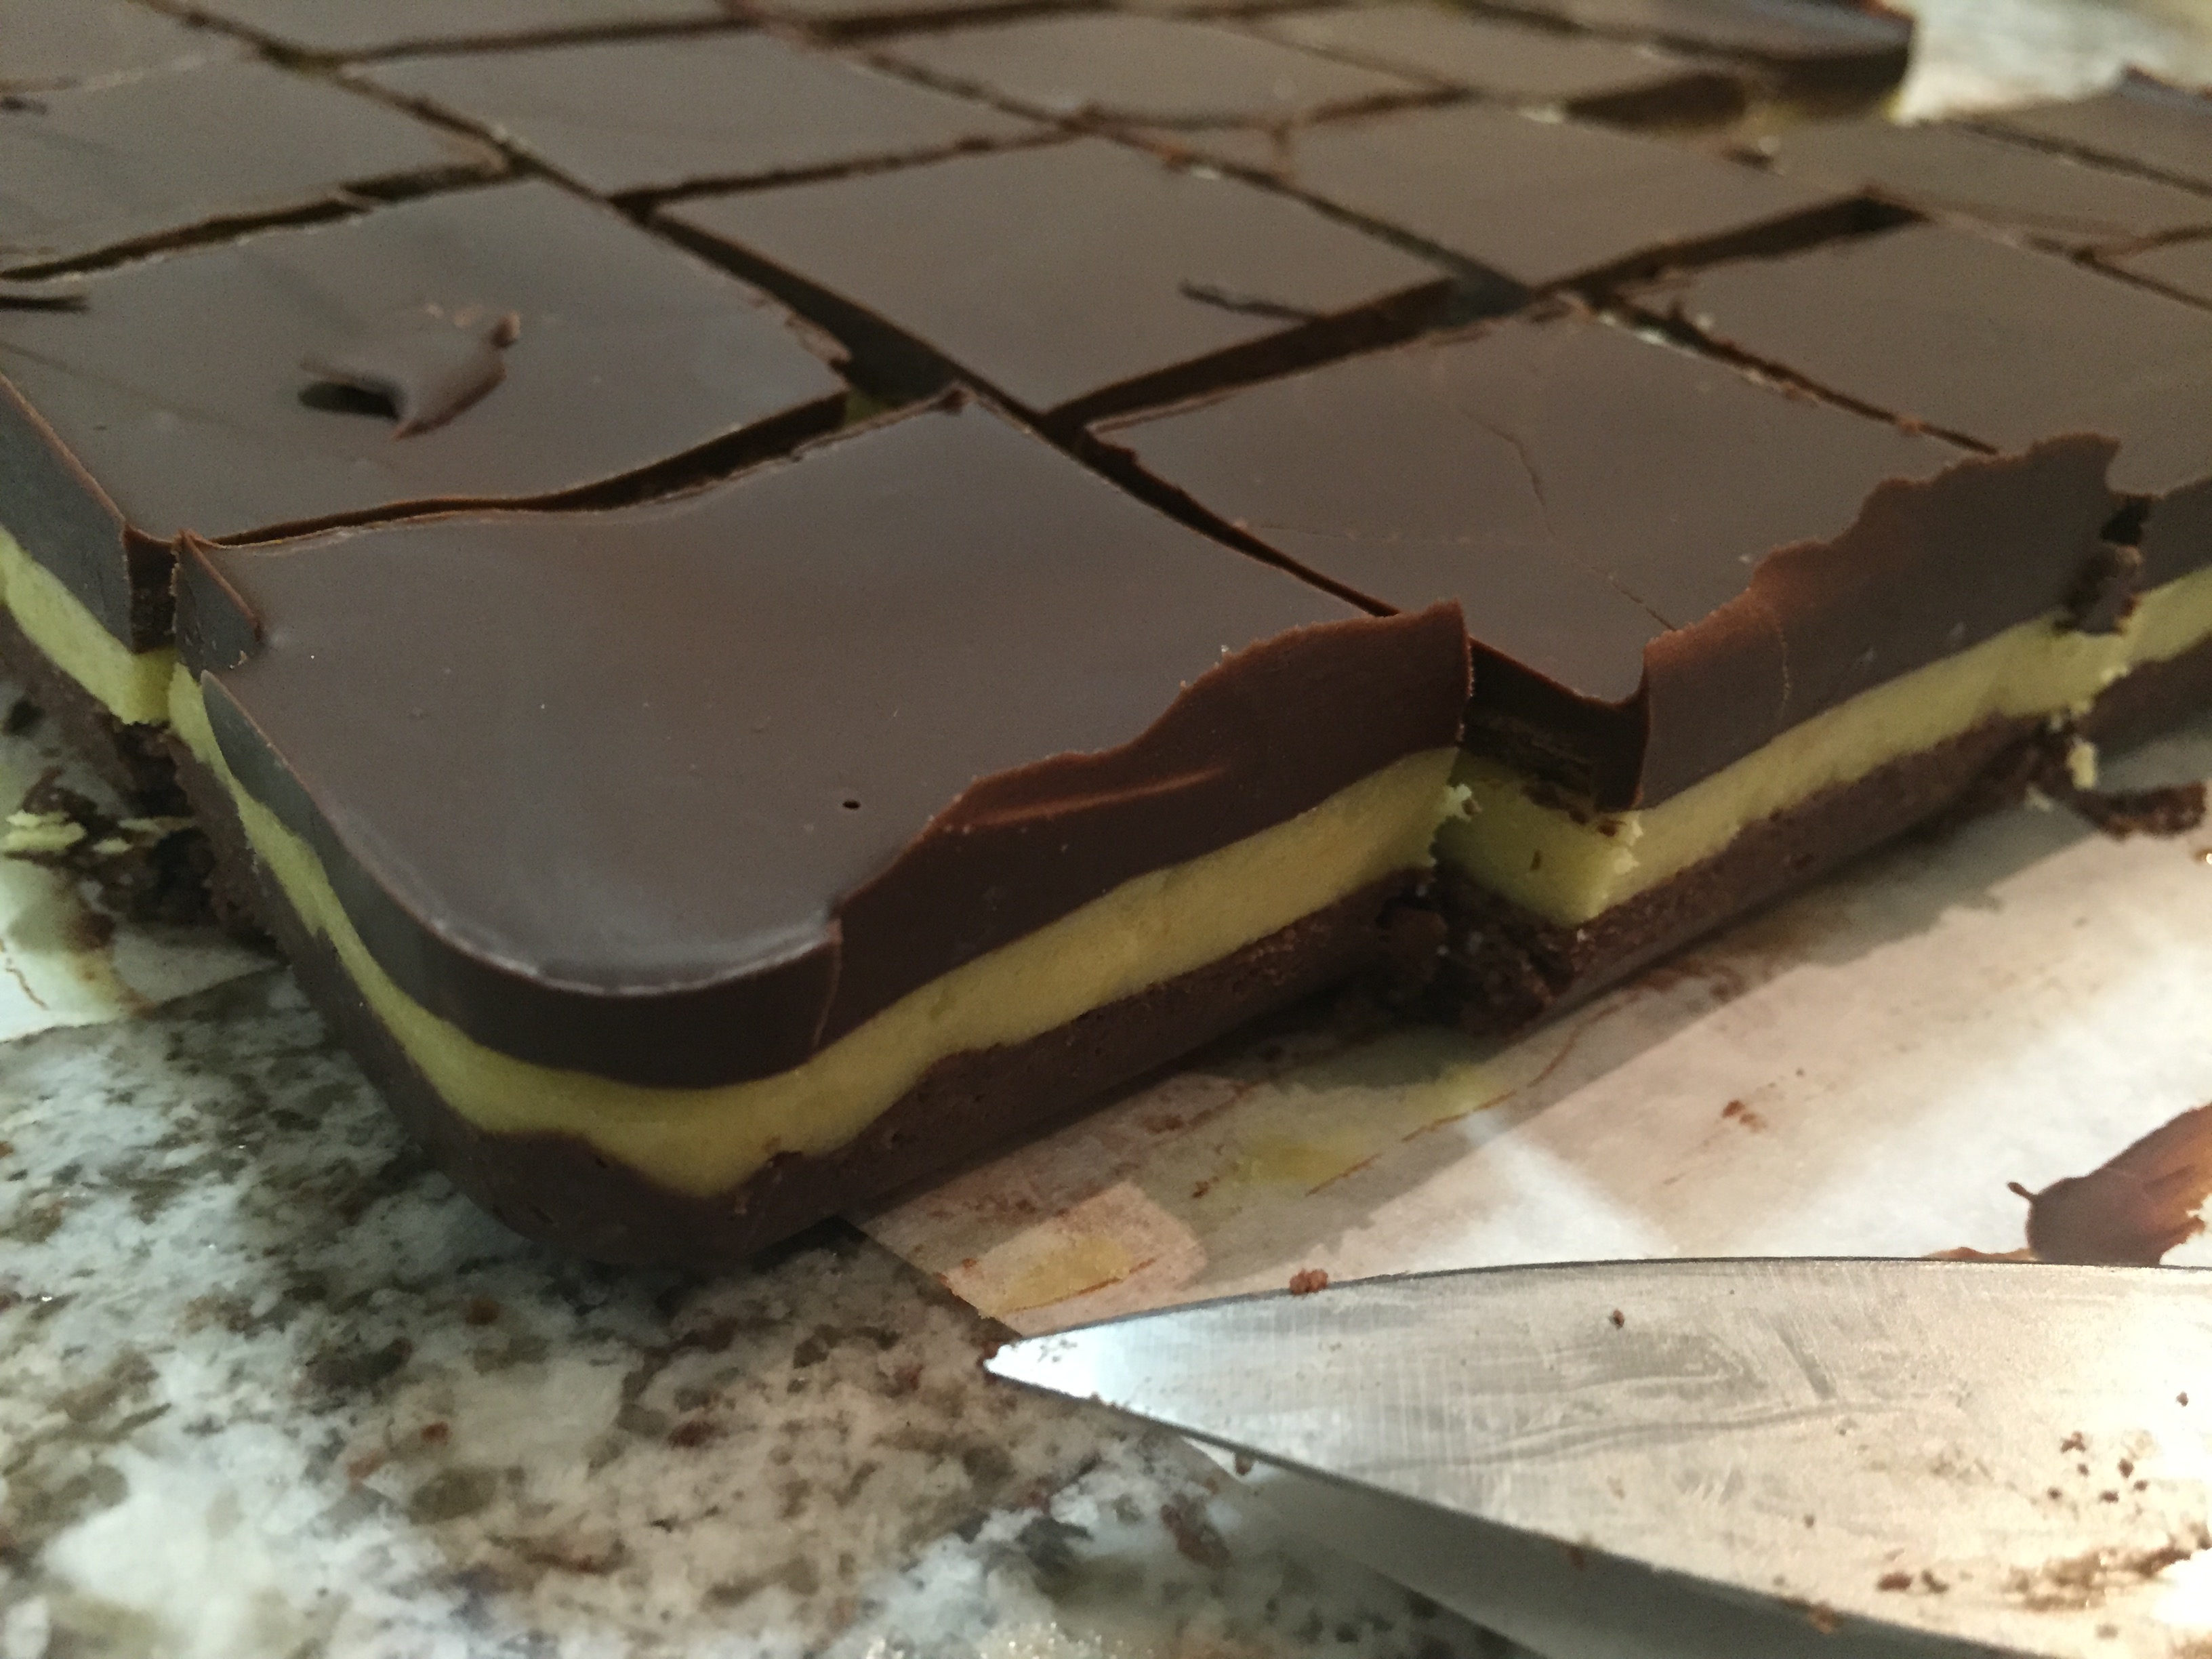
2. Continue step 1 until all of the squares are cut.
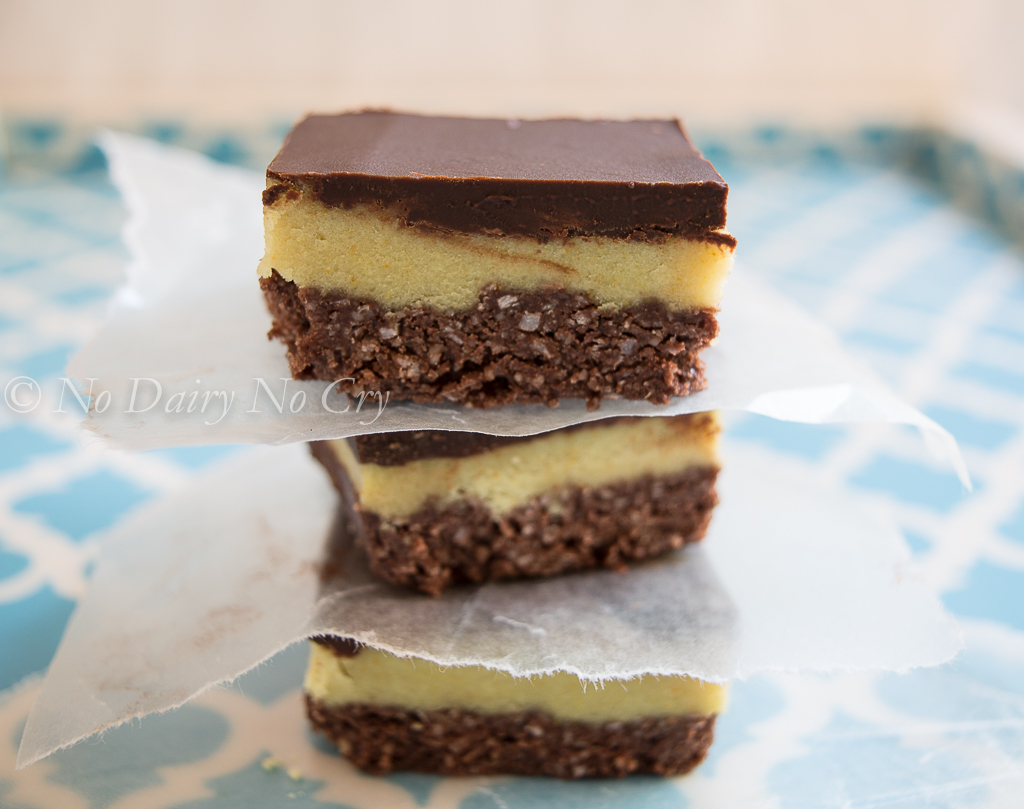
These Nanaimo squares do pretty well at room temperature but refrigerate them in a lidded container if you don’t plan on serving them to maintain their shape.
Bon appétit! xo